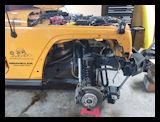
The Jeep started to push 90,000 miles and guess what another Check Engine light. This time it was an oxygen sensor low voltage, which told me it was time to change out a sensor. The sensor on the 3.6L are fairly easy to get to once you have removed the inner fender liner. Depending upon which sensor on which bank is bad you will need to get the corresponding sensor. Bank 1 is corresponds to the #1 cylinder side, and bank 2 the #2 cylinder side. If your looking at the engine from the front #1 is on the left side and #2 is on the right side. Sensor 1 is the up stream sensor above the pre-cat and #2 is the sensor downstream from the pre-cat. The autoparts store can be pretty confusing as to which sensor is which. Some of them will say upstream or downstream, left side, right side. The terminology varies between the different manufacturers, so you will need to read the description carefully.
| Front Flare Removal: |
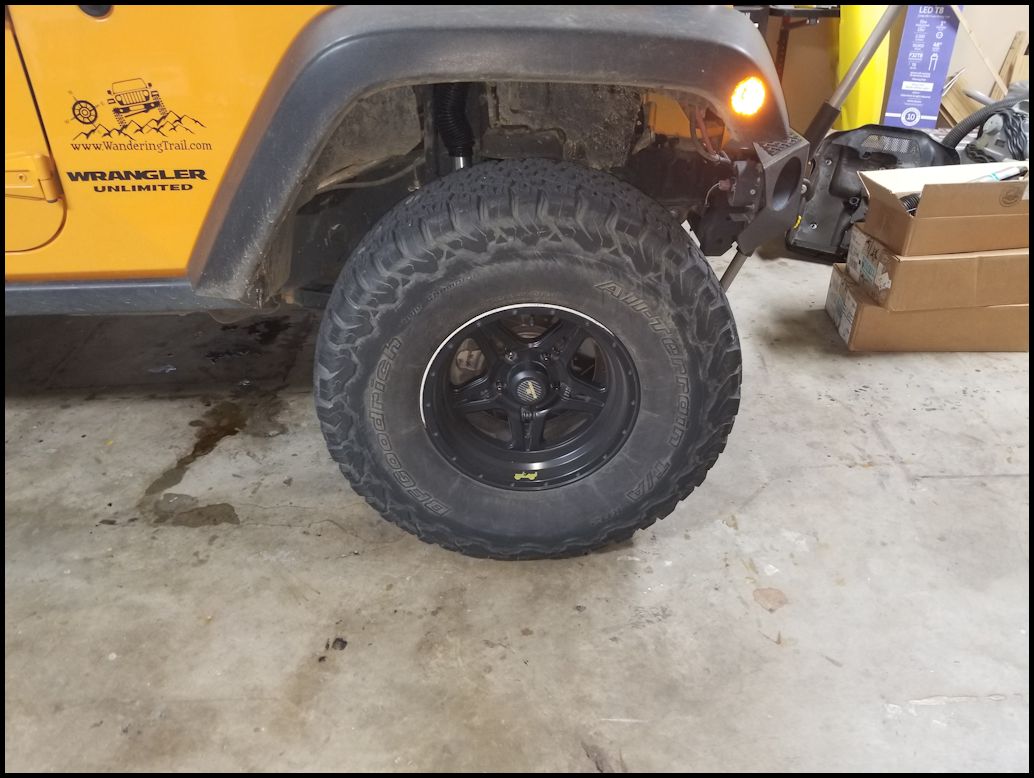
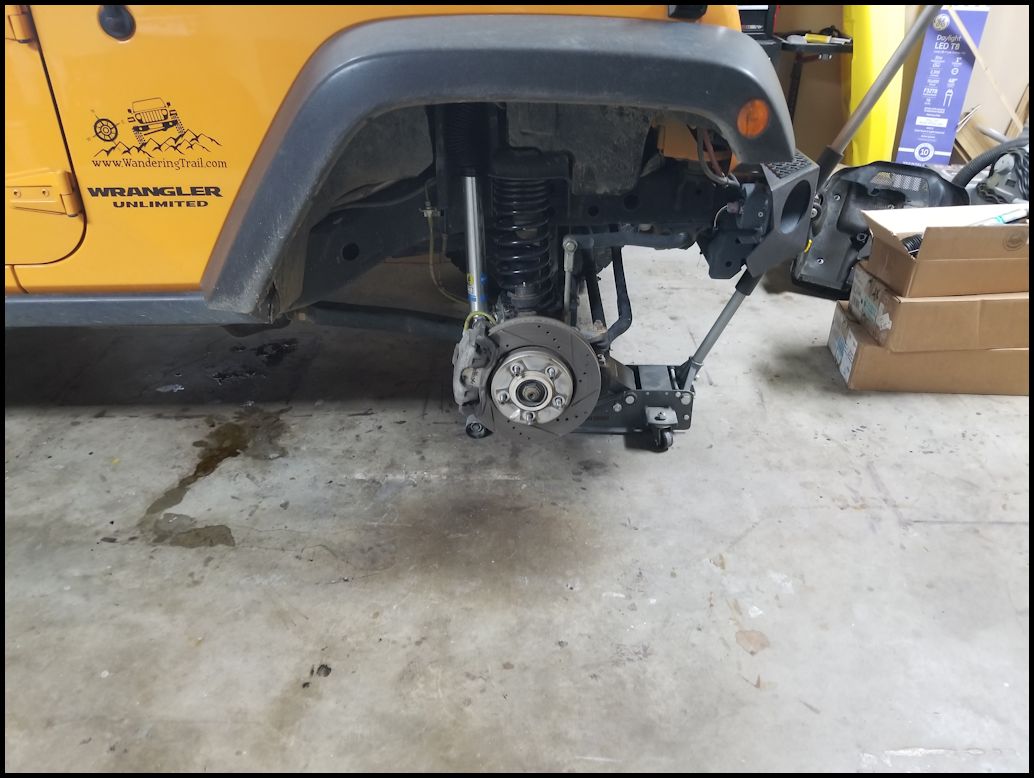
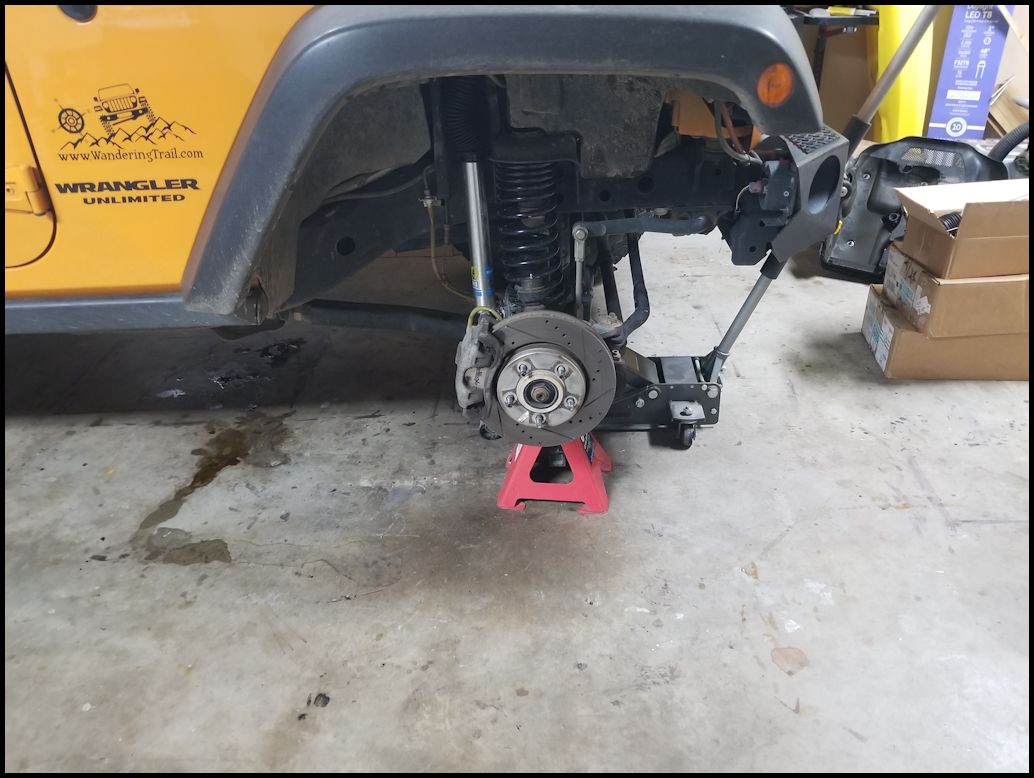
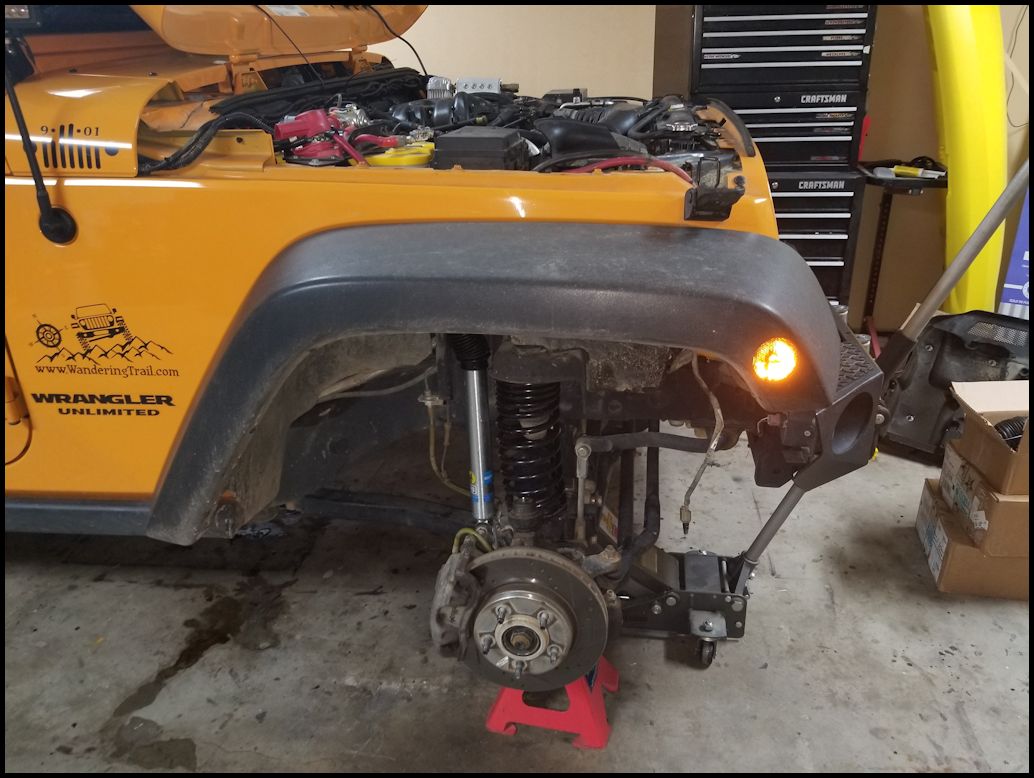
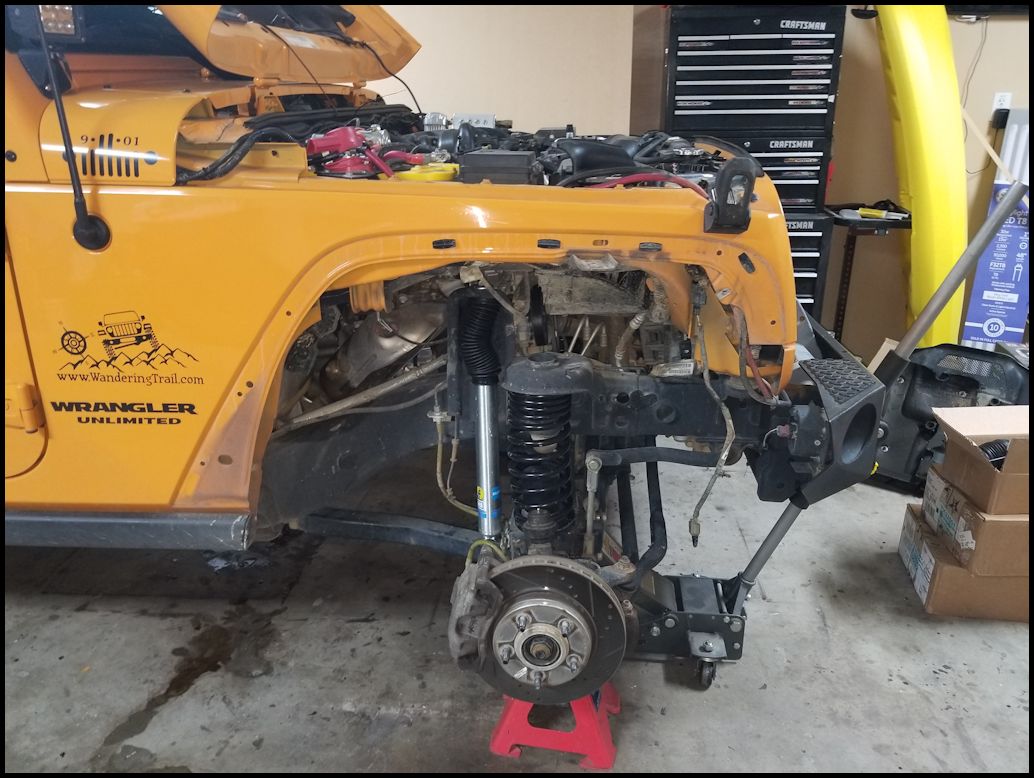
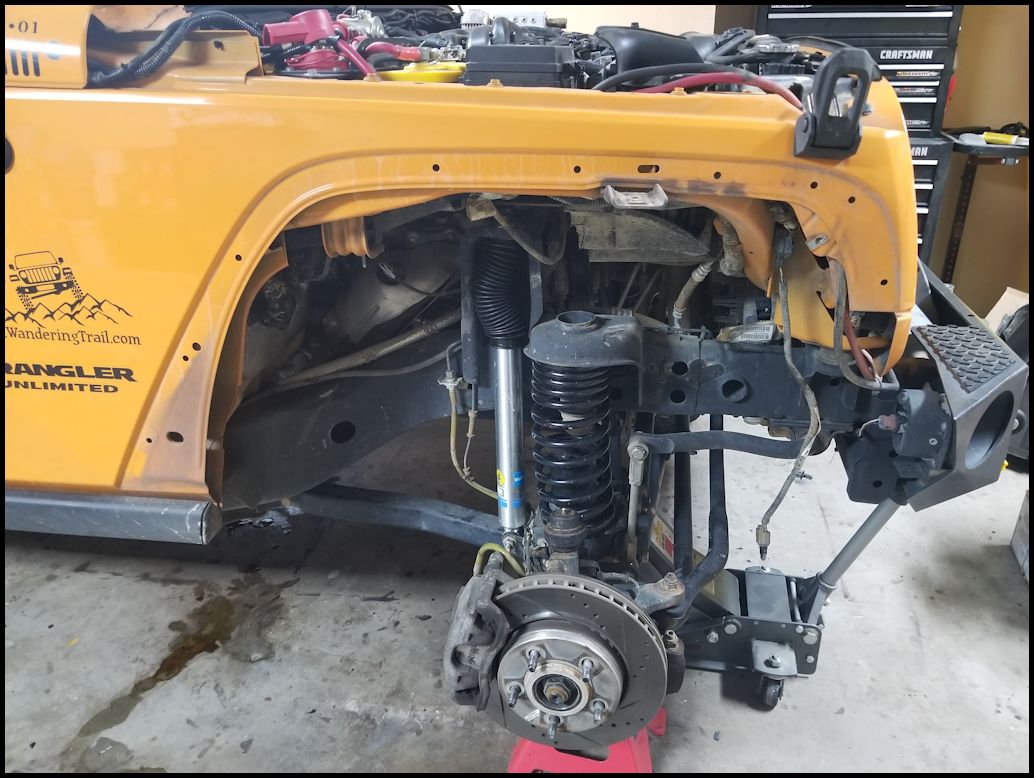
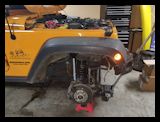
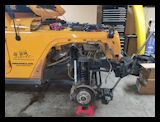
| You can jack up and remove the front tire if you want to. It just makes it easier to get to the bolts vice having the tire in the way. You don't really need to do this. The flare and the inner liner all connected together. |
 |
 |
 |
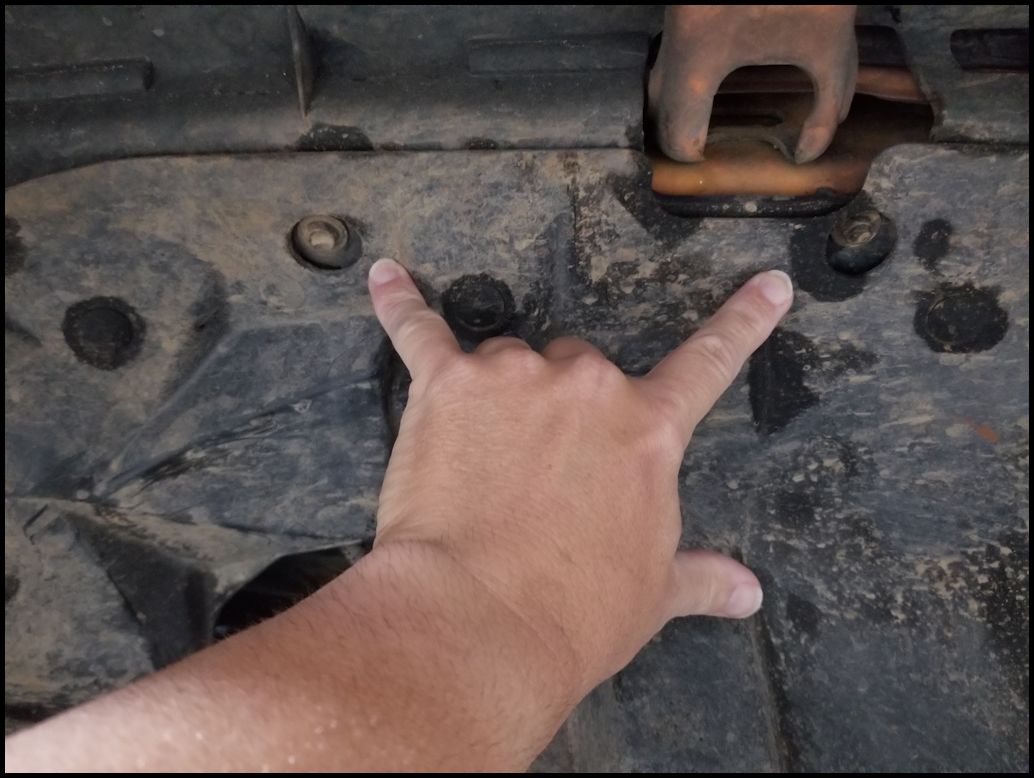
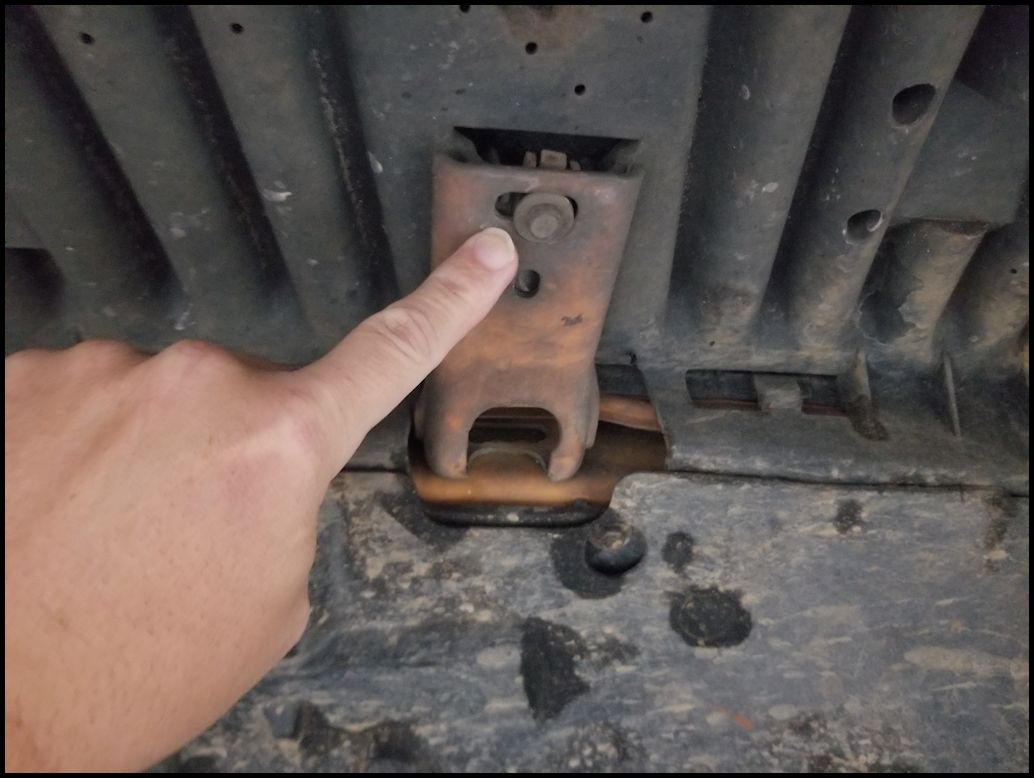
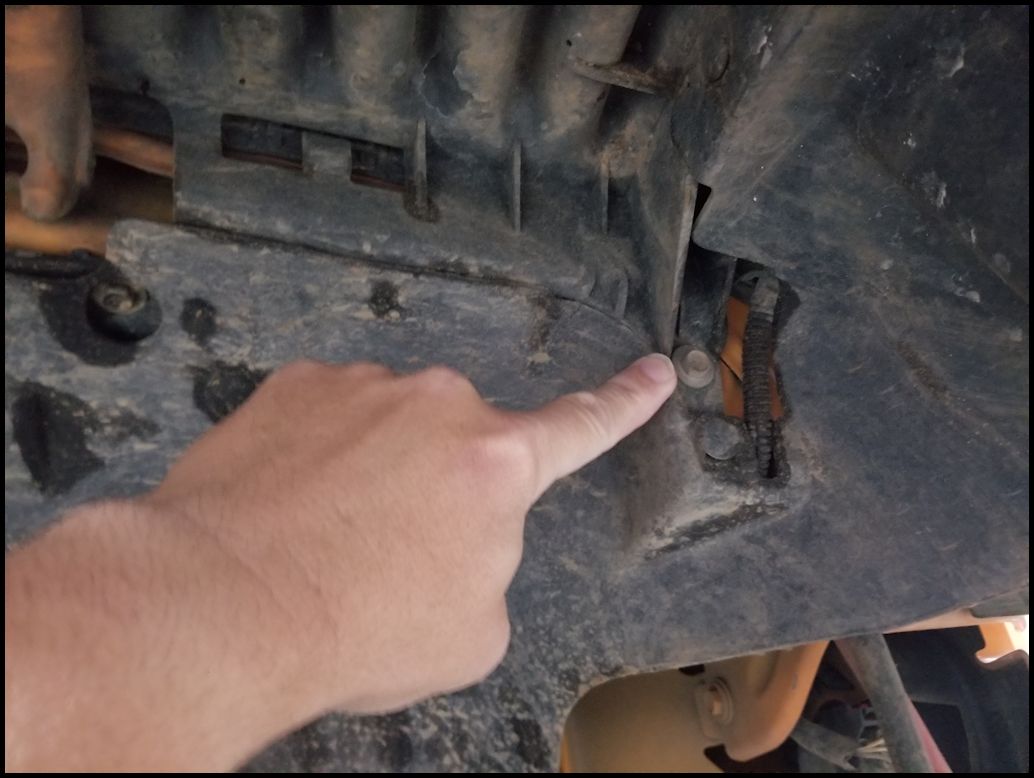
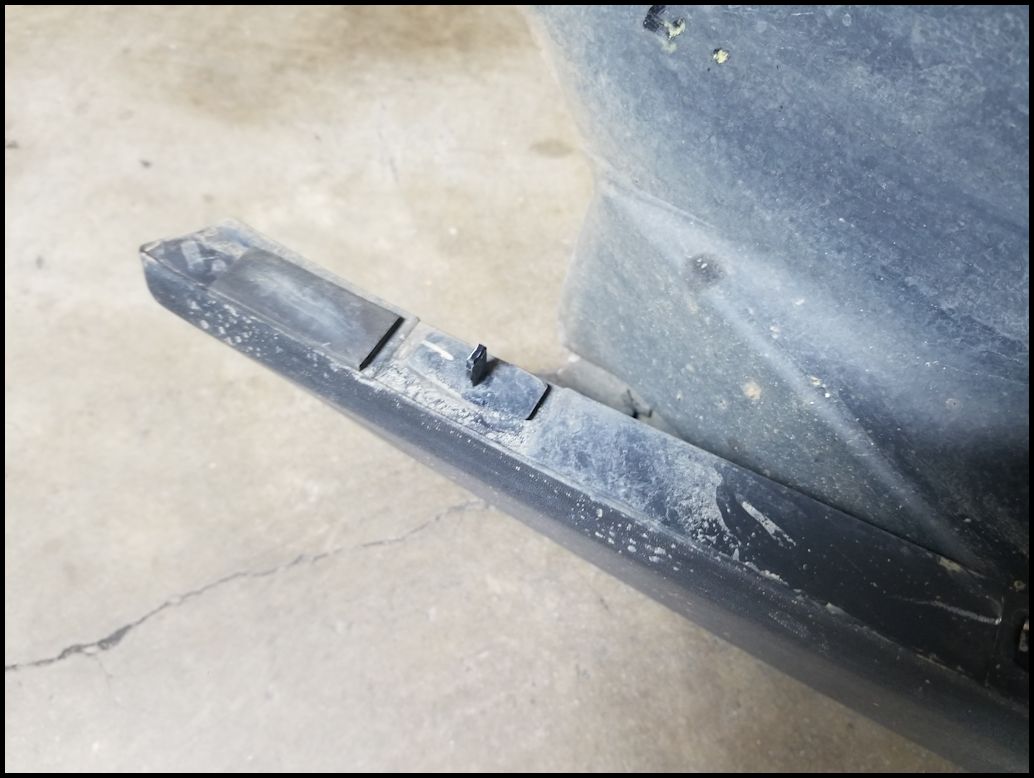
| You will need to remove six (6) bolts holding the flare to the body. Two are in the back (one is a female bolt and the other is up in the hole), another three are in the middle (one is on the body color bracket), and the final one is in the front. You will need a 10mm socket to remove these. |
 |
 |
 |
 |
 |
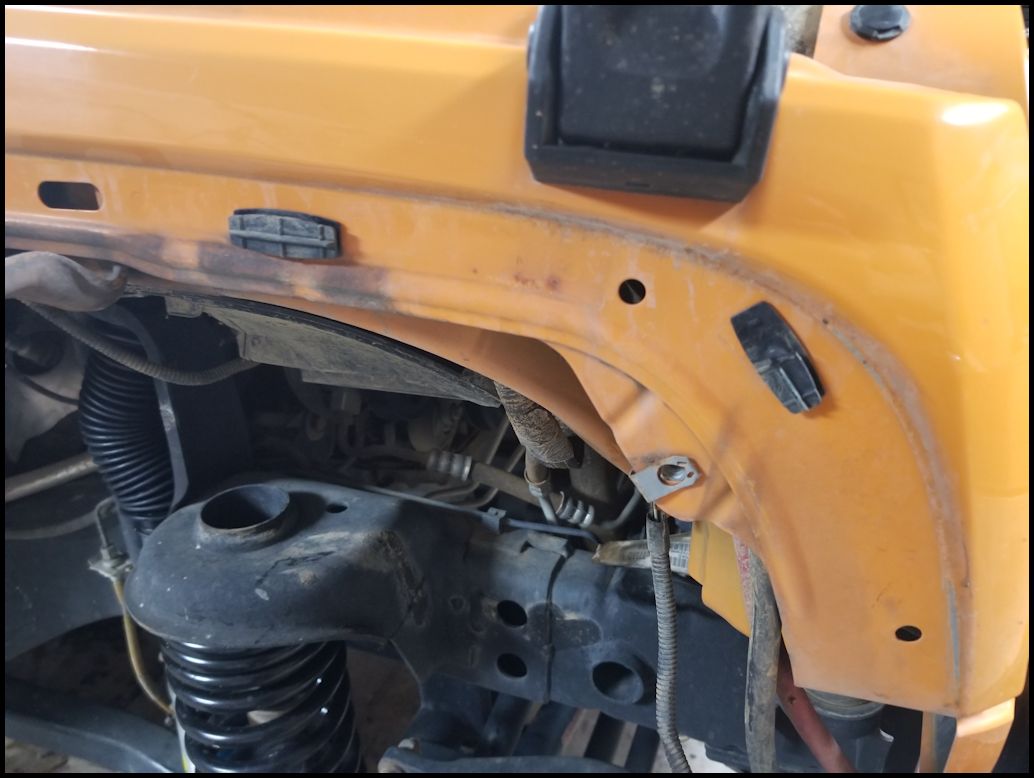
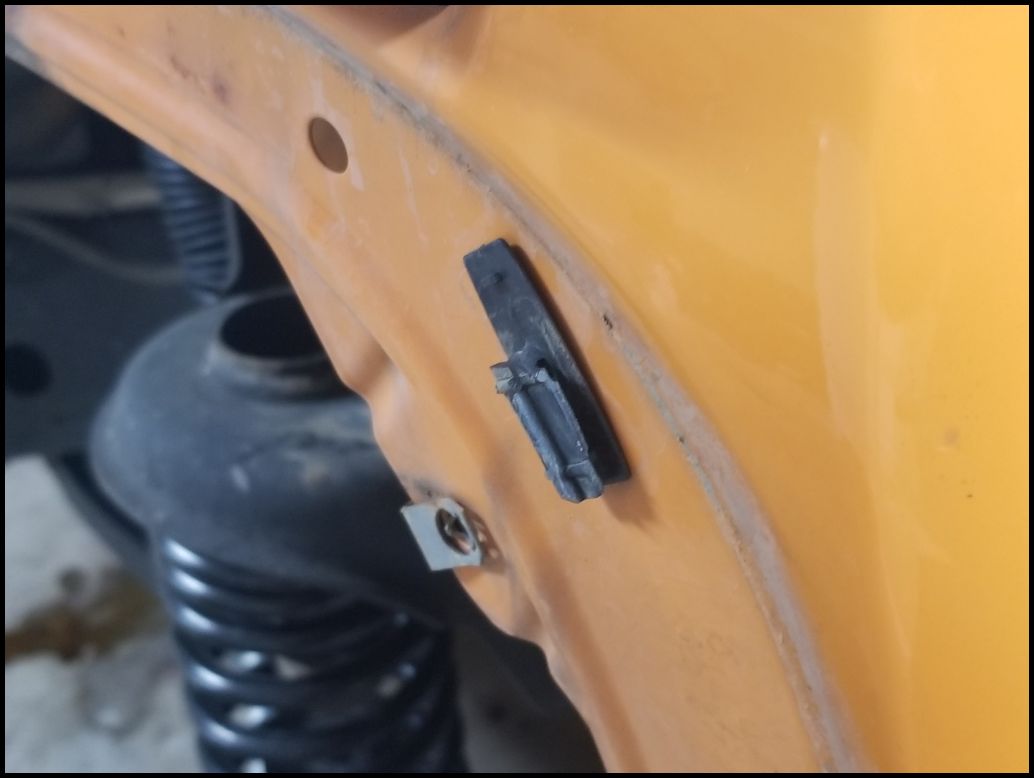
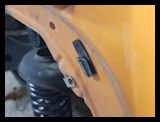
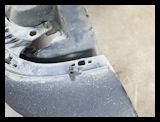
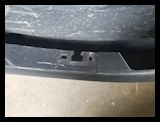
| You need to unplug the side marker light. You can do this by unplugging the entire cable from the body connector. This is extremely difficult to do, but the tab on the top of the connector. It is easier to twist out the light from the lense and use a trim tool to remove the tree holding the cable to the fender. |
 |
 |
| Pull the cable out and let it hang down along the side of the body to make sure you don't snag the cable and damage it when you pull the fender off. |
 |
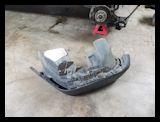
| Now comes the fun part. Grab the fender and give it a tag straight out from the body. The clips holding the fender to the body will either pull out of the fender, pull out of the body, or break off. Set the fender aside. |
 |
 |
 |
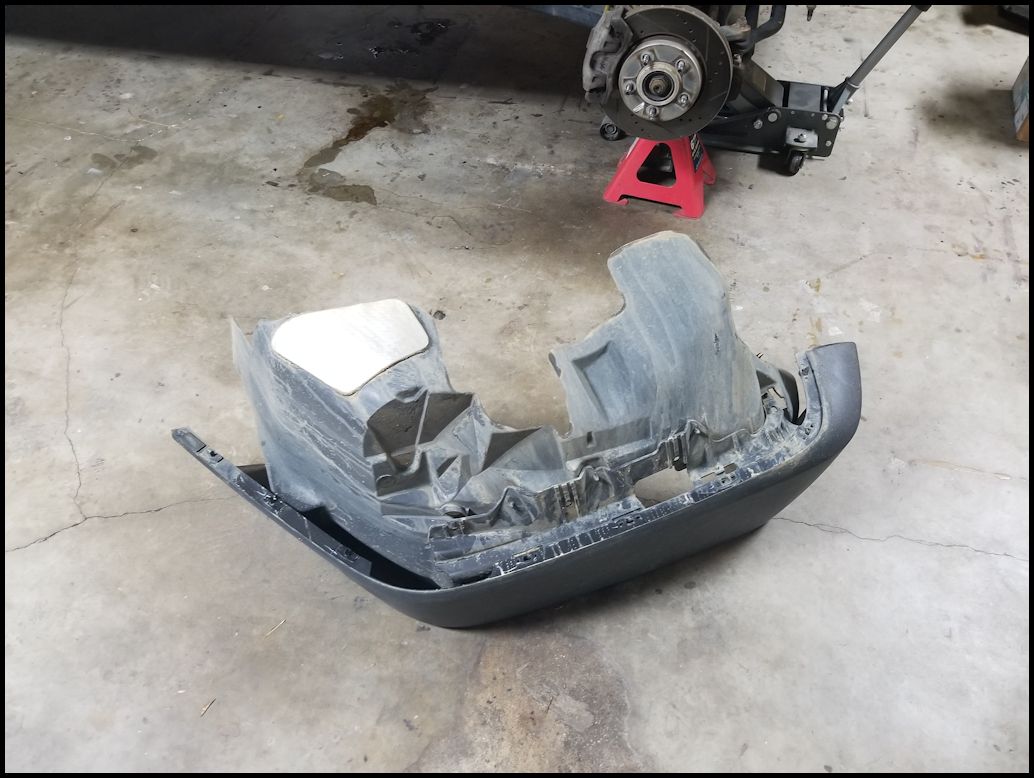
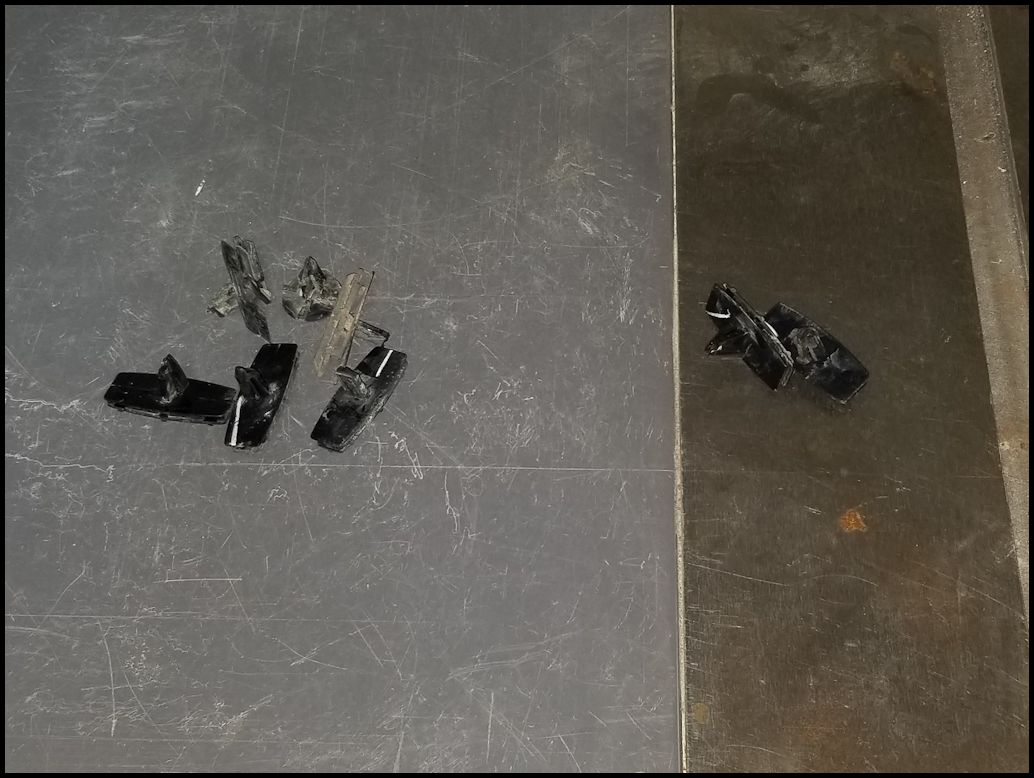
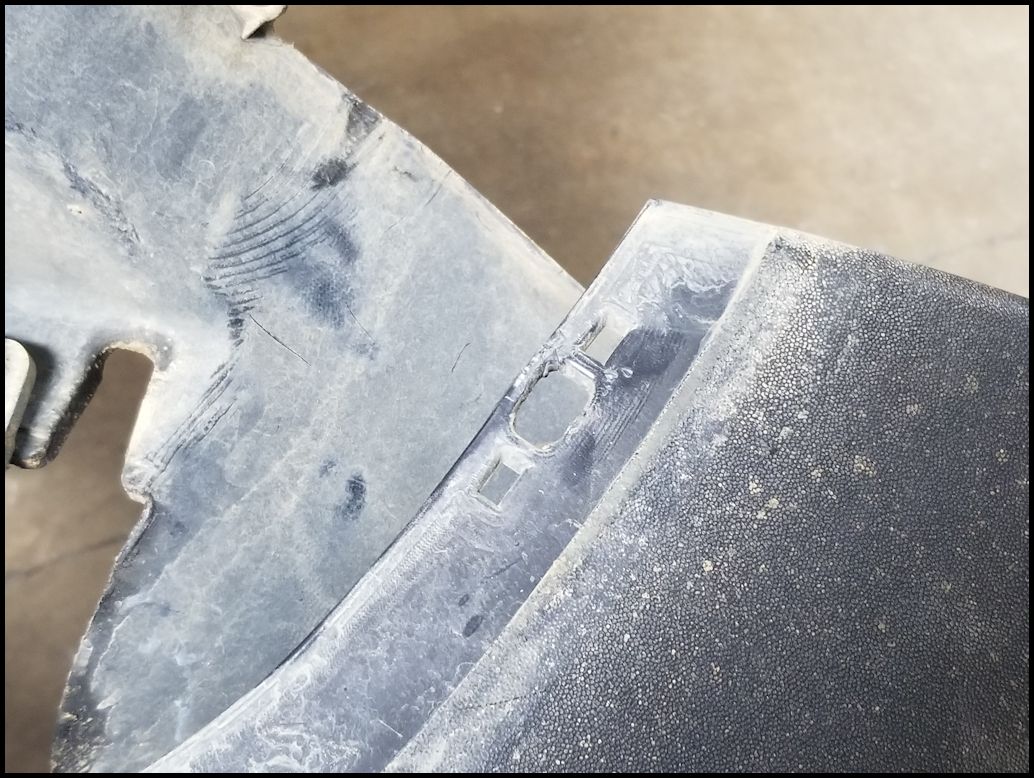
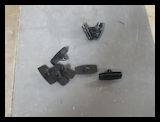
| Remove the broken clips from the fender and the body. You can try and slide a needle nose pliers up between the body panels and squeeze the tabs on either side of the push pin, or use a trim removal tool to pop them free. You can just throw these away, or try to reuse them if you don't have any spares. You will need to replace them eventually. |
 |
 |
 |
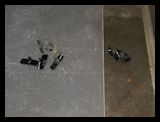 |
| Remove any of the good clips the same way. You can try and slide a needle nose pliers up between the body panels and squeeze the tabs on either side of the push pin, or use a trim removal tool to pop them free. |
 |
 |
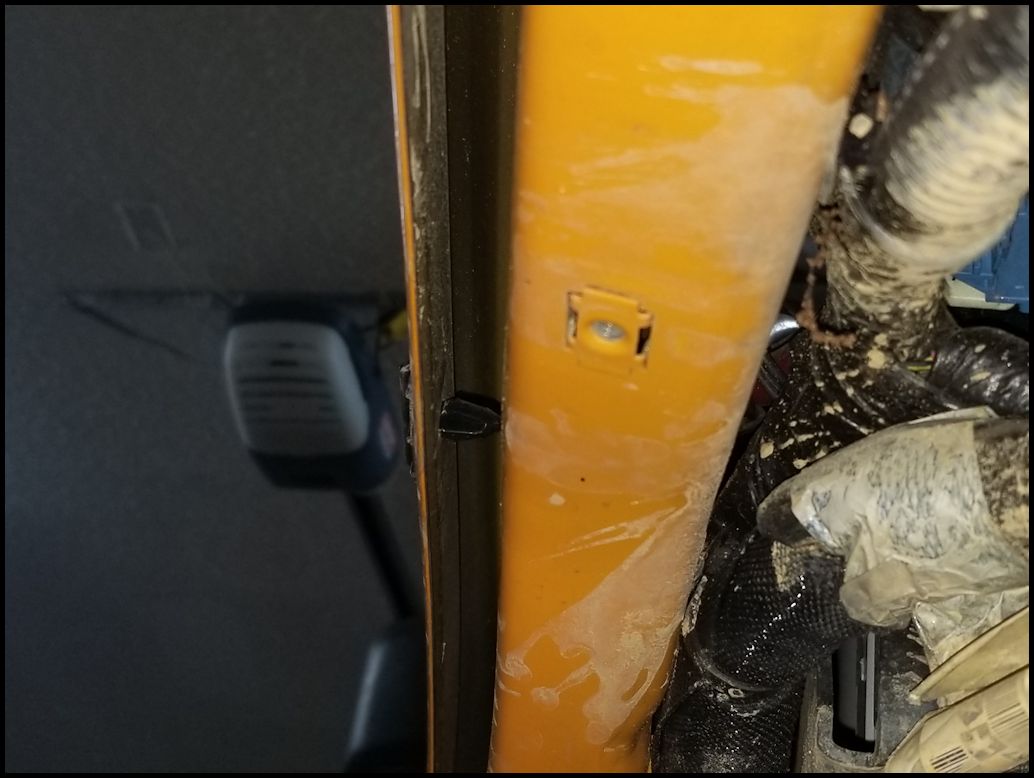
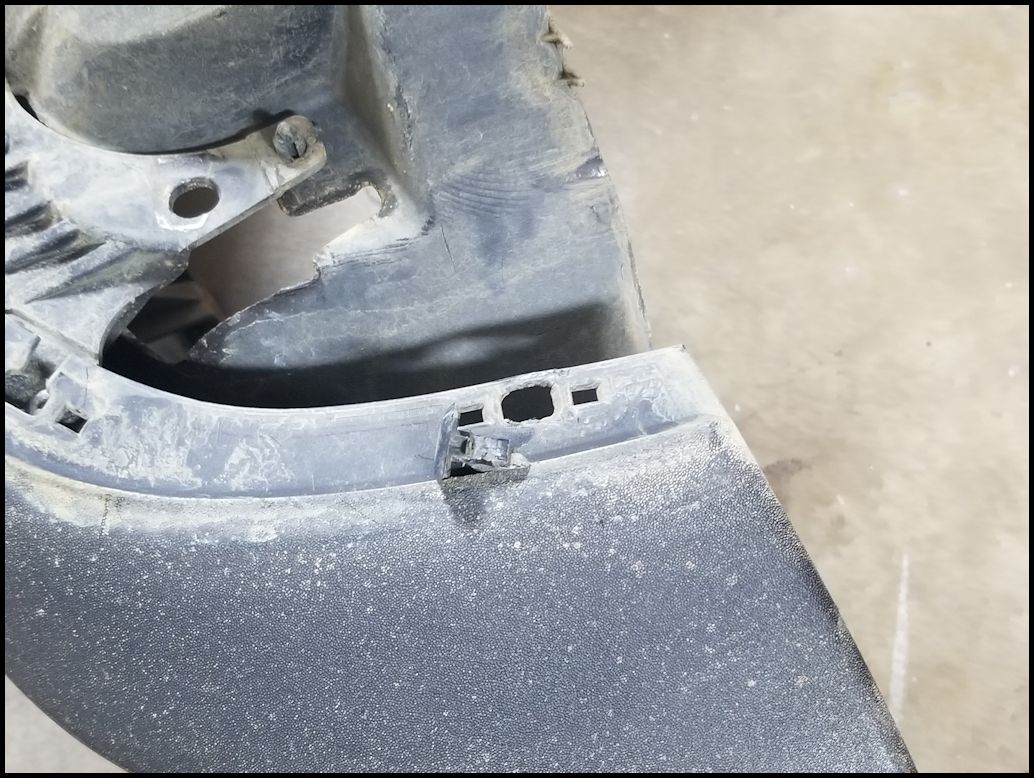
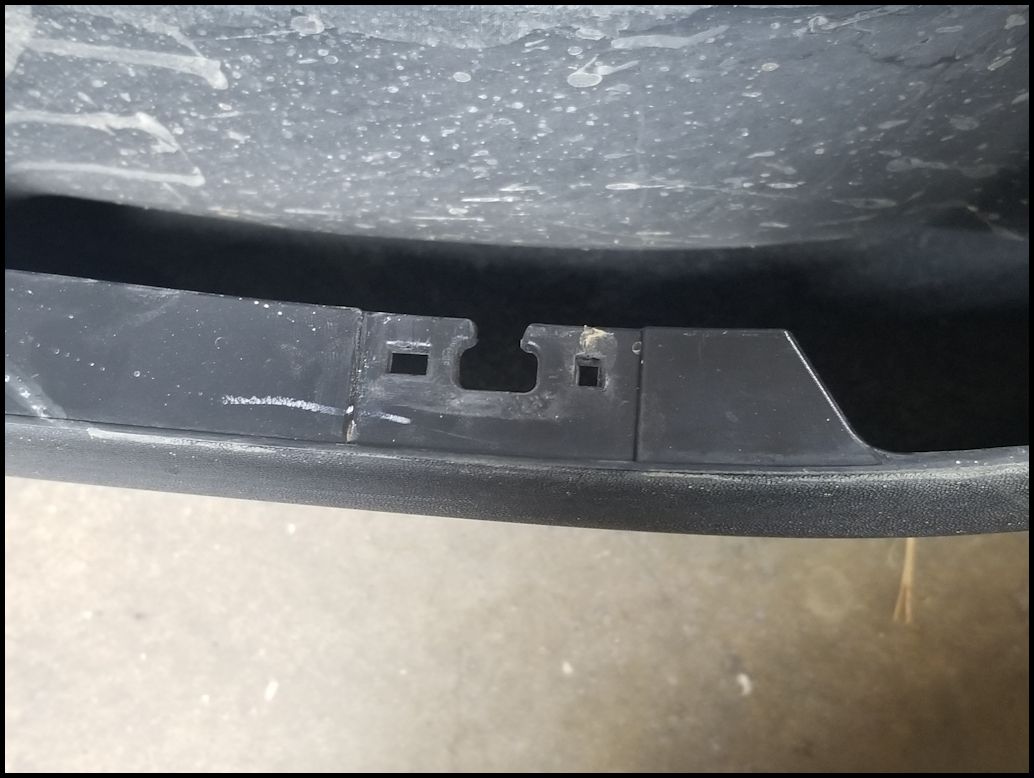
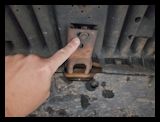
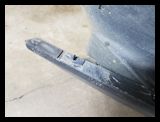
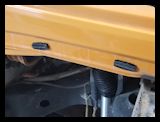
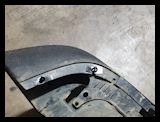
| The front lower corner didn't have a clip on this position. Instead it had a round headed push pin to hold it in position. I don't know when they changed this, but my 2007 had a clip in this position. You can see that the fender could hold a clip. I decided to clip the plastic and install a clip instead of ordering a different part. |
 |
 |
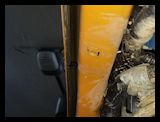
| I cut a notch in the front clip position so that I could slide a clip into it for reinstallation. I just used a diagonal cutter to cut the soft plastic. |
 |
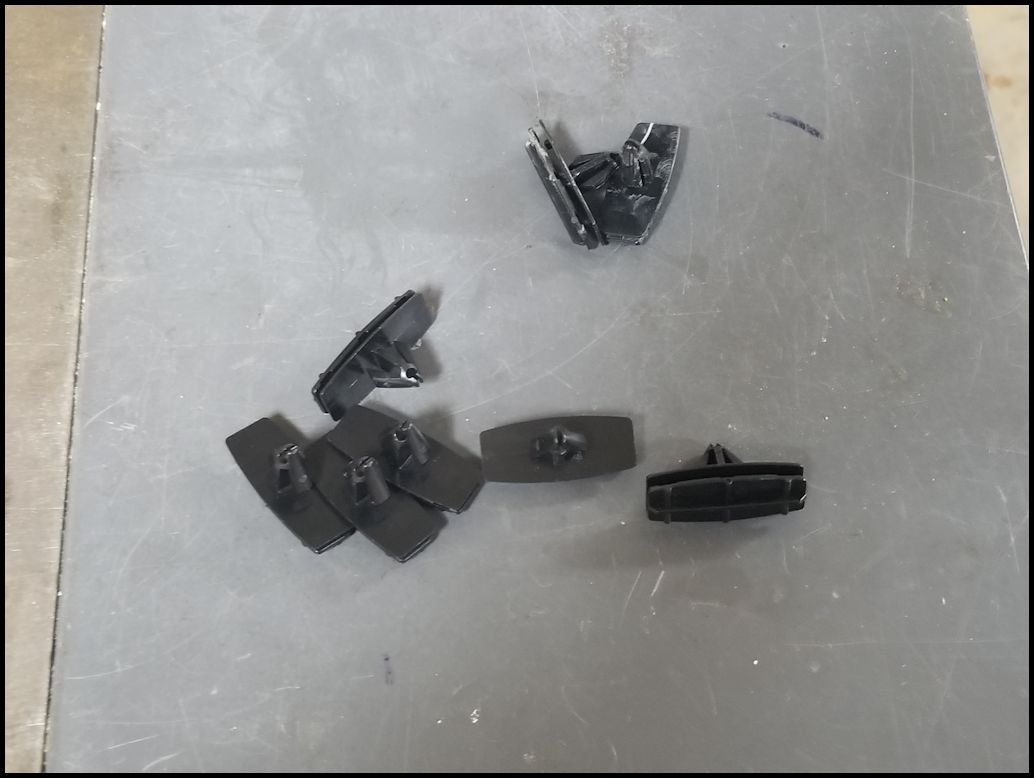
| Install the clips into the positions on the fender. The fronts have 8 clips. |
 |
 |
 |
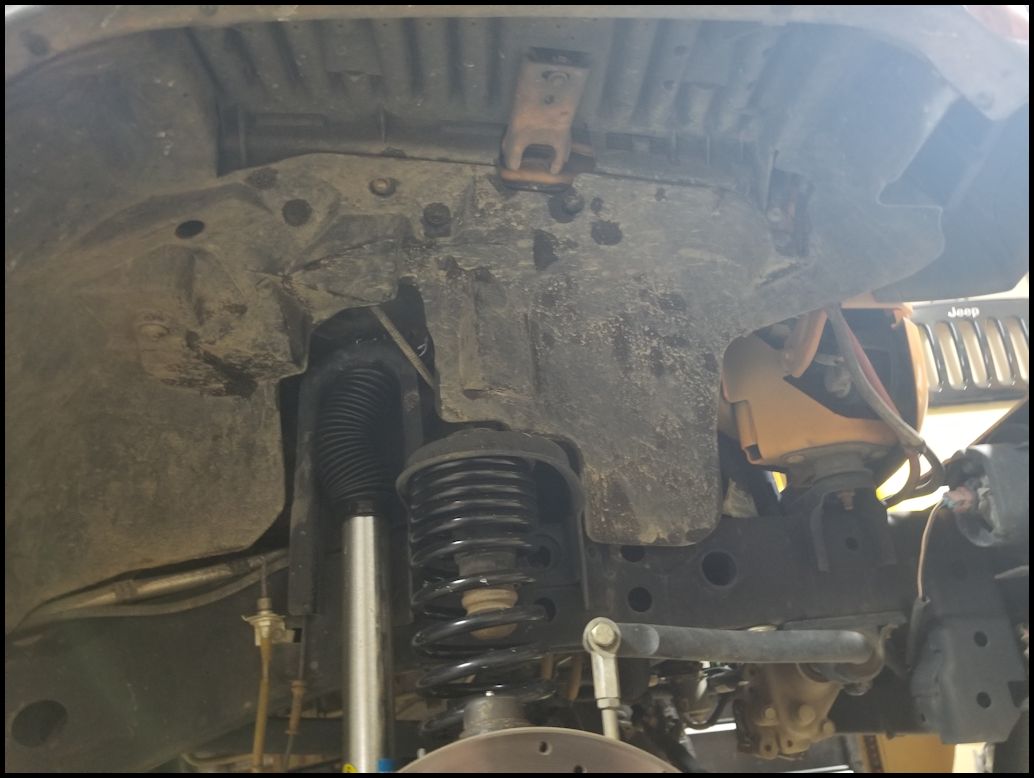
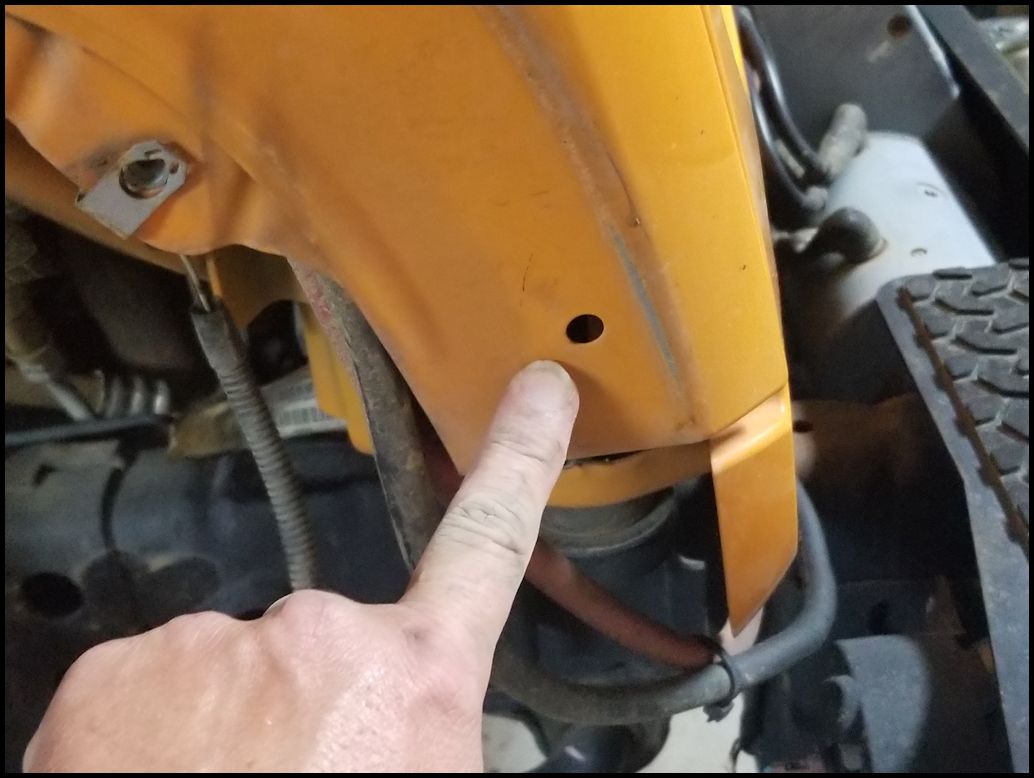
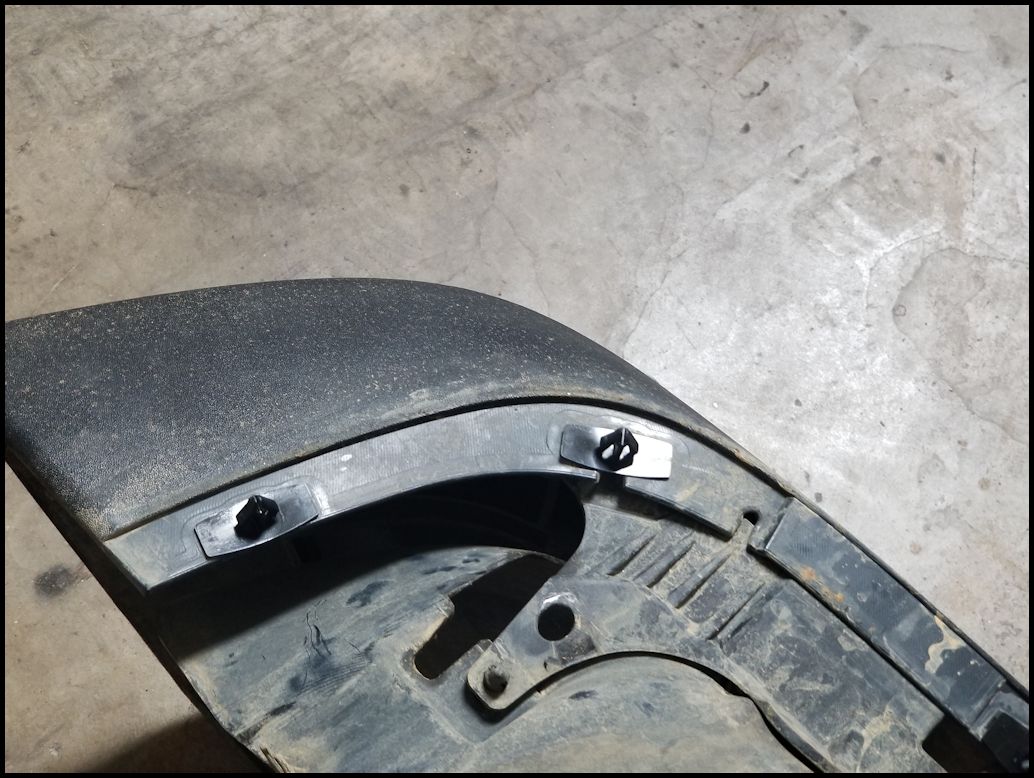
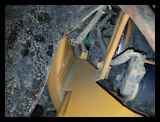
| Before you put the fender back on take the time to clean off the dirt and grime that has accumulated under the fender. |
 |
 |
| |
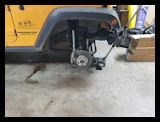
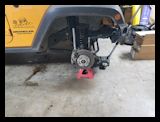
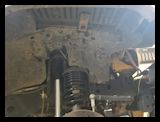
| O2 Sensor Removal and Installation: |
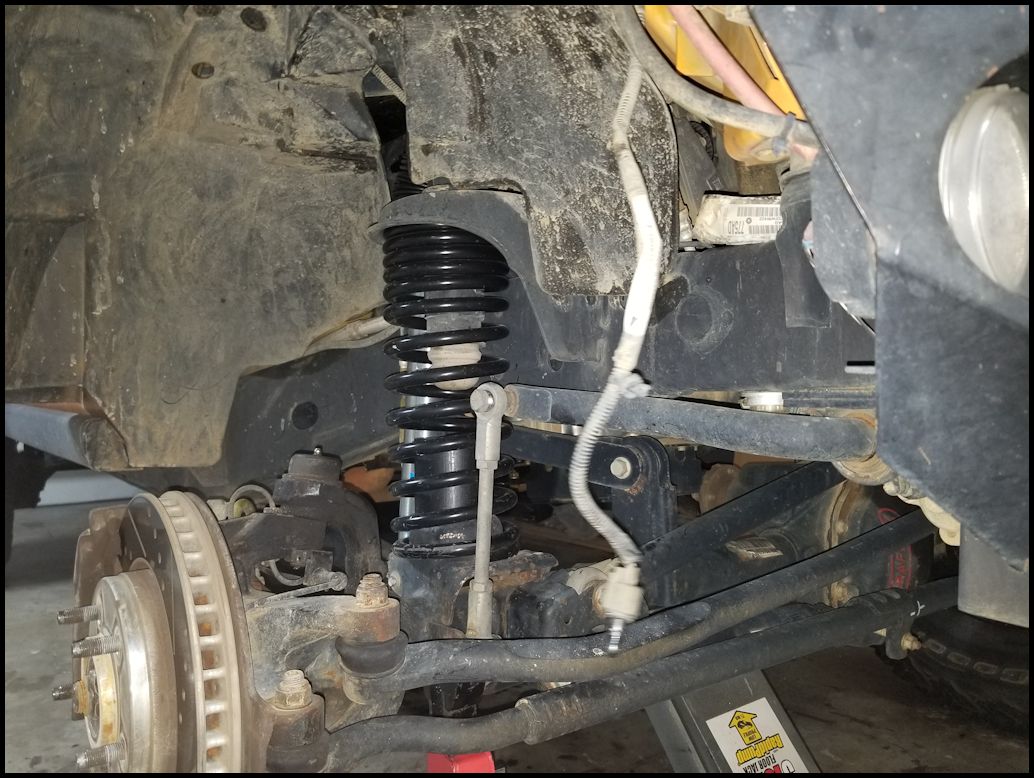
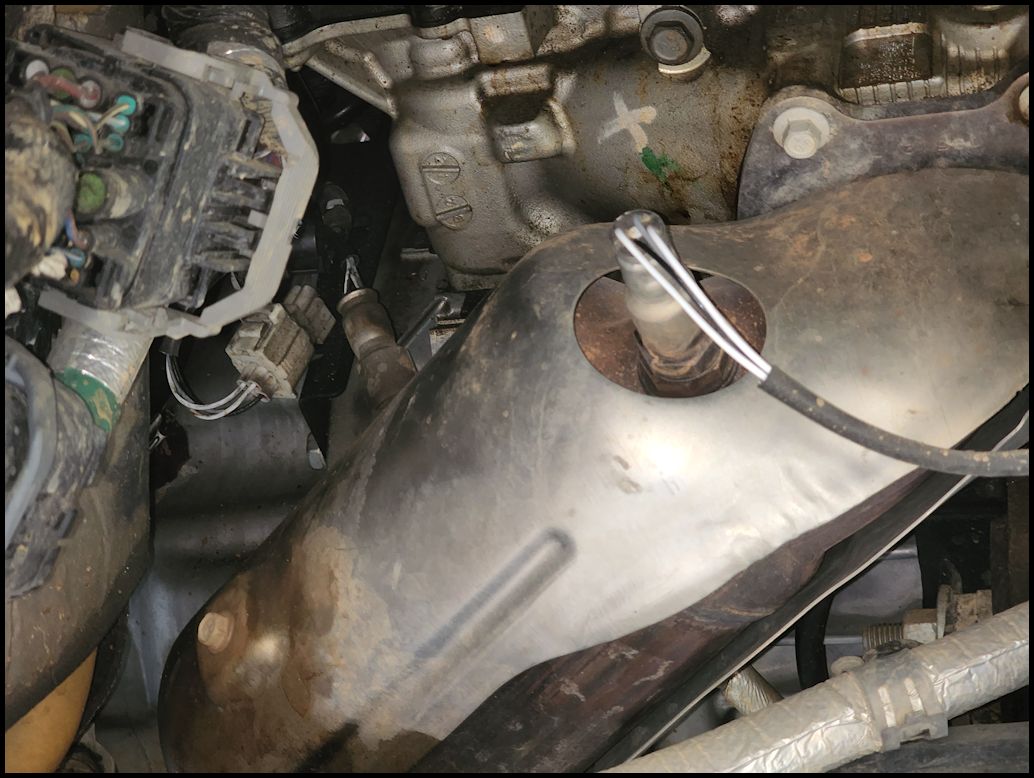
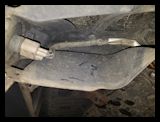
| Your Oxygen sensors are on both sides of the engine, before and after the catalytic converters. You have a bank 1 and bank 2. The banks are dependent upon the #1 or #2 cyclinders respectfully. #1 is front passenger side, #2 is front driverside of the engine. |
Bank 1 (Passenger Side)
|
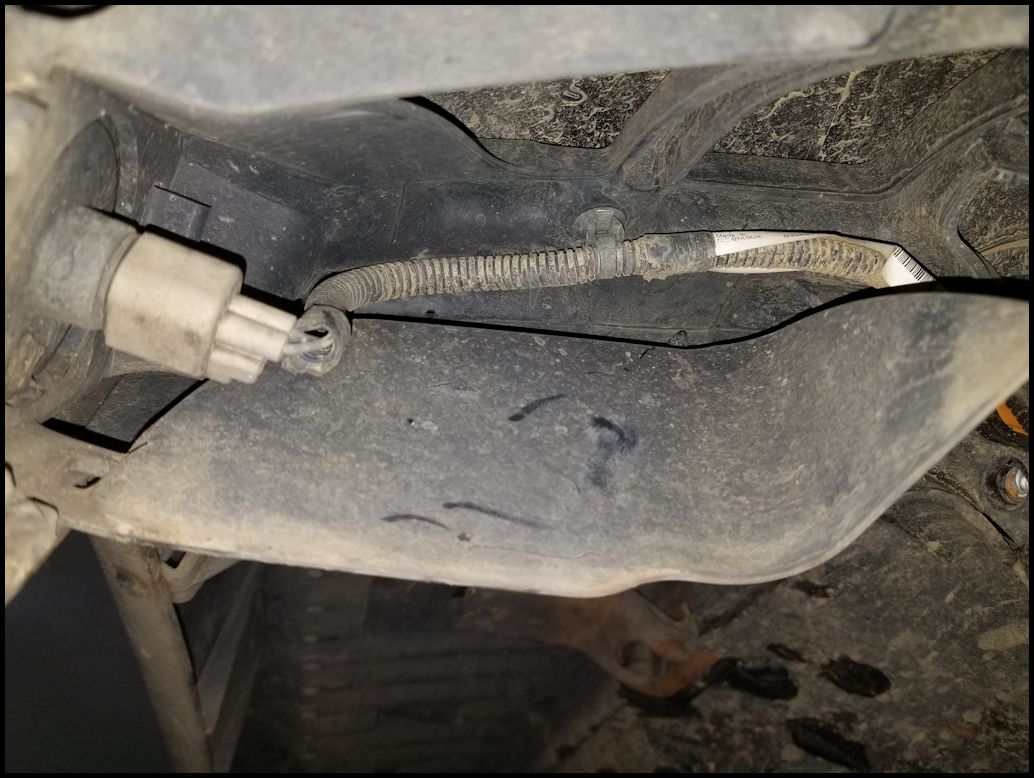
Bank 1 Sensor 1
|
Bank 1 Sensor 2
|
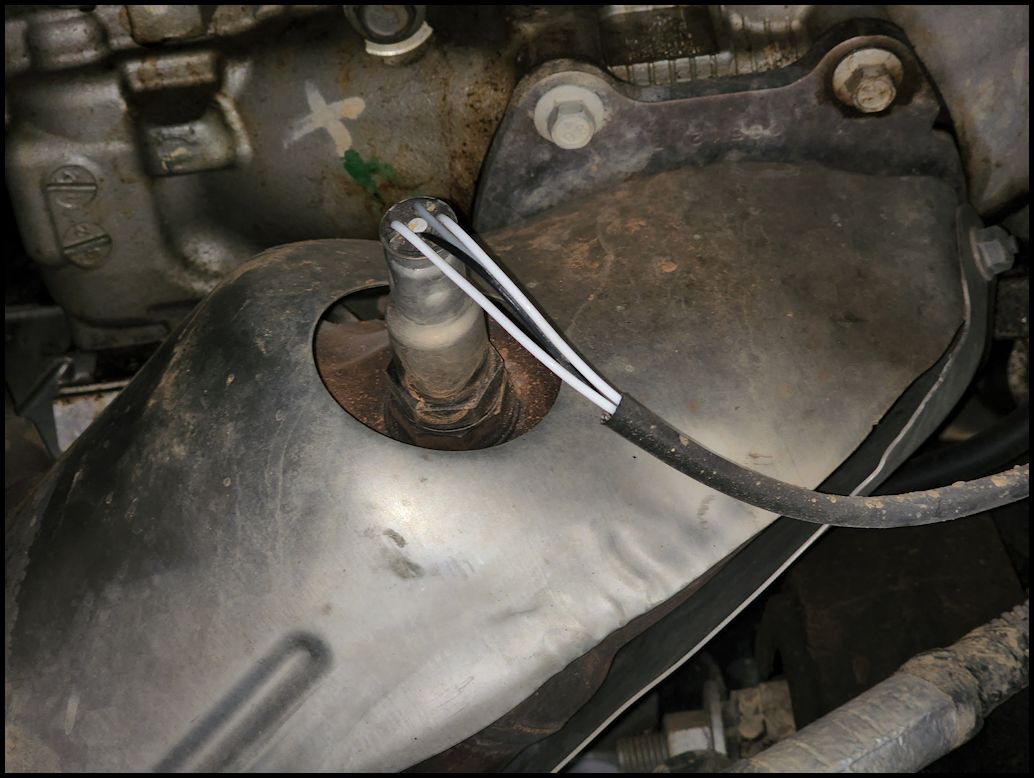
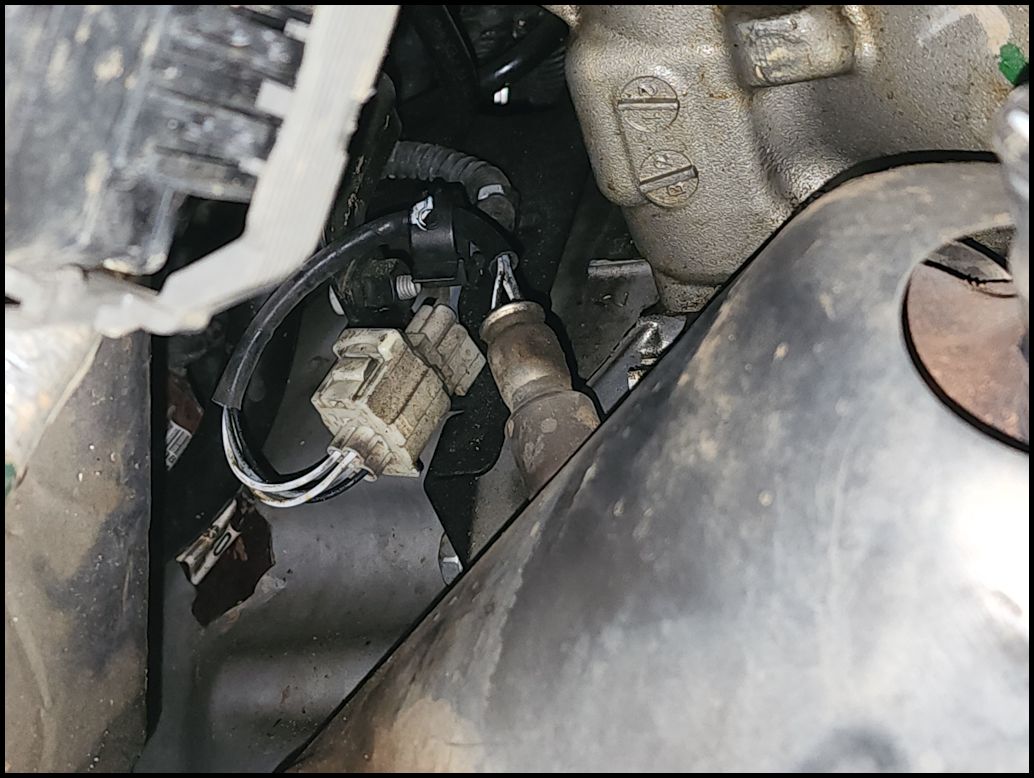
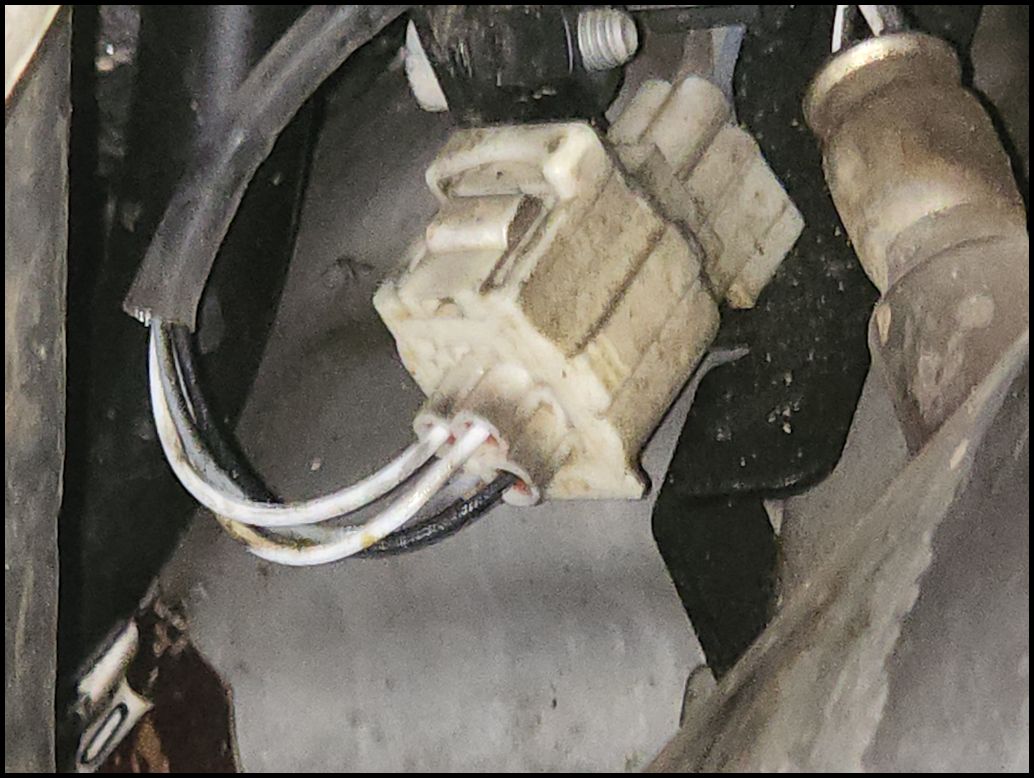
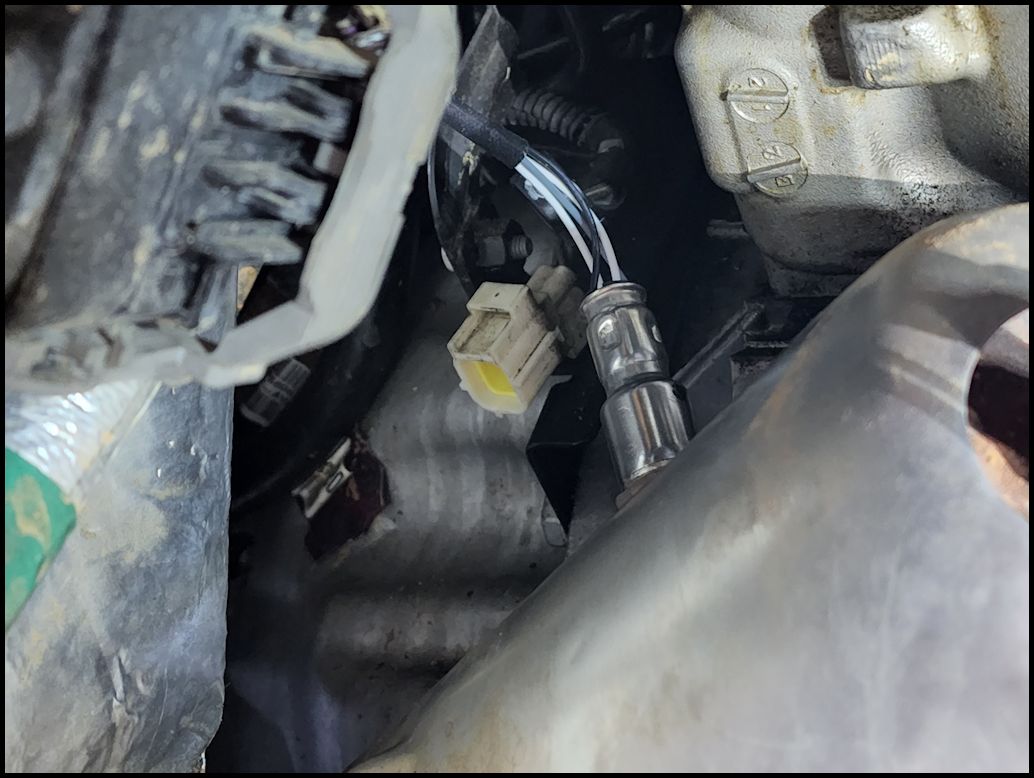
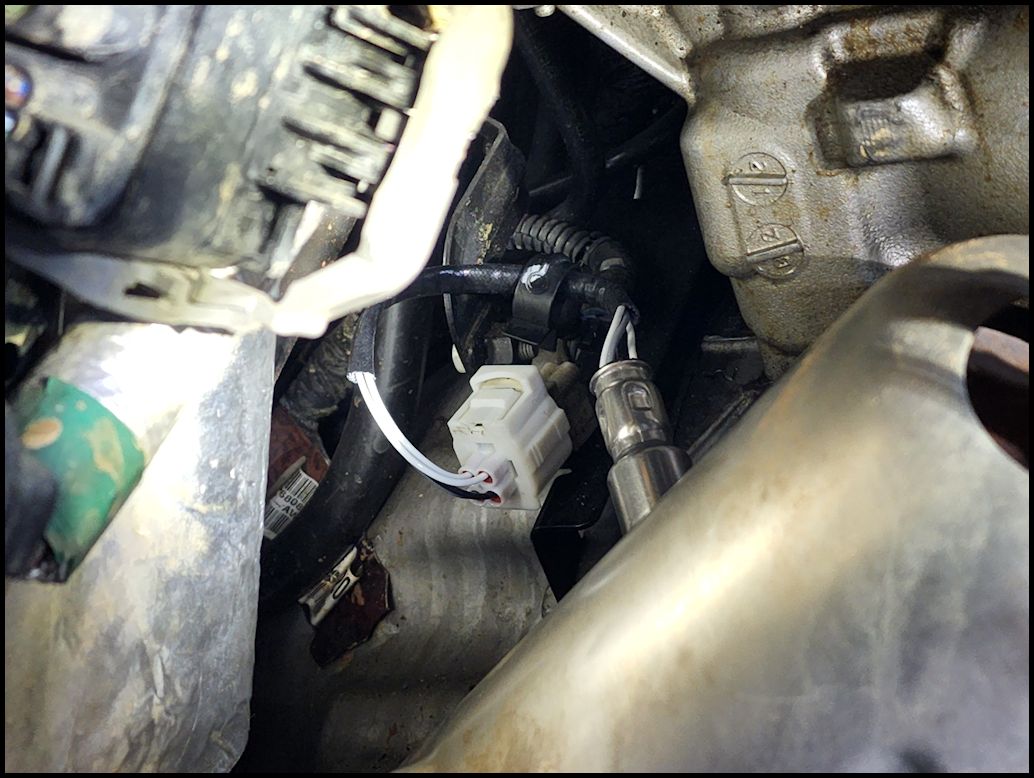
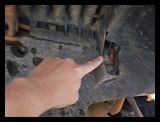
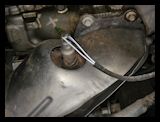
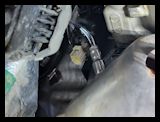
| 1. Disconnect the oxygen sensor from the wiring harness. Push down on the tab and pull the connector apart. I needed to get a small screwdriver in there to press down hard on the tab to get the connector to separate. There may be a tab holding the wire up and away from any parts, most of these are just a hook that the wire goes through and you can easily pull the loop out of the hook. |
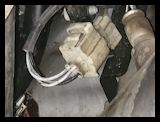 |
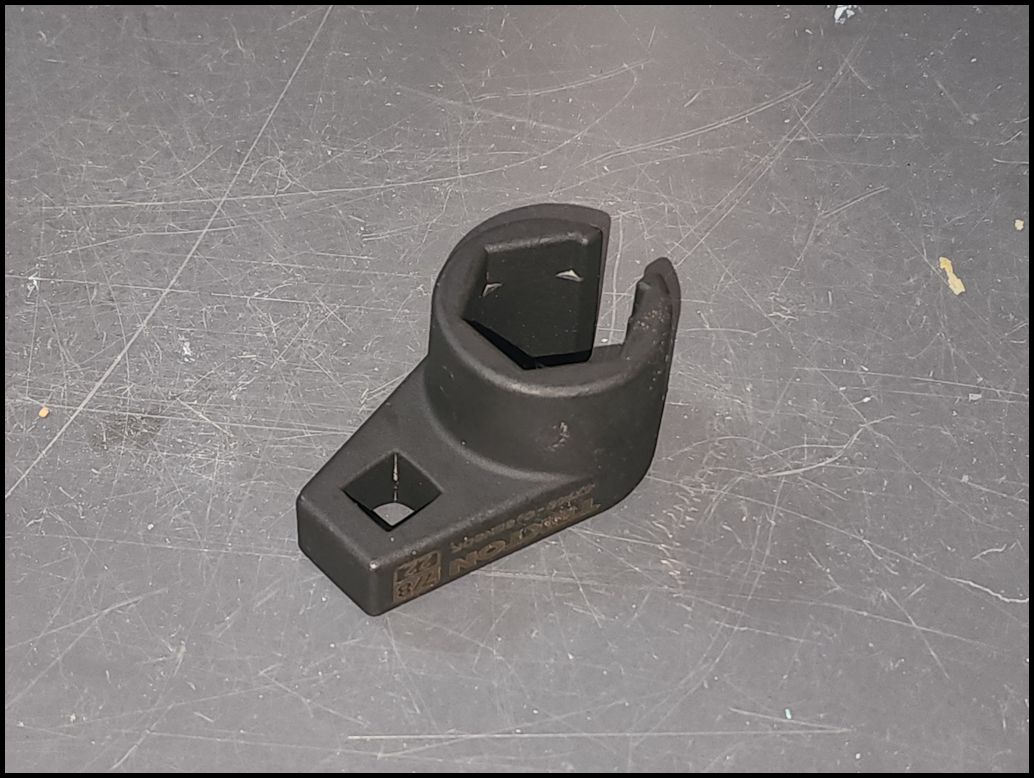
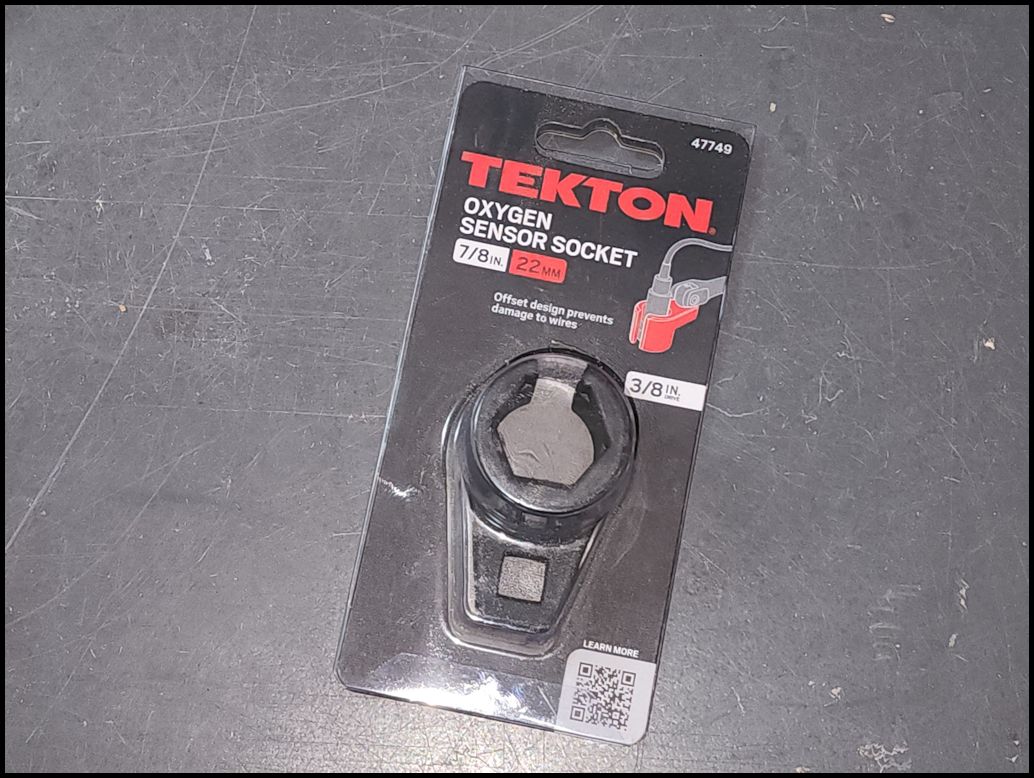
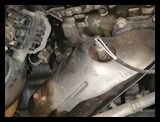
| I used a low profile 7/8" or 22mm Oxygen sensor socket from Tekton. I also needed an 18" adjustable head 3/8" ratchet or breaker bar. I wasn't able to get enough leverage on the sensor on the backside with any of the short ratchets. The adjustable head works the best. The sensor should be in fairly tight just due to the heating of the pipe. The new sensor only goes in finger tight + 1/2 to 3/4 turn, so not a lot of torque. It is a little scary taking these out since you push hard on the ratchet and then it suddenly pops and you can screw it out with your fingers. I have been able to get them out with the pipes cold and warm, but sometimes I have had to heat the pipes up to temperature to get them to come free, so I can't really recommend a best way to do this. |
 |
 |
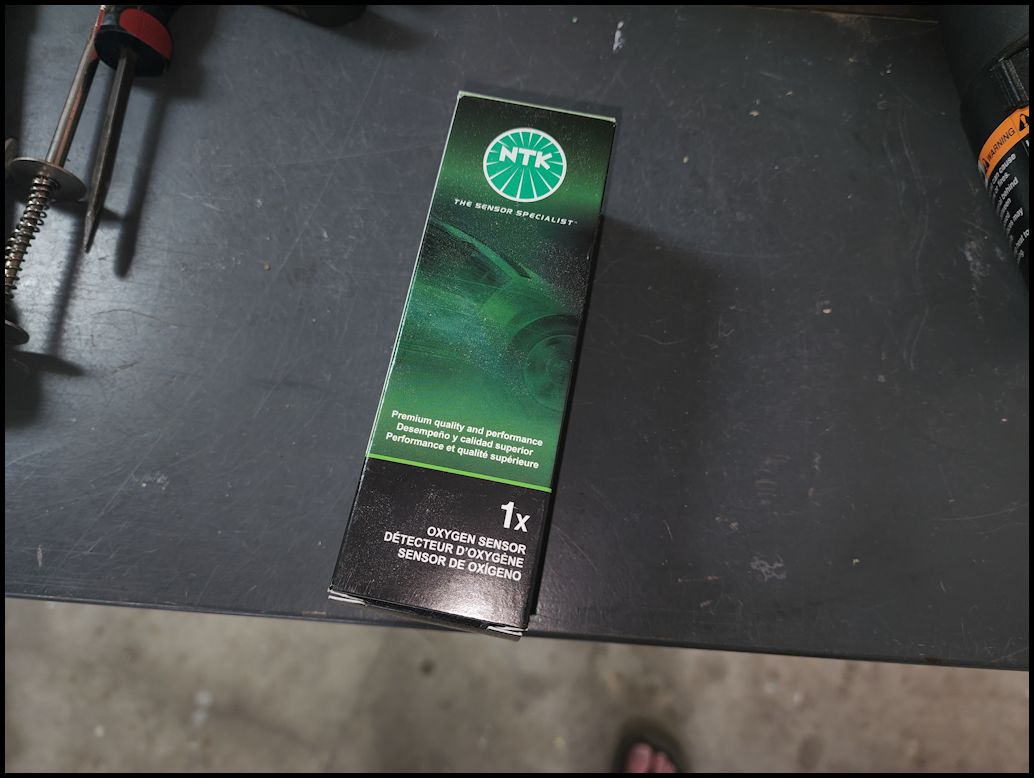
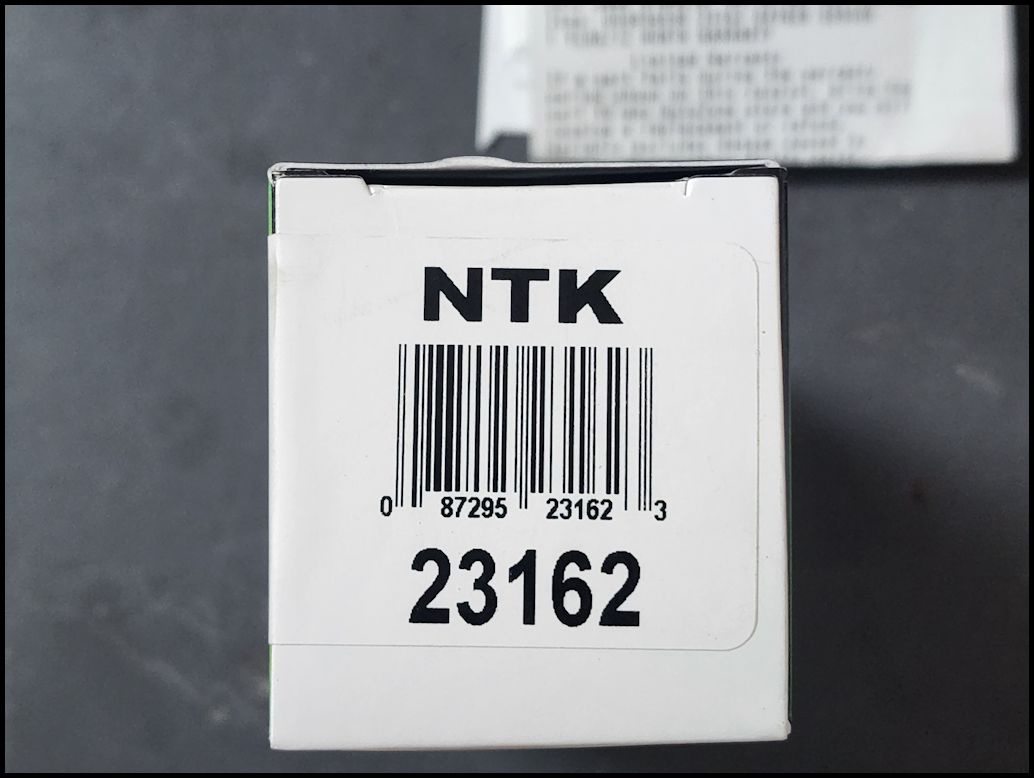
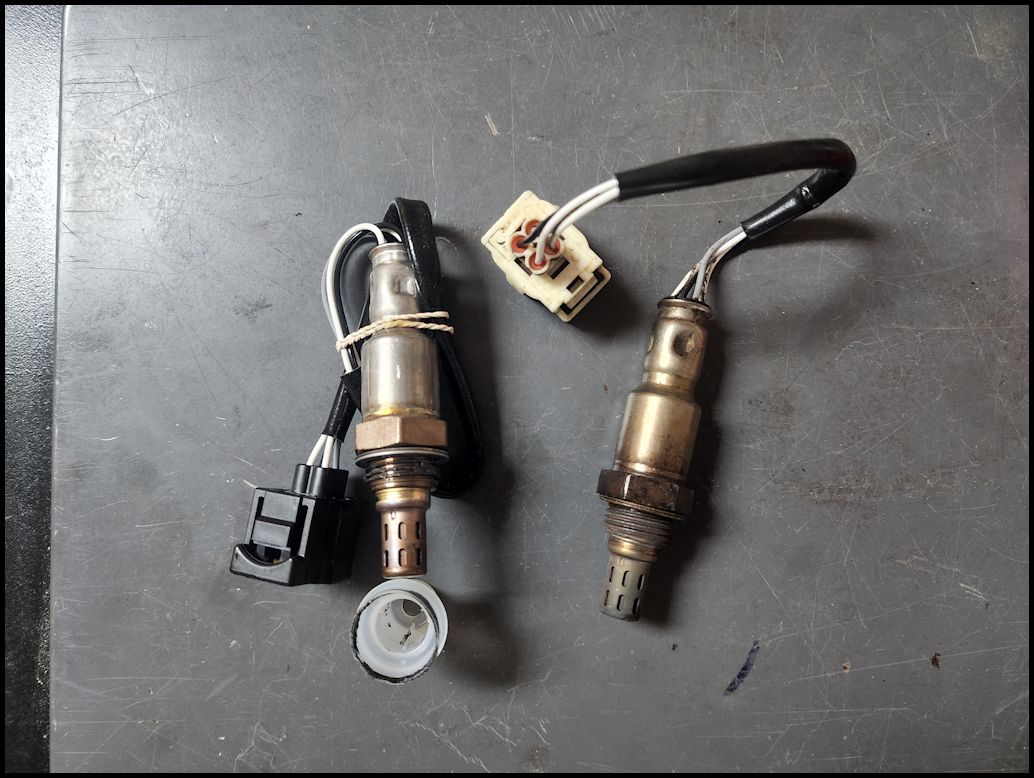
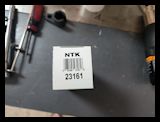
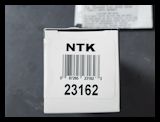
| The OEM sensor is an NTK. NTK Part # 23161 is Bank 2 Sensor 2 (the left side, driver), 23162 is Bank 1 Sensor 2 (right side, passenger). It looks like the Bank 1 is the same part #23162 for the upstream and downstream sensors and Bank 2 is the other part #23161. Check the connectors. I believe that NTK views the engine side from inside the vehicle vice in front. Frustrating on trying to find the correct part. |
 |
 |
 |
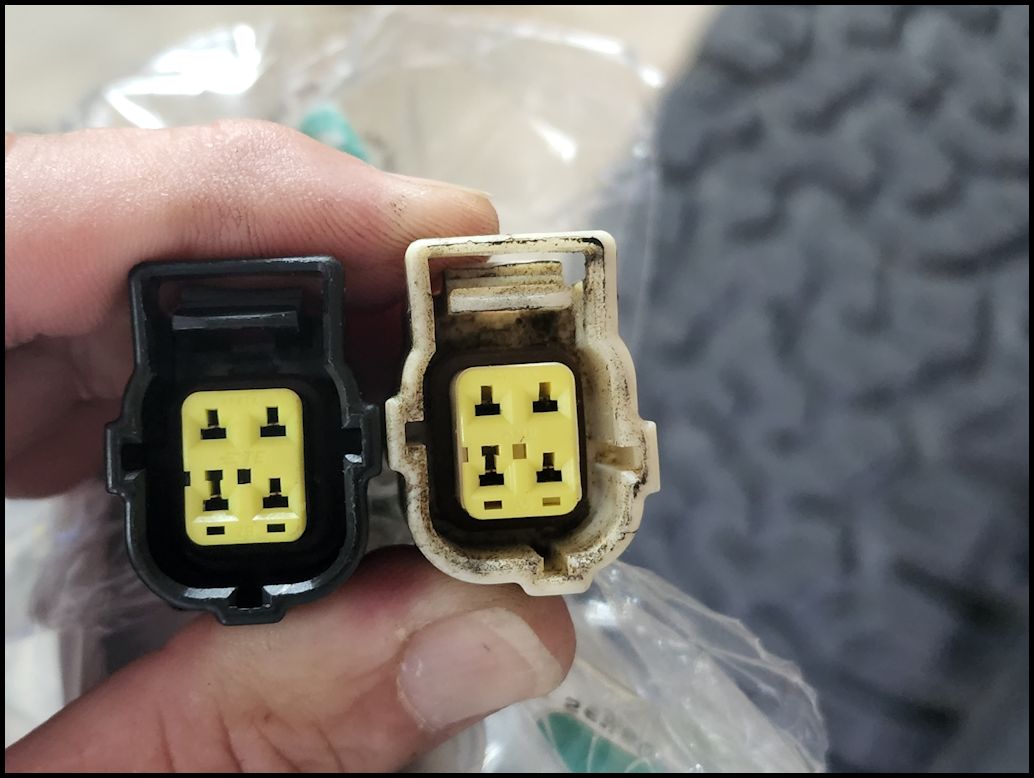
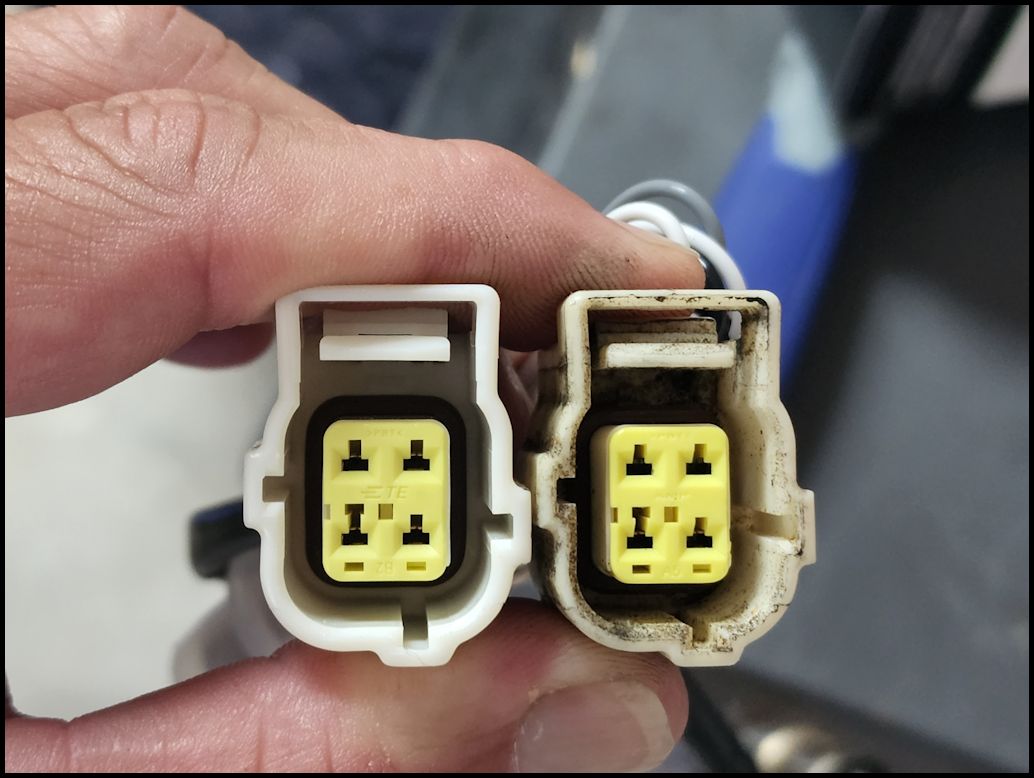
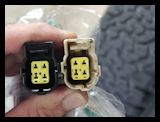
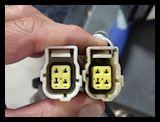
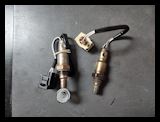
| You can see the difference in the connectors. You want to make sure the connectors are correct, otherwise they will not fit. Comparison between the (black) and the (white) connectors. |
 |
 |
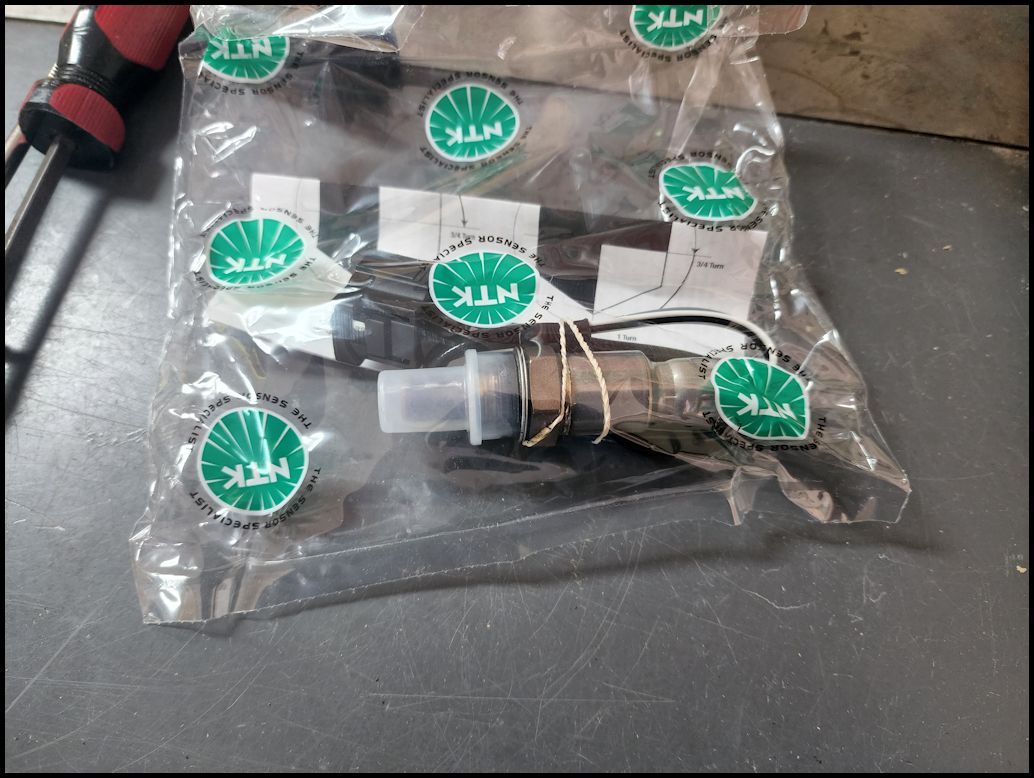
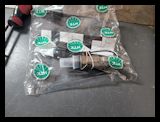
| Remove the correct sensor from the bag. The sensors should come with anti-seize on the treads already. Do not drop these sensors, you can damage the internals. |
 |
| Comparison between a new (left) and one with 96K miles (right). The bad sensor was giving me a voltage low check engine light code. |
 |
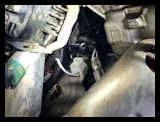
| Screw the new oxygen sensor in to the boss on the exhaust pipe. You will go finger tight at first. Check the instructions that came with our oxygen sensor. The NTK instructions say to tighten 1/2 to 3/4 turn after finger tight. |
 |
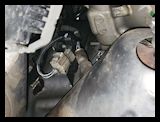
| Reconnect the harness by plugging it in and putting the wires though the loop to hold them away from any hot surfaces. |
 |
| |
|
|
|
| |