I wanted some protection on the back corners. They seem
to attract all sorts of manner of rocks, trees, and even shopping carts
at times. I didn't really want something that wrapped around the entire
side of the Jeep either. Now I already had the Rokmen sliders for the
side of the jeep and I knew how stout they were. So I looked to Rokmen
again to provide me with some armor for these corners. The Rokmen corners
come predrilled for everything which is an added bonus.
The Rokmen instructions are very good for this installation.
I have broken it down a little more than their’s, but I have used
most of their directions. I painted my corners and tailgate spacers before
the install, and had to be very careful not to scrape and scratch them
up to badly. I only did this because I wondered if I could do it painted.
I recommend waiting a painting them after you do your drilling if you
have the time. Otherwise, use some type of protection on the clamps.
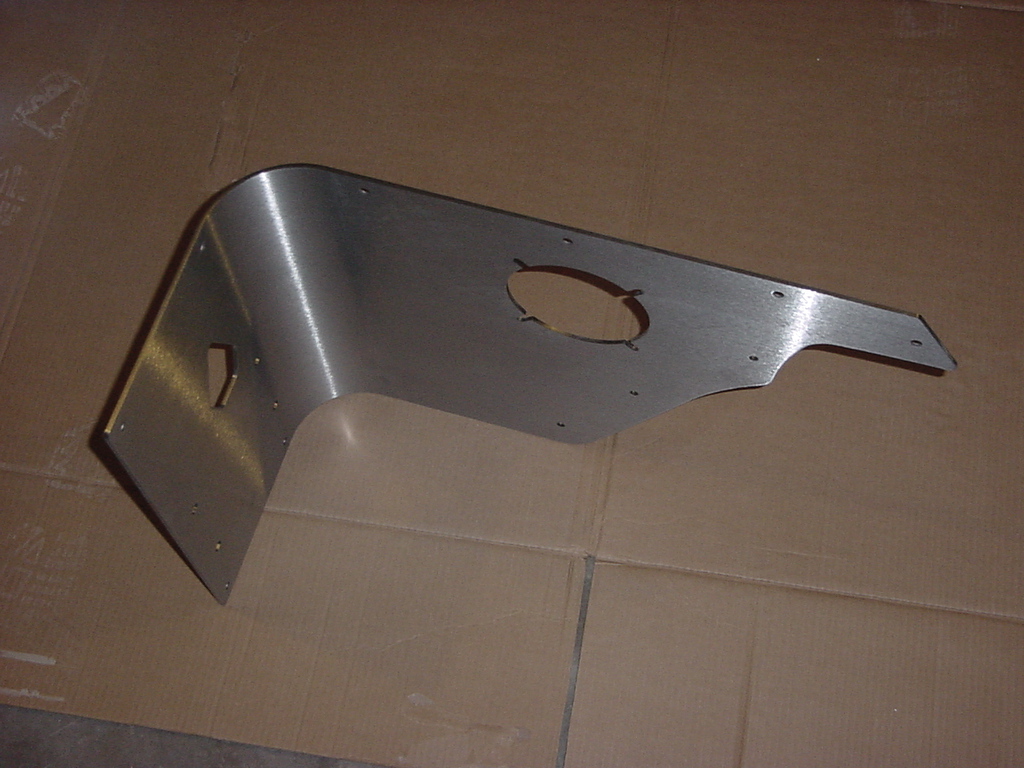
Preparation: |
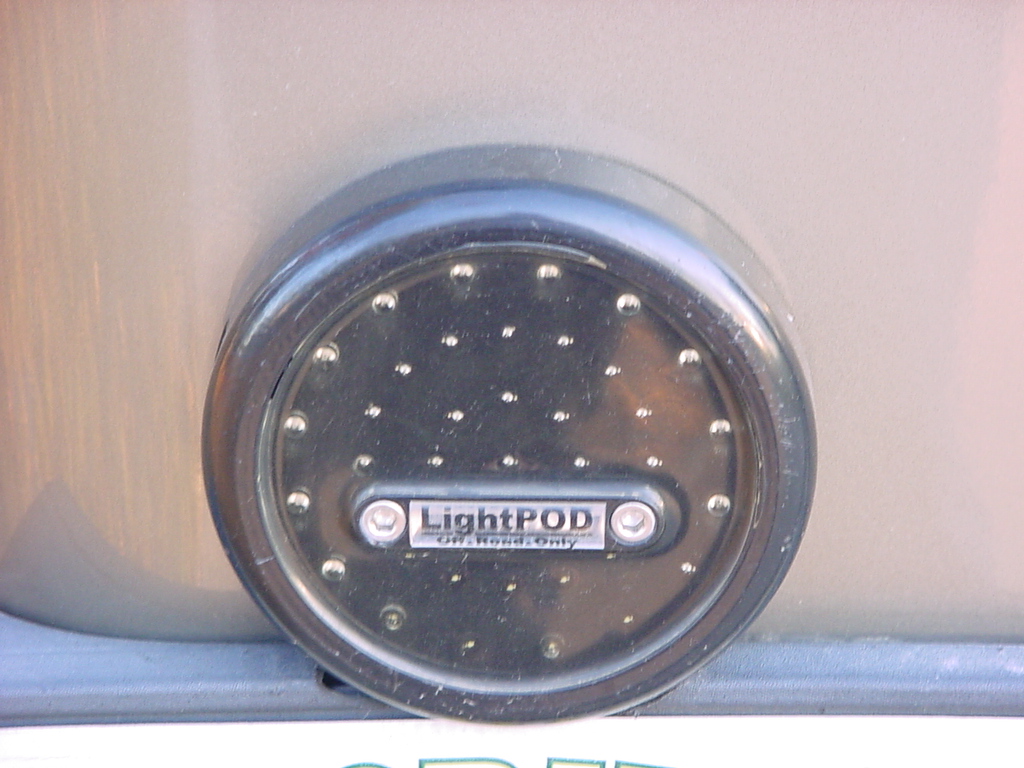
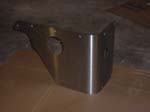
These
things look so nice, I almost wanted to just put them on like this,
but I could just imagine the comments about Bling. Let alone how
fast they would rust out. |
 |
 |
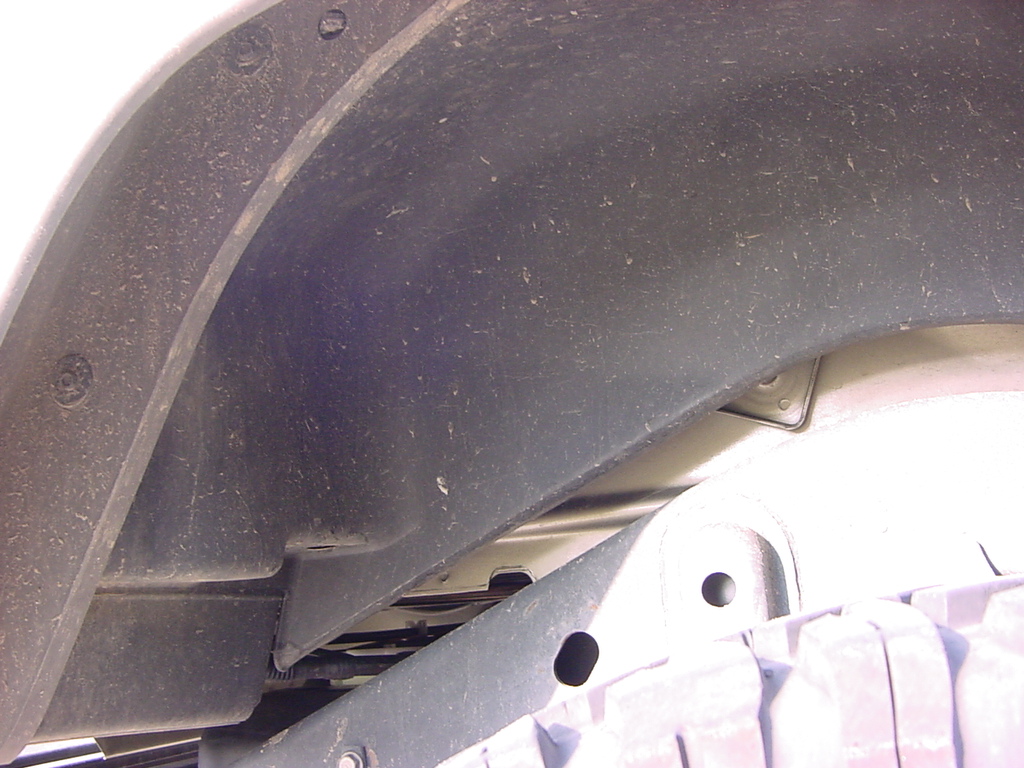
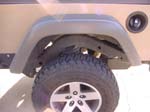
1.
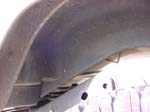
Remove both inner fender liners. There are 7 push fasteners holding
these in. Easiest way is to use a pair of angle needle nose pliers
to hold and lever them out. Remove the liner by just pulling out
on the bottom and pushing the top inwards. The top is held in by
2 prongs through the body. Once the liner drops out you can just
pull it up and over the tire.
|
 |
 |
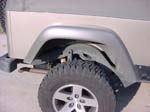
2.
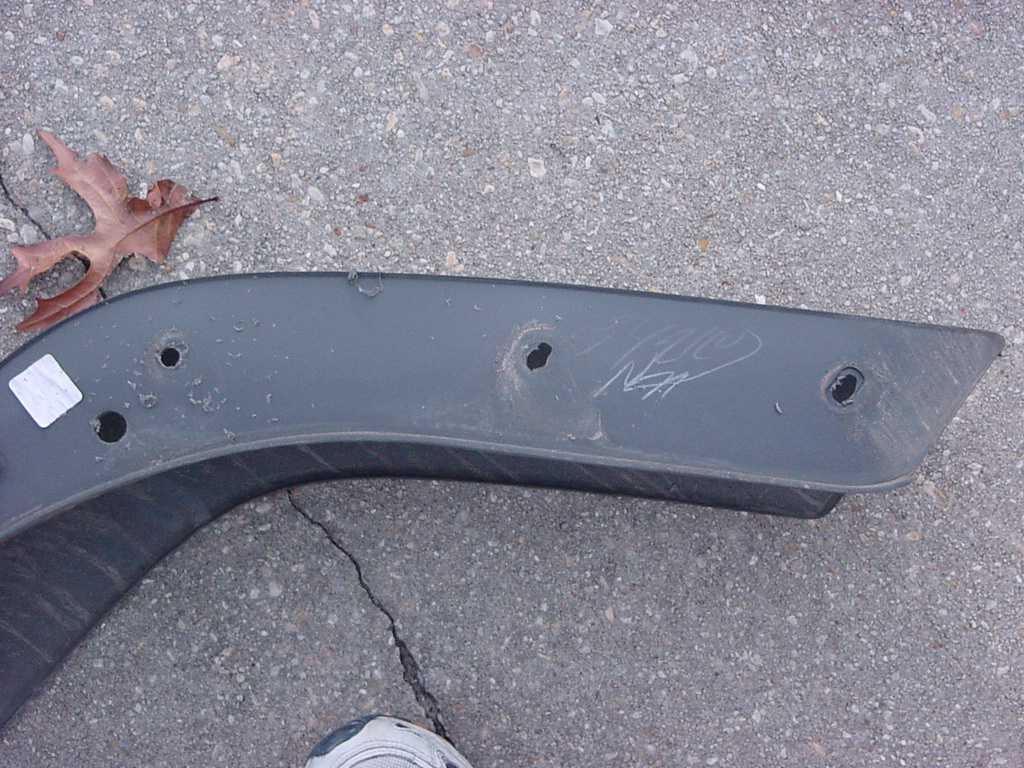
Remove both rear flares. These are held in by bolts and plastic
nuts (in some cases). Use a 5/16” socket or combo wrench to
get these out. I had a ratcheting box end that worked well.
|
 |
 |
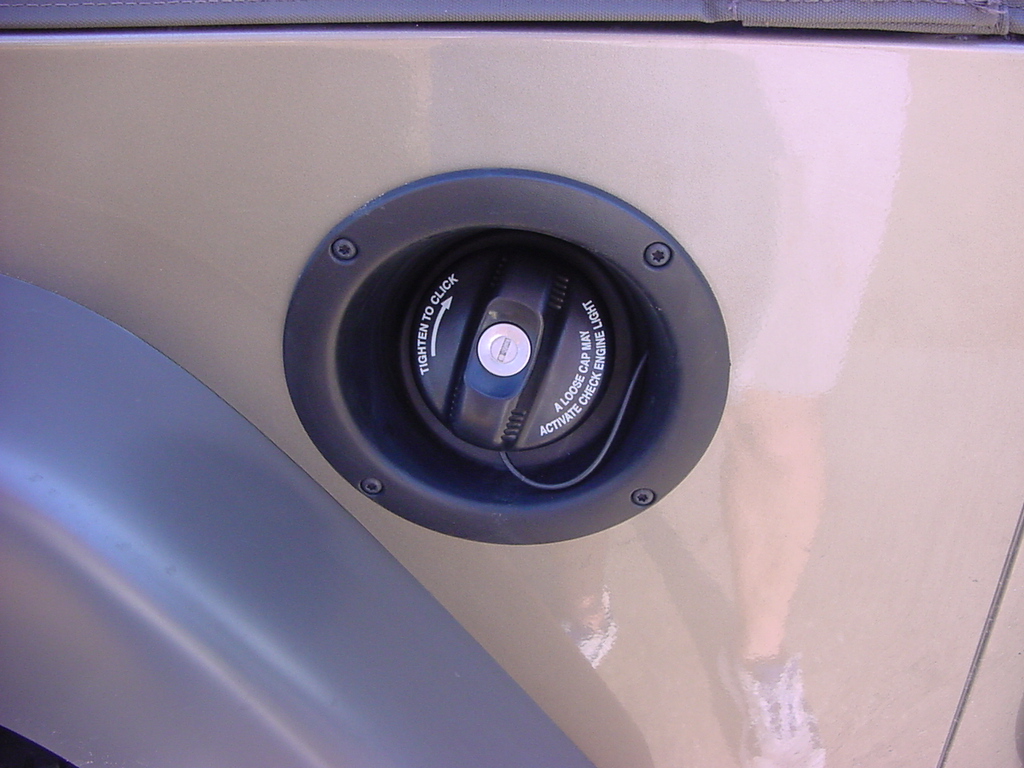
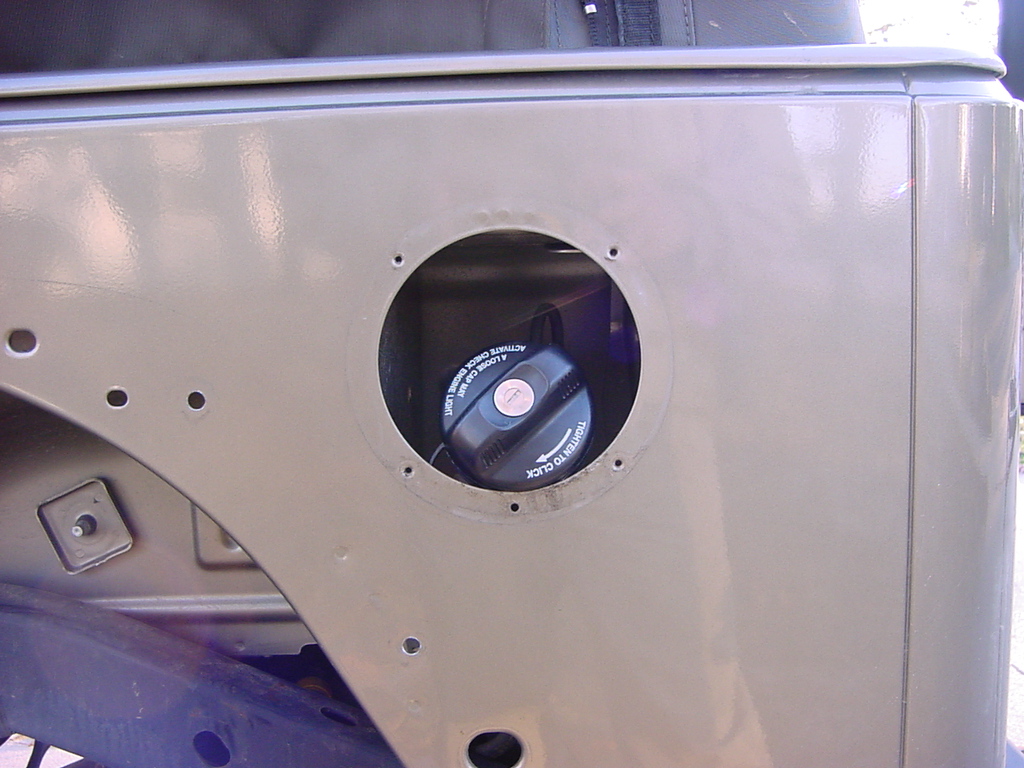
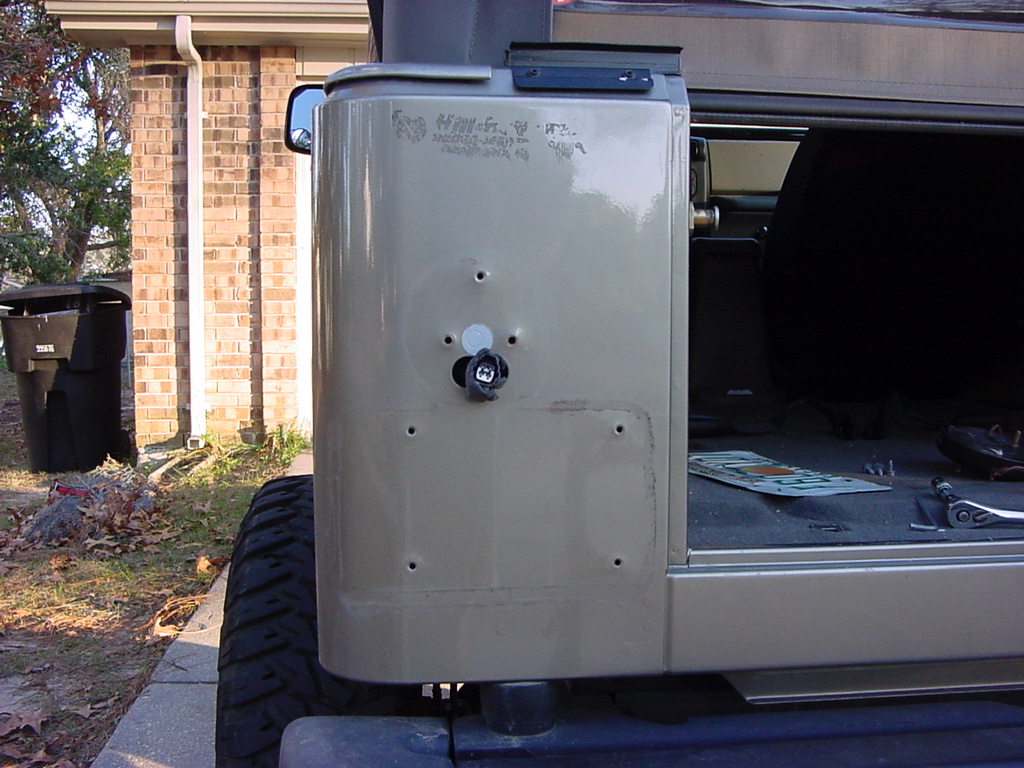
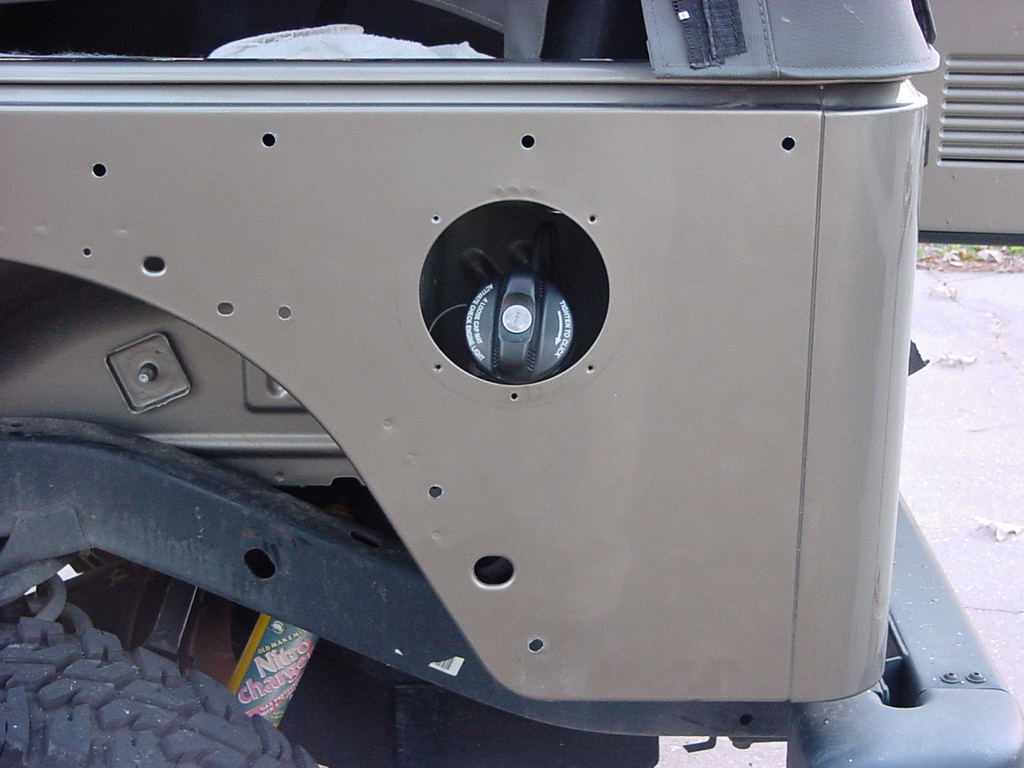
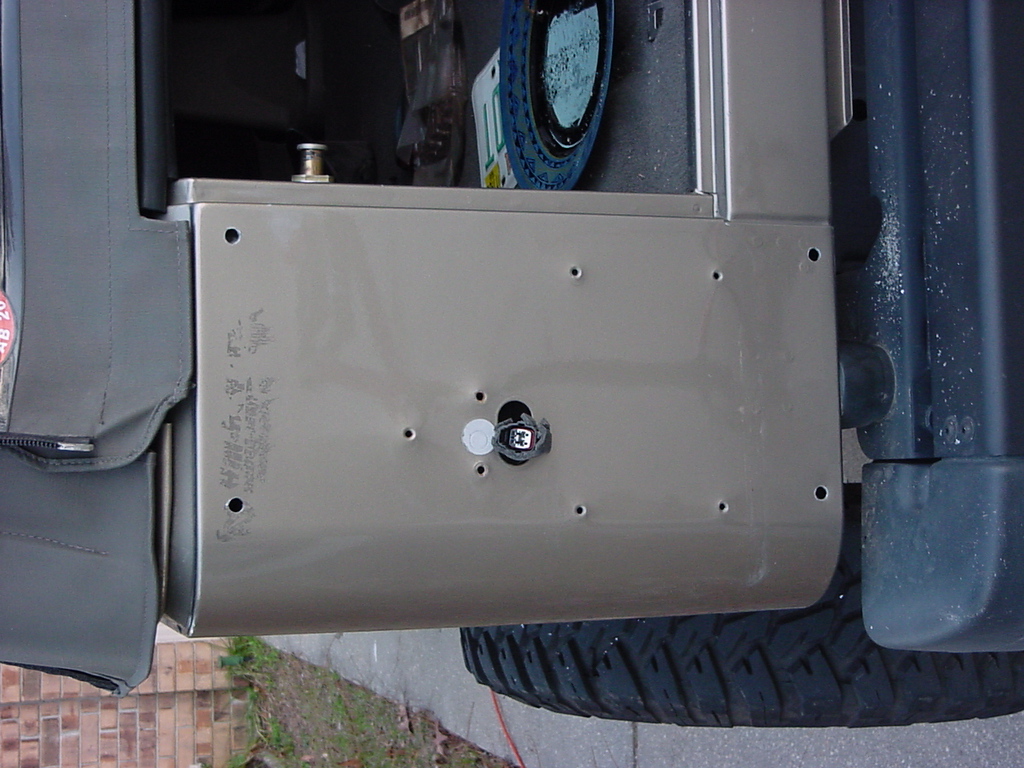
3. Remove the gas tank filler
housing. Some of these have Phillips head screws others have T-22
Torx screws. You will need to remove the cap to access the 4 bolts
holding the fill hose to the housing. Be careful. Remember to put
the cap back on the filler neck to prevent anything from going down
the neck. |
|
|
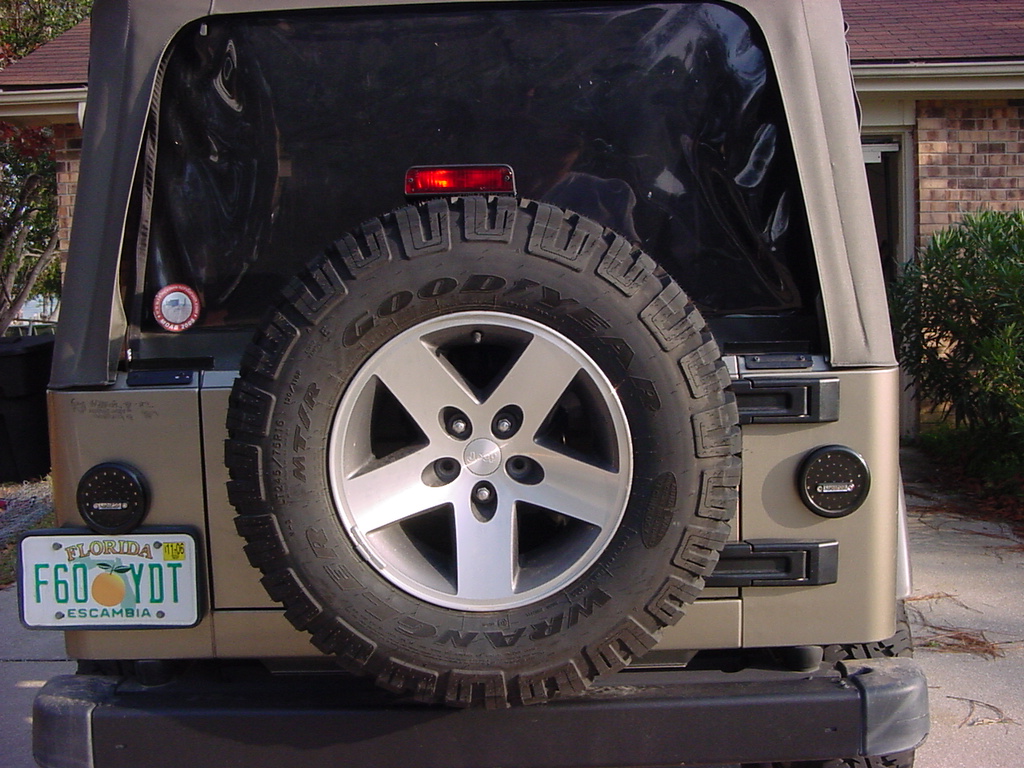
4. Remove the spare tire.
This is a good time to figure out where you put the key for the
spare tire lock. I waited until later to pull the tire and decided
that it's easier to pull it early. |
 |
 |
5. I recommend that if you
have a soft top, to just remove the side and back windows, and unclip
the rear corners and flip them up so that you have plenty of working
room. For hard tops, you can do this without taking the top off,
it’s just a little more difficult. |
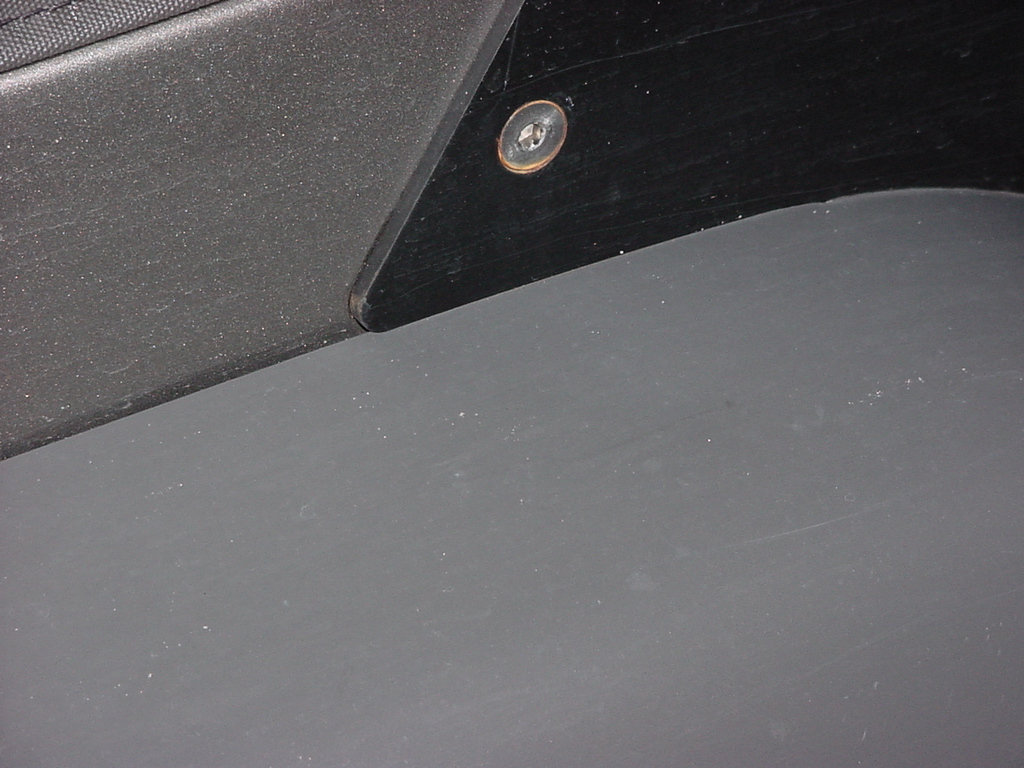
6. Unclip the hardtop electrical
line from the driver side of the body. You will be drilling really
close to this and don’t want to hit it. |
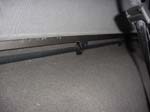 |
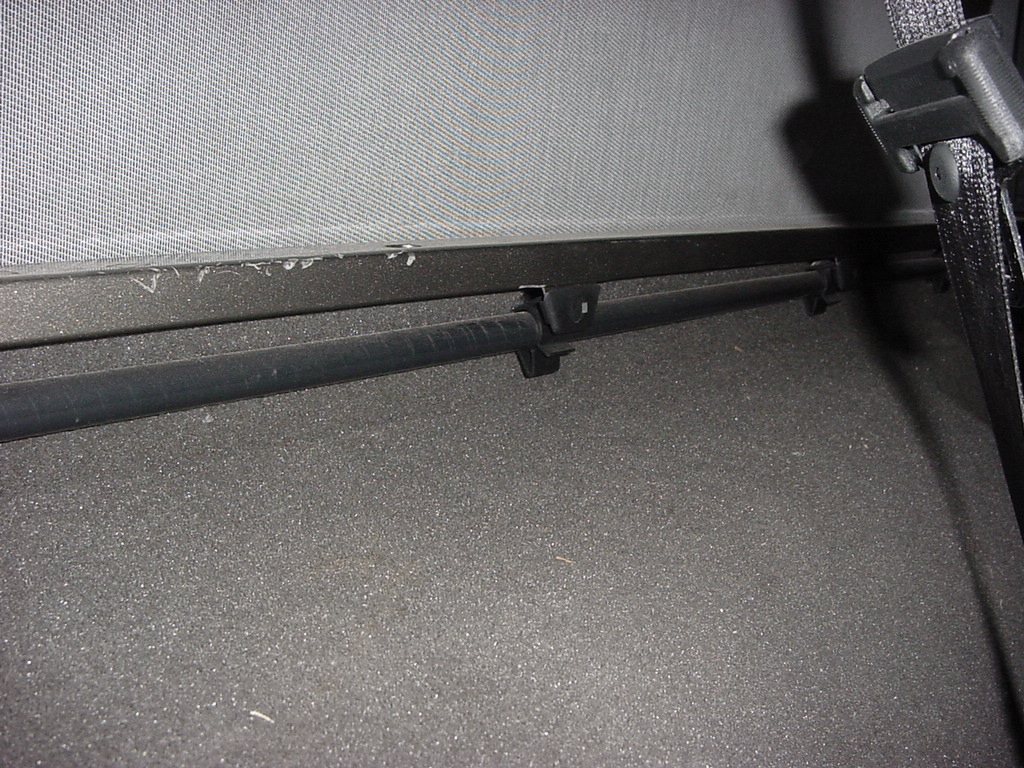
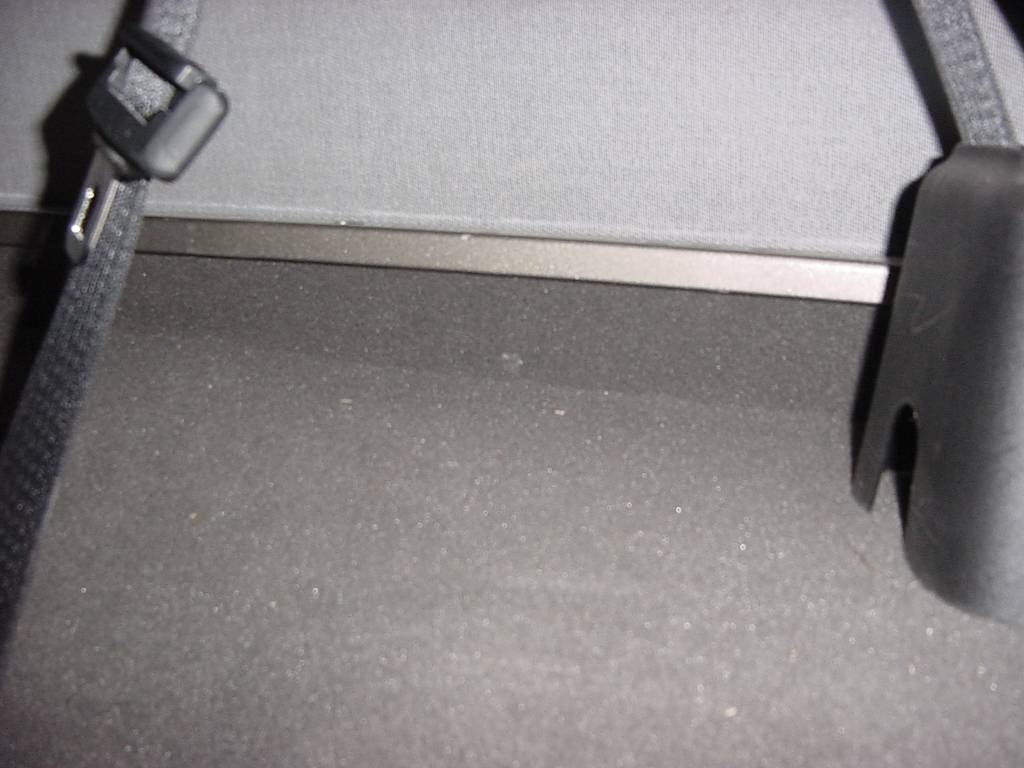
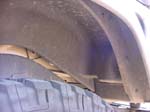
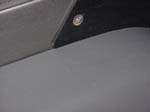
7. Pull the carpet away
from the outside edges of the body tub, otherwise if you drill through
the carpet it has a tendency to ball up on the tip of the drill
and you can’t get the drill back out of the hole. Don’t
ask….. |
 |
8. Remove the rear taillights.
Remove the lens by removing the 4 Phillips head screws. You may
need a flat tip screwdriver to carefully pry the lens out of the
housing. Once you have the lens out, remove the 3 bolts holding
the housing to the body with a 10mm socket and extension. |
|
|
9. Now, carefully pull out
the wire for the taillights and unhook the connector. If you cannot
pull the connector through the hole in the body. You will need to
temporarily reattach the light with a bolt and reach up from underneath
and unhook it. |
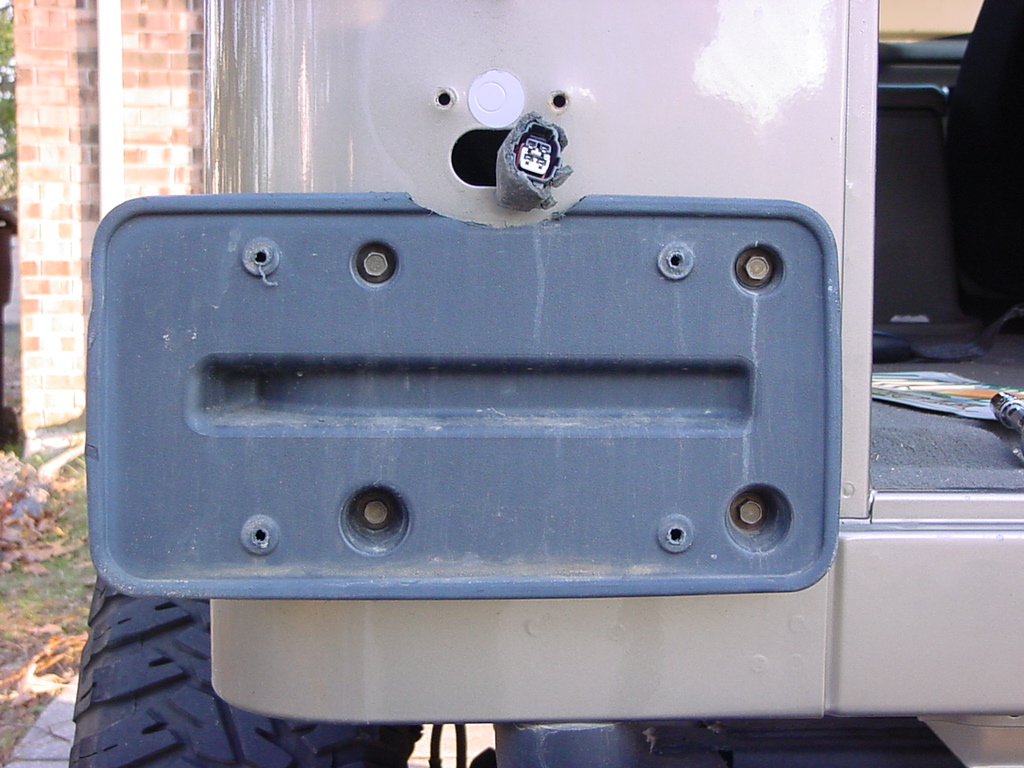
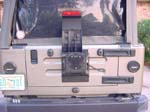
10. Remove the license plate
and license plate holder. This requires a 10mm socket. |
|
|
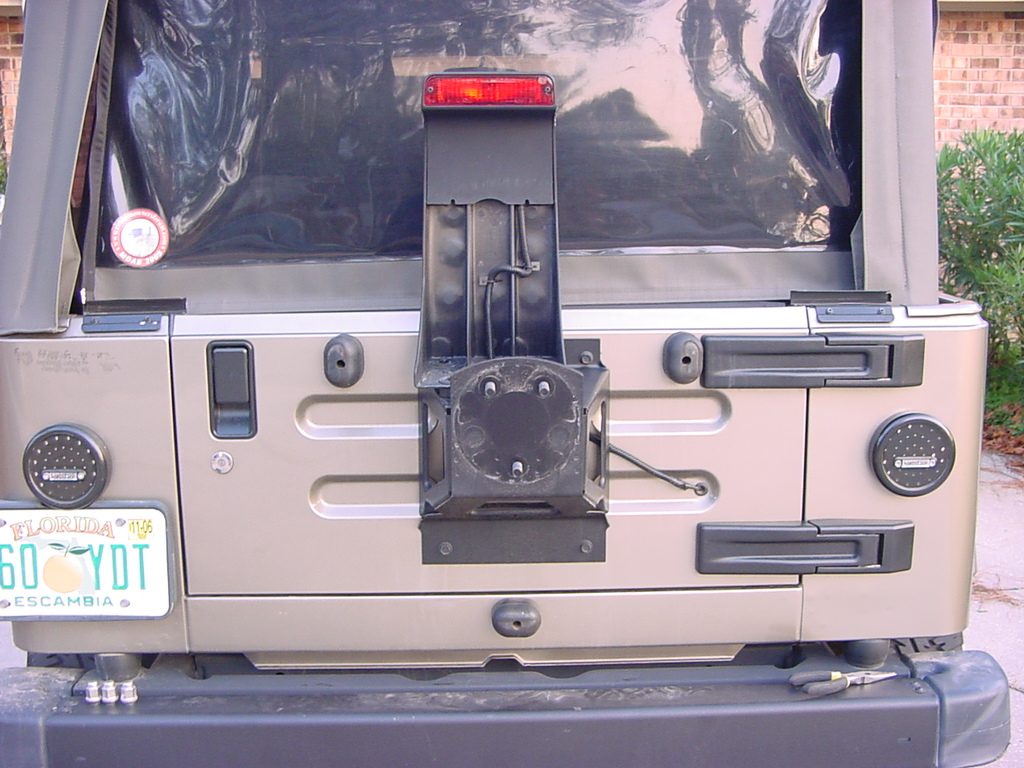
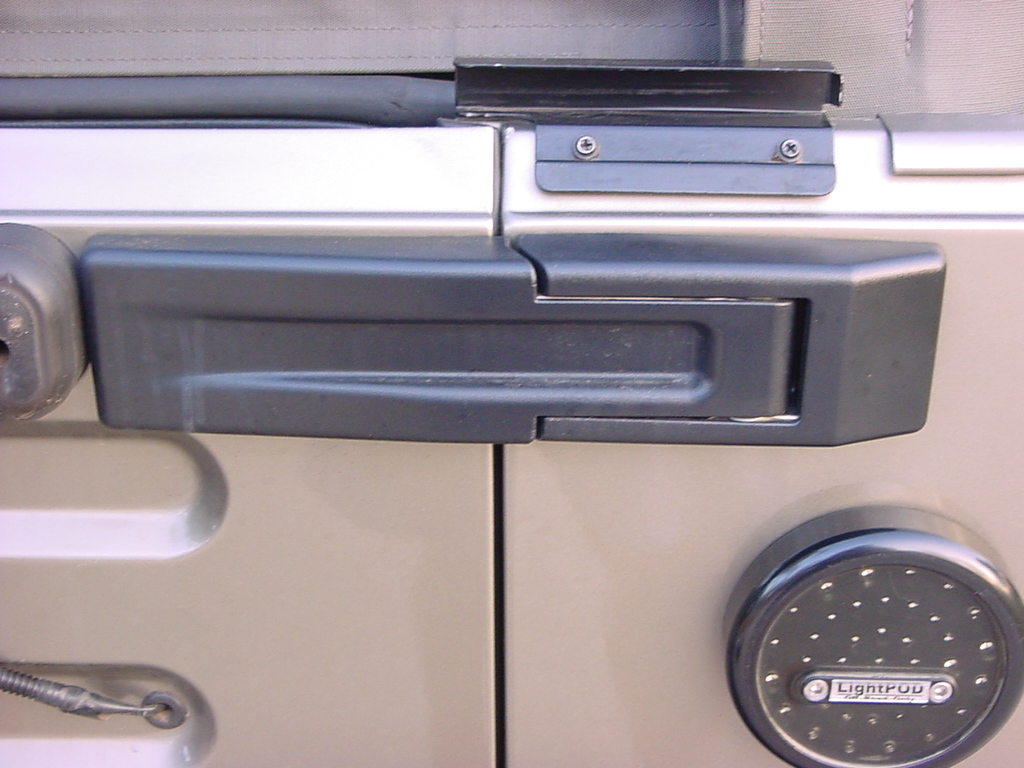
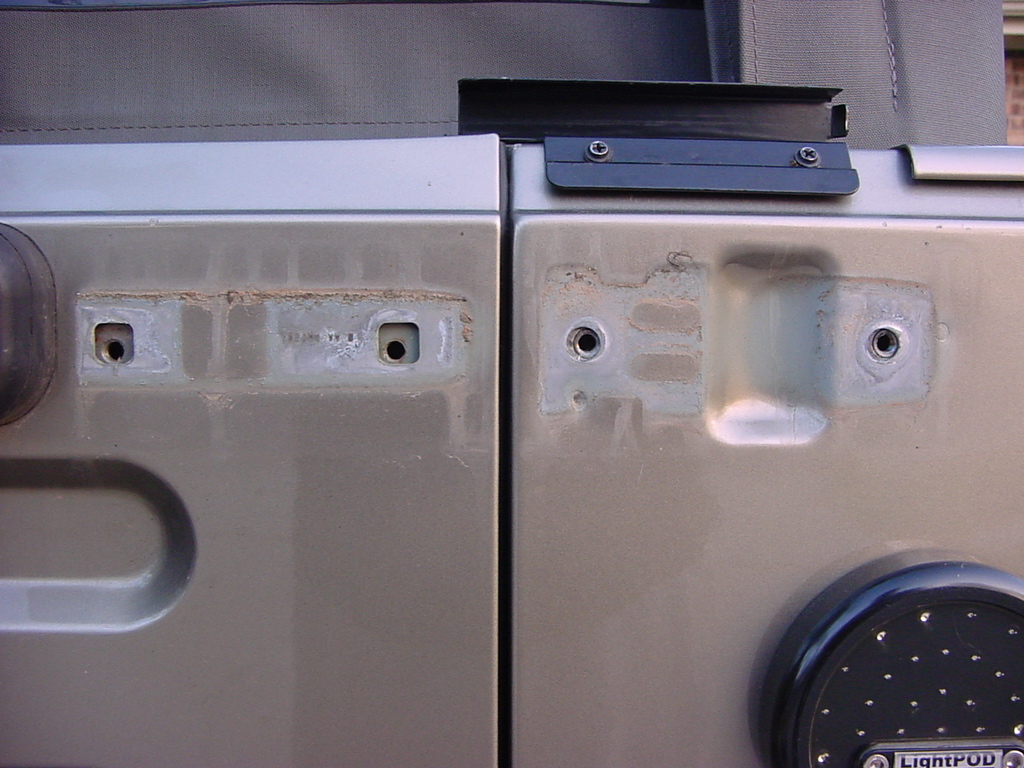
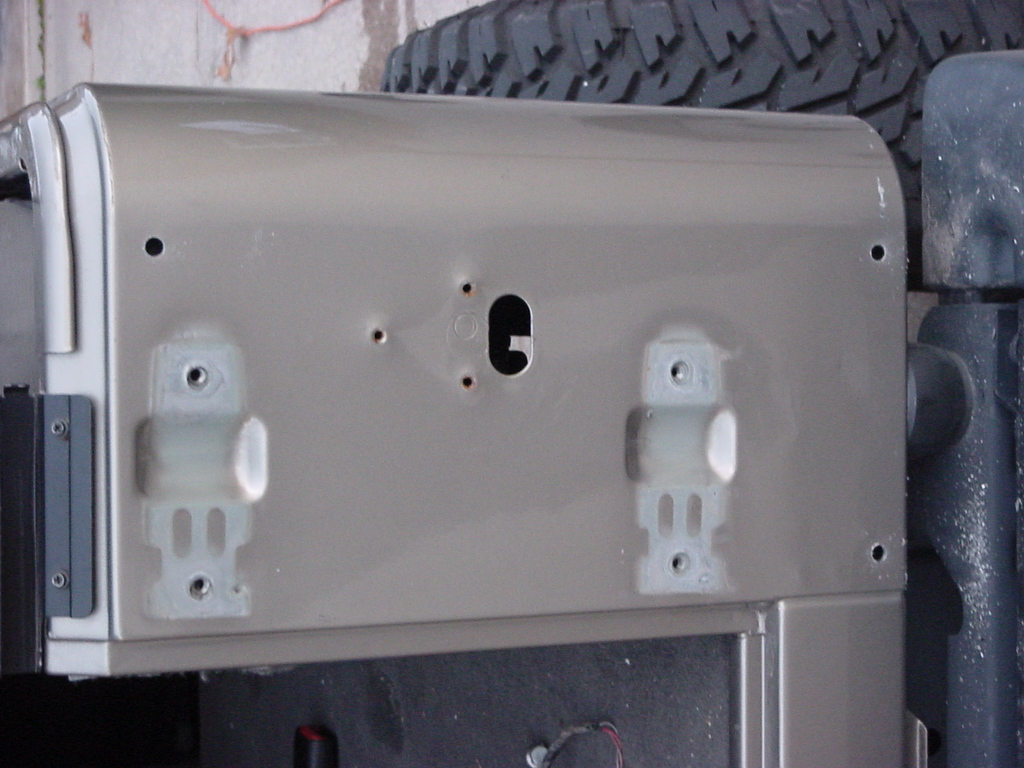
11. Remove the tailgate.
If you have a 2004 or later model you may have the plastic covers
over the tailgate hinges. First remove the upper right bump stop
for the tire. Then on the long piece of the cover pry out the end
by the taillight. It has a clip behind it holding it onto the bracket.
Once you have this free just push the hole piece to the left to
undo the hook. Now that that piece is off remove the short piece
by prying out the ends of the arms. There is a clip about 1"
in from the end on both arms. Once you get these off the piece should
fall off. You can see how it hooks into the bracket on the other
side.
|
|
|

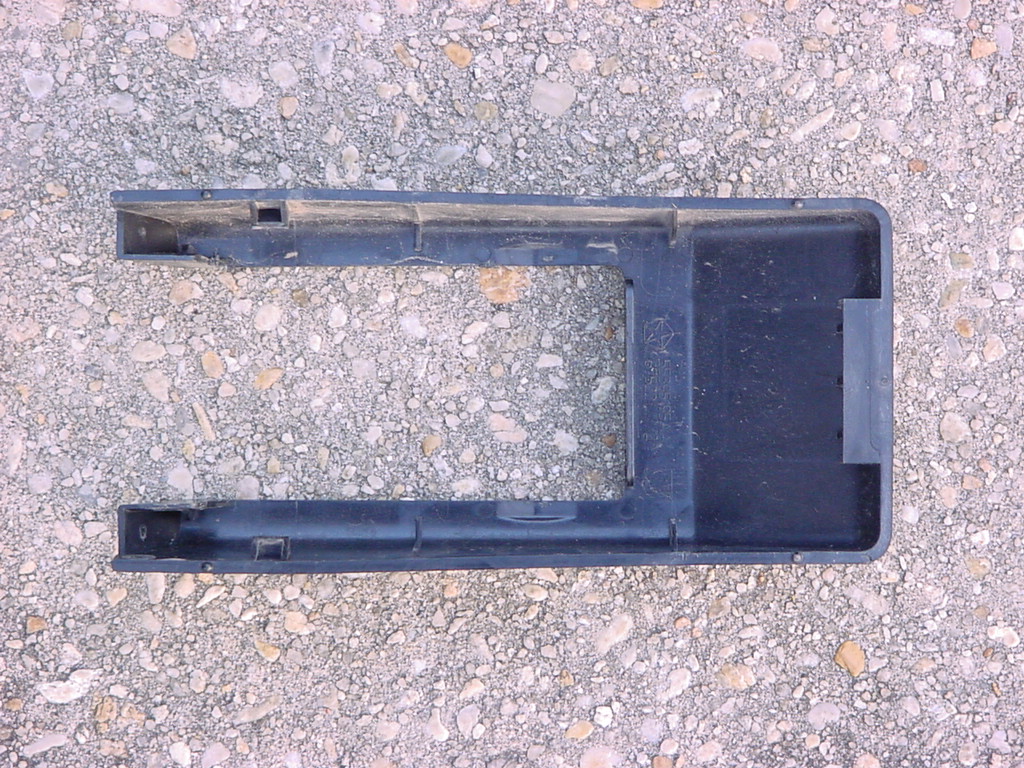
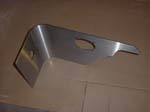
Short Piece back side |
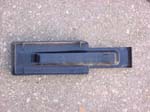
Long piece back side |
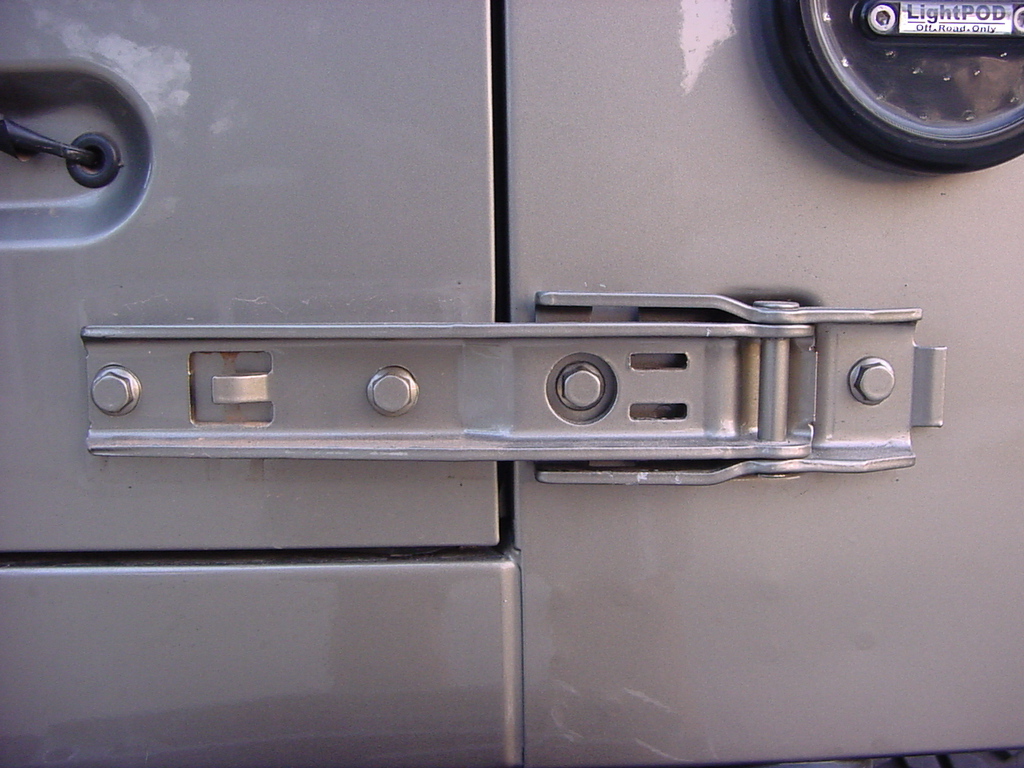
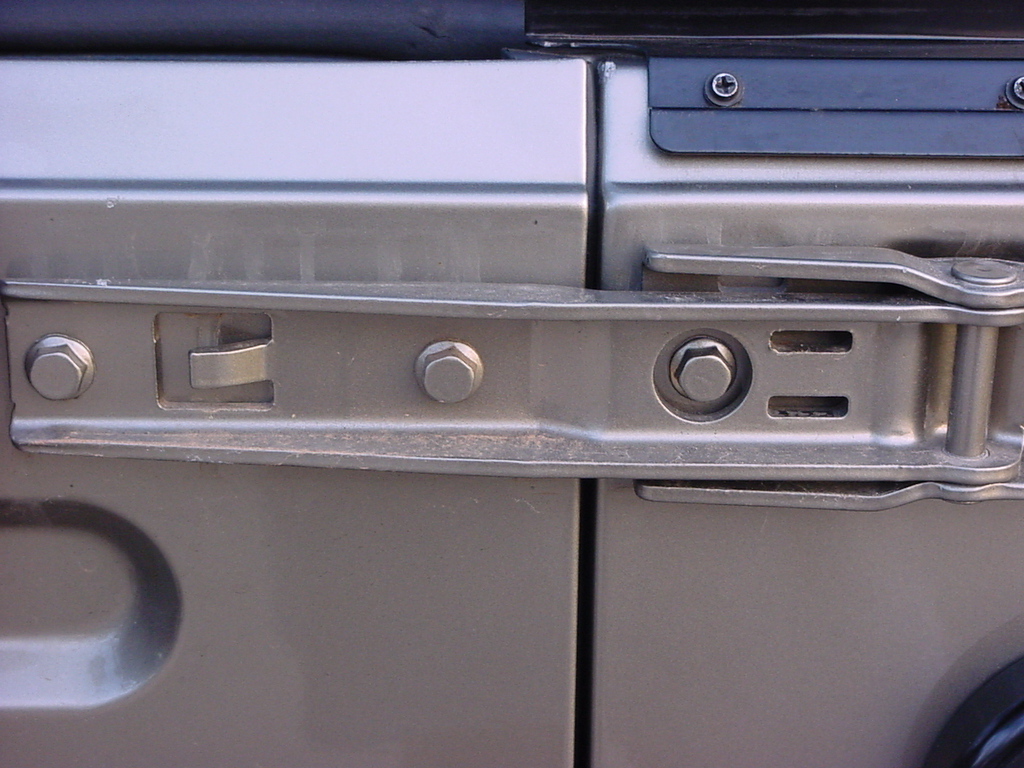
12. Unbolt the hinges from
the body and the tailgate. I took a grease pencil and outlined the
hinge position on the tailgate before unbolting it. This gave me
a good starting point to reattach the hinges to the tailgate. You
will need a 13mm socket to remove these bolts. |
|
|
|
|
| Now that we have everything
prepped for installation we can move on.
|
|
|
| |
| Installation: |
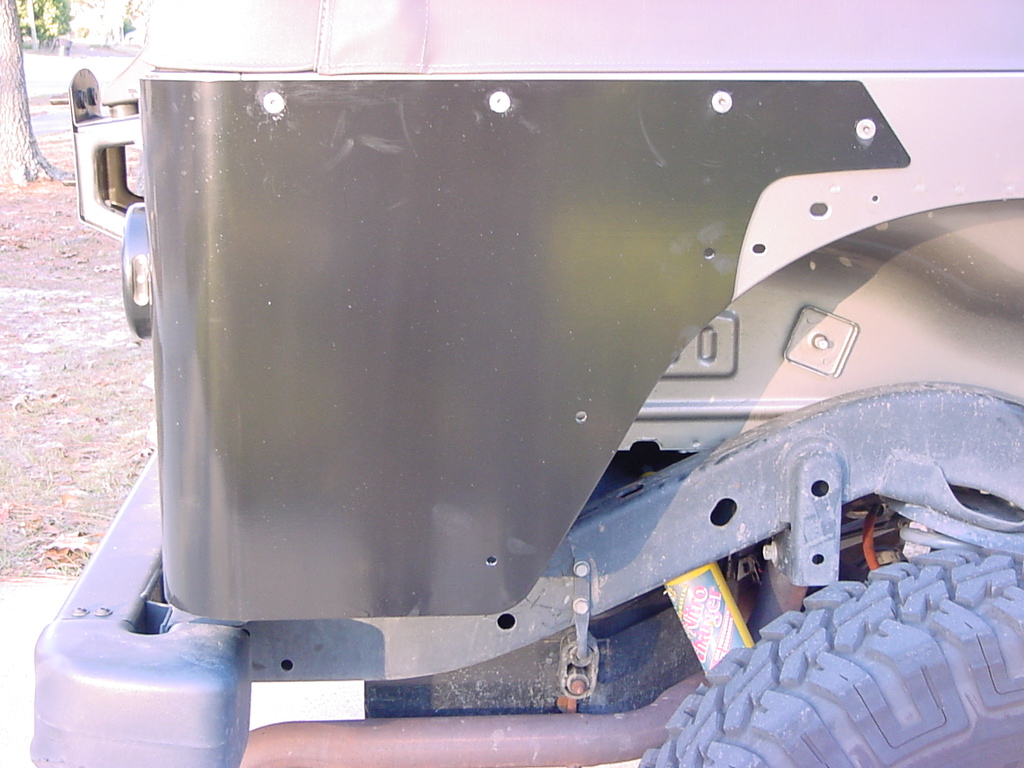
| 1. Rokmen recommends covering
the edges of the bare sliders with tape to prevent scratching the
paint on the body and I agree, otherwise having a bottle of touch
up paint handy is a good idea. Loosely place the driver side corner
on the vehicle using clamps and by reinstalling the factory license
plate bolts. This will give you a nice tight fit against the body. |
2. With the corner installed
on the driver side of the jeep some alignment needs to be checked
before any holes should be drilled. Verify fitment of the flare
below the front edge of the corner by loosely placing the flare
back on the vehicle. If the flare slips under the front edge continue
on, if not loosen the clamps or license plate bolts and refit. Also,
make sure the top edge of the corner does not tip up or down, making
an uneven gap between the corner and the top of the tub. This initial
fitment is very critical, if the corner is not properly positioned
at this time the overall fit and finish will not be optimal. |
 |
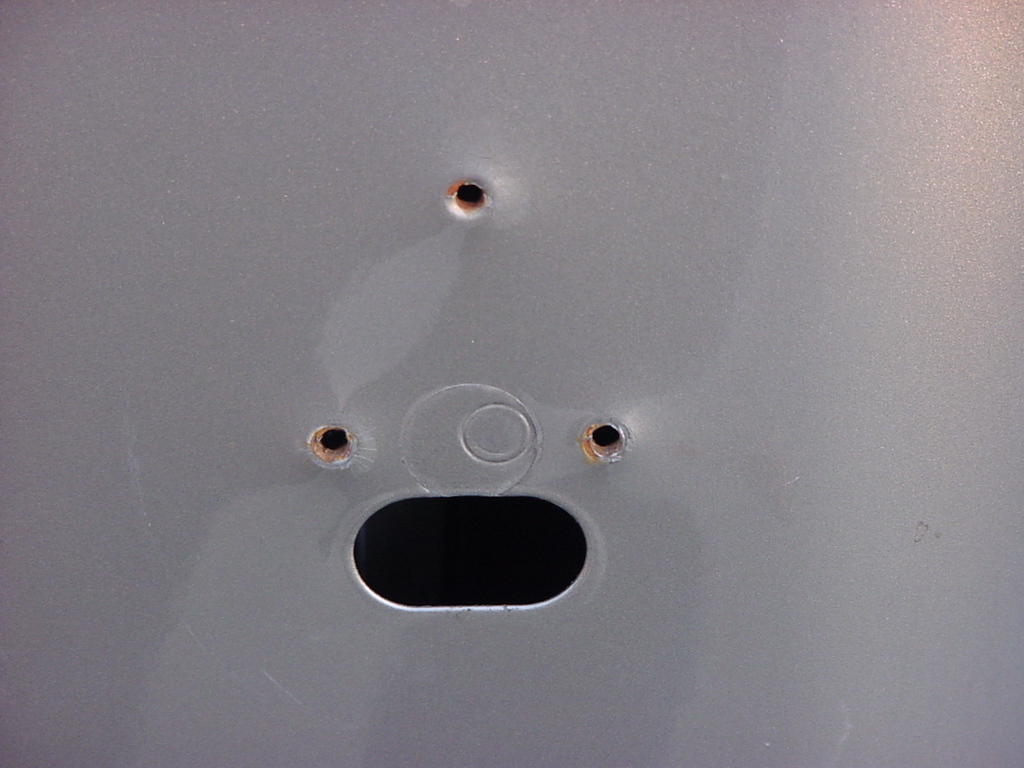
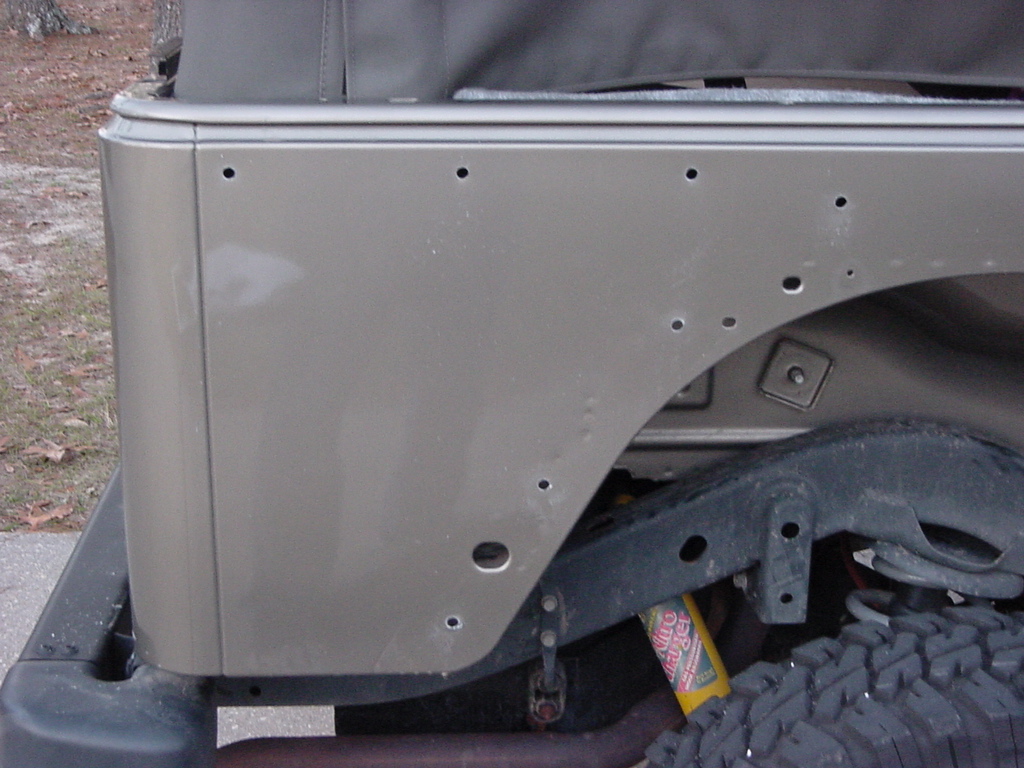
3. With the corner still
installed and tight on the vehicle you can begin marking the holes
to be drilled. Use a center punch to mark each hole before drilling.
For each hole first center punch, then drill with a pilot bit, then
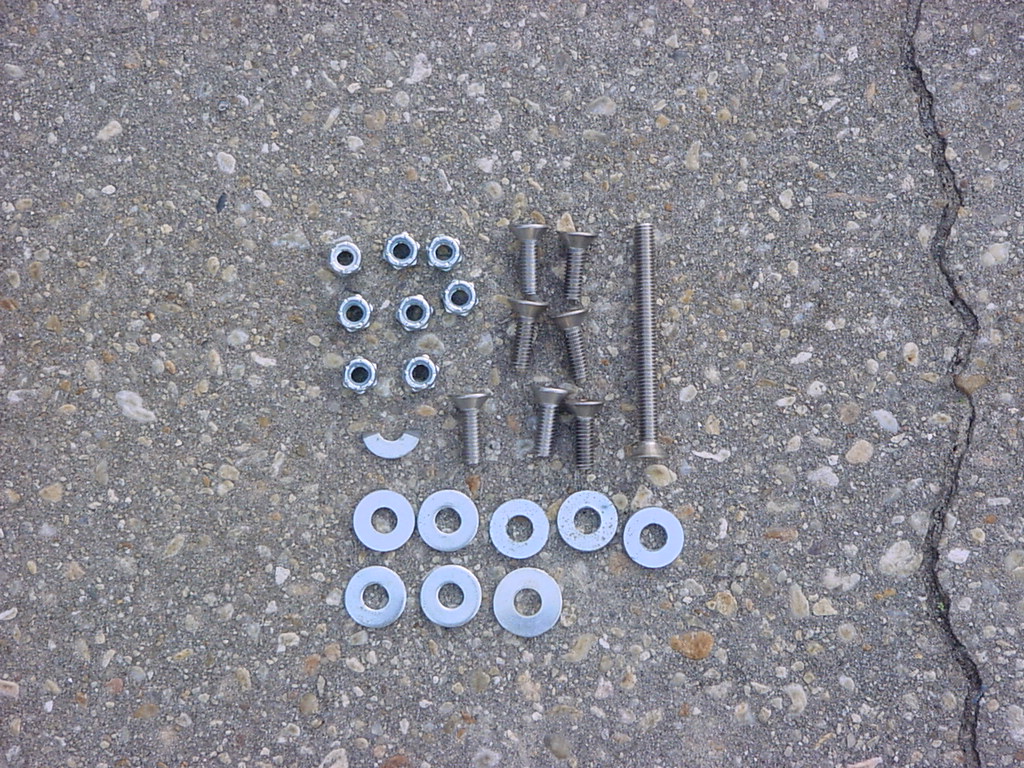
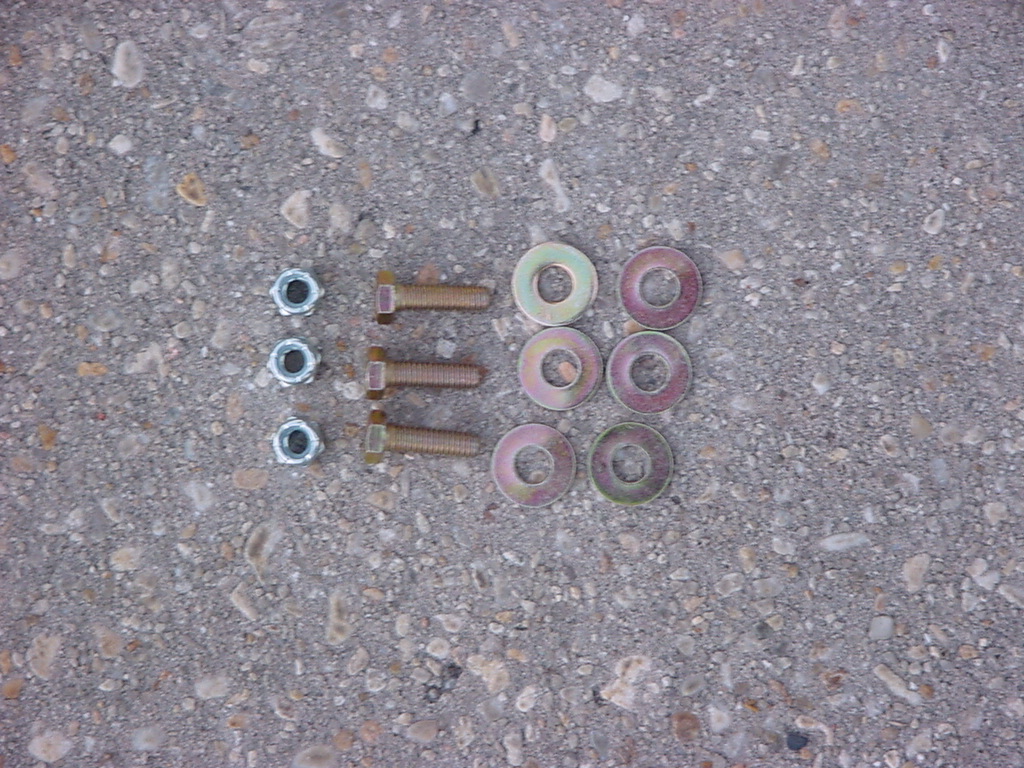
open up the hole with a 3/8” drill bit. After drilling each
hole, install the supplied countersunk bolt with washer, and lock
nut to secure the hole. Begin the process at the rearmost hole on
the body side, working your way to the front most hole, keeping
a close eye on the overall fitment in step 2 above. |
|
|
|
4. Once the top row of body
side bolts have been drilled and bolts installed move to the rear
and repeats the same process as above. The lowest hole closest to
the tailgate goes through two body panels. Make sure the drill is
as straight as possible as the countersunk bolt will not sit flush
if the two holes are too far off in alignment. The drill bit may
need to be repositioned in the drill to reach the second body panel,
take special care not to hit the body with the drill. |
5. Once the holes for the
rear and the top row of holes on the side have been drilled it is
time to enlarge the holes that attach the rear flares and the corner,
these holes will be obvious as the holes in the corner correspond
to the factory holes. The bottom hole should have a “nutsert”,
or factory nut in the body. Using the 3/8”drill bit, drill
out all of the holes. Simply drilling the nutsert with the 3/8”
bit will remove it and will give you the needed hole. This step
can be done with the corner still installed on the vehicle. |
7. All holes should now
be drilled on the driver side and the corner can be removed. Touch
up the holes with some paint to prevent rusting. |
|
8. The driver side prep
and fitment is now complete. The passenger side installation is
the same as the driver side, except you are now dealing with the
tailgate. Align the passenger side corner the same way as the driver,
being very careful to check the fitment of the flare as well as
the overall fitment. |
|
|
|
|
9. Paint the corners and
the tailgate spacers. |
|
10. After both corners and
tailgate spacers have been painted install the corners on the Jeep.
Again using the hardware and new holes to get the correct alignment.
Check to make sure that the flare will clear the corner, and that
overall fitment is correct. Start by installing the bolts on the
side of the tub at the top rear, work you way to the front watching
overall fitment. Then move to the rear. The stainless bolt located
a the top closest to the tailgate on the driver side, first gets
a half washer installed to compensate for the two body panels that
meet in this location. On top of this, place a standard washer,
followed by the lock nut. Be very careful with this half washer
and washer. There is an opening on the backside of the tailgate
latch pin bracket that will swallow them up if you drop them. The
lowest one on the rear, closest to the tailgate on both sides gets
the 3 1/2” stainless bolt. |
11. Before the grade 8 hardware
can be installed to attach the flares and corners to the body, the
flares need to have the corresponding holes enlarged. Using the
3/8” drill bit, enlarge the holes. Be careful as the plastic
is soft and very little pressure is necessary. The flare and corner
are attached to the tub using the provided grade 8 hardware, with
a washer on both the bolt head and the nut side. Tighten with the
nylock nuts. |
|
|
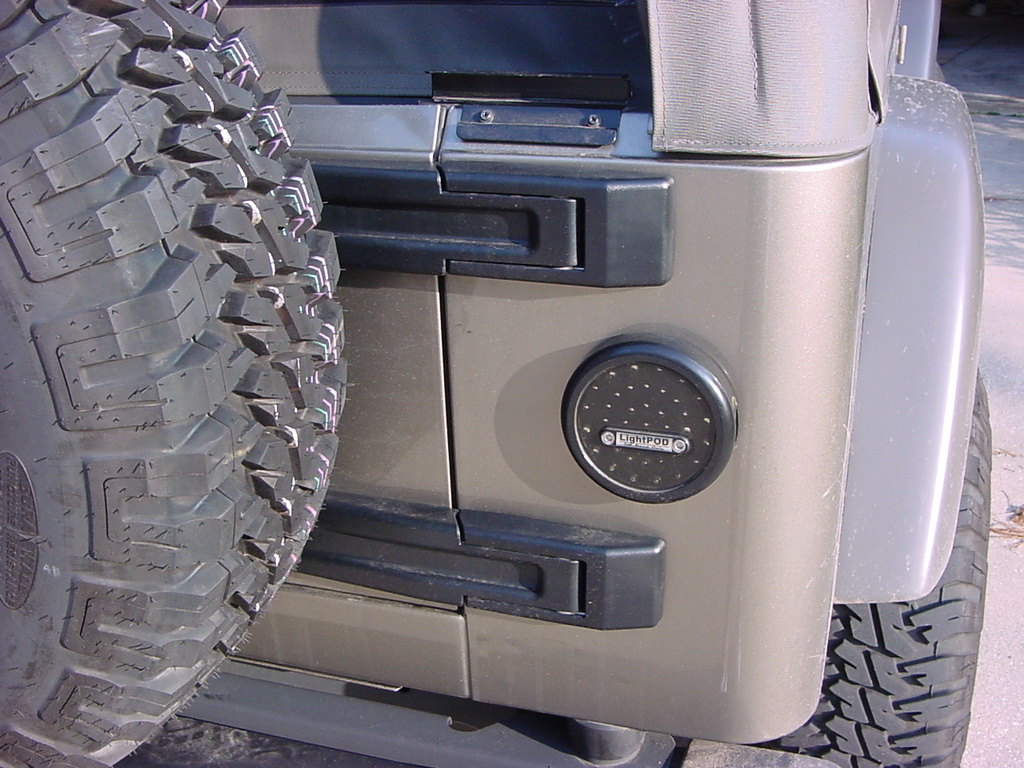
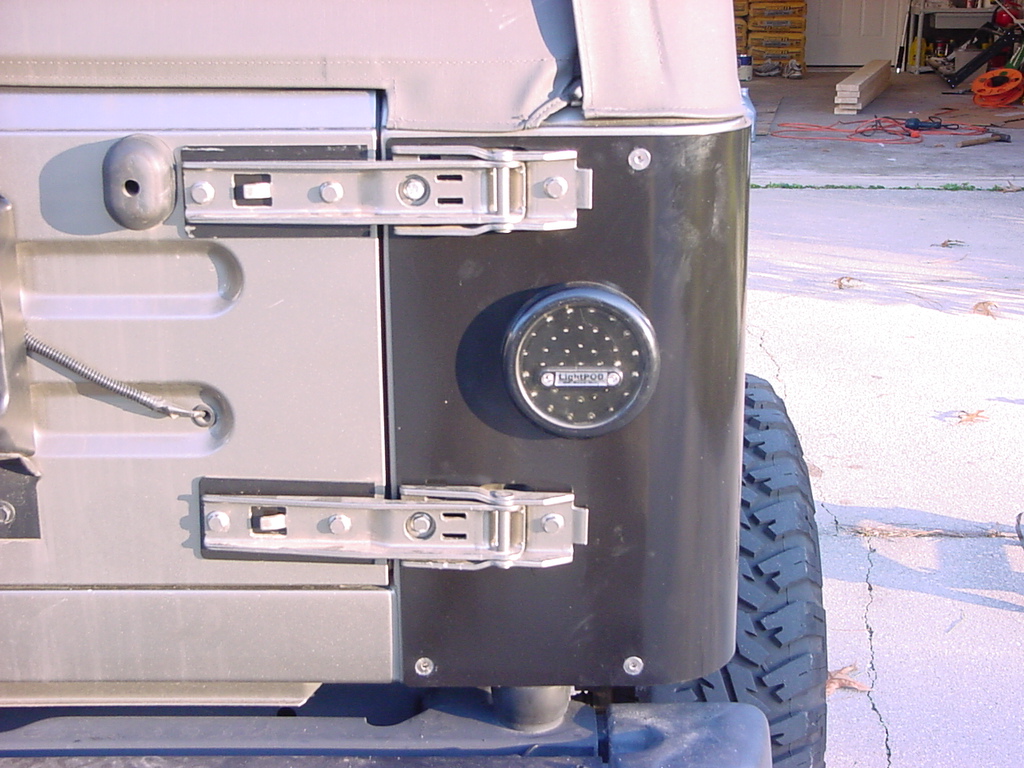
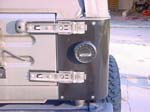
12. With the corners installed,
attach spacers to tailgate using the factory hardware. Do not fully
tighten at this point. Loosely attach tailgate to vehicle using
factory hardware. Gently close tailgate, checking gaps around gate.
Adjust and tighten bolts. Reinstall lights, fuel filler, license
plate hardware and installation is complete. |
 |
| Note: Rokmen
recommend removing corners at least once a year to inspect and clean
both the body and the corners. For harsher environments, inspect more
often. I would agree, even down south they get pretty nasty behind. |