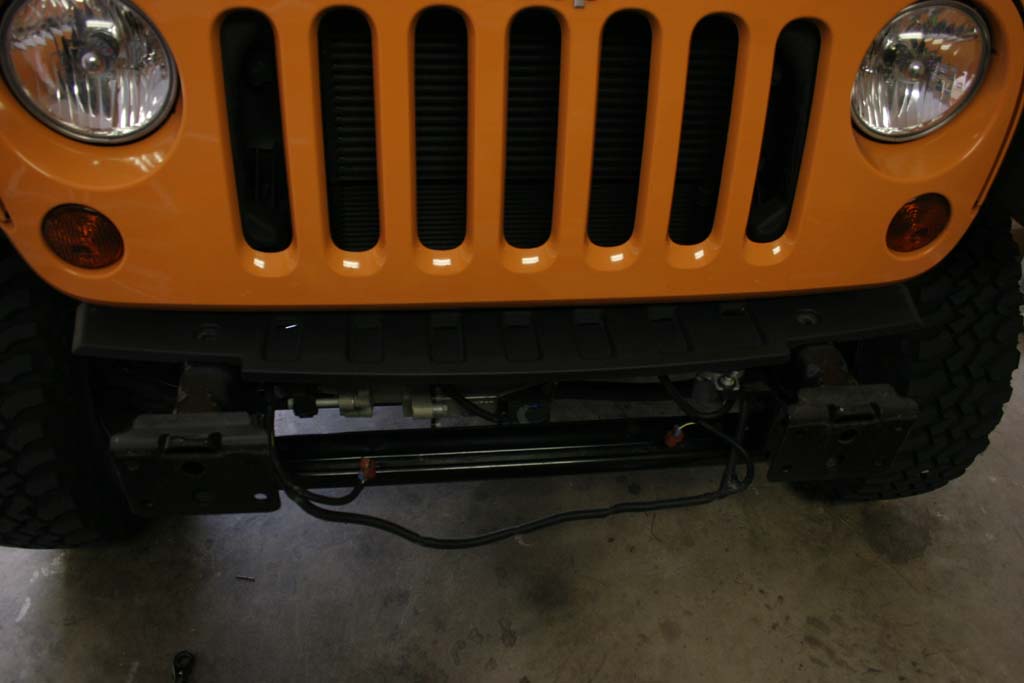
The 2012 and up models come with a new vacuum pump located behind the front bumper. This interfers with many of the winch bumpers and winch mount plates that are currently on the market. There are plenty of relocation kits out there, some keep it in the same general location like EVO and River Raider, while others like Tera move it up under the hood. Under the hood is a good location, but has some of it's own issues involved mostly it blocks the are that is normally used for an sPOD installation and requires you to cut and splice factory wires. I would rather keep it fairly simple and stay in the general location without having to modify wiring and hoses. EVO and River Raider and similarly priced (River Raider a bit more). River Raider has you drilling holes through the frame member to mount their bracket. EVO spaces your front anti-sway bar down about 1/2" with it installed, and the pump sits a little lower. I wasn't to concerned with it being in the water on stream crossing, I'm pretty certain that Jeep already thought about that when they decided to put it behind the front bumper, and below the advertised fording depth of the Jeep. Only draw back to the design is for us that own Rubicon's, it does space the front anti-sway bar disconnect down and makes it a little more exposed.
| Front Bumper Removal: |
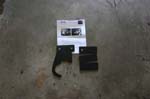
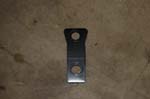
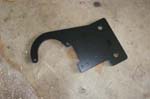
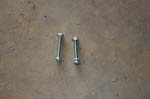
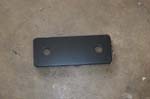
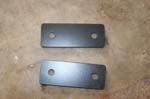
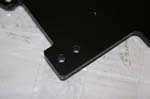
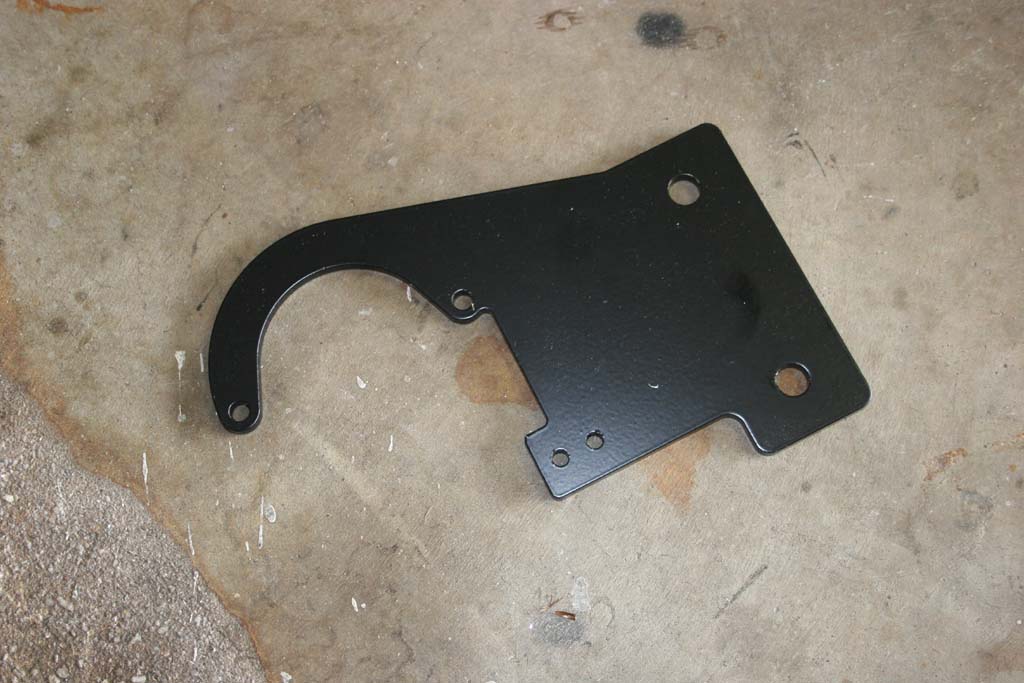
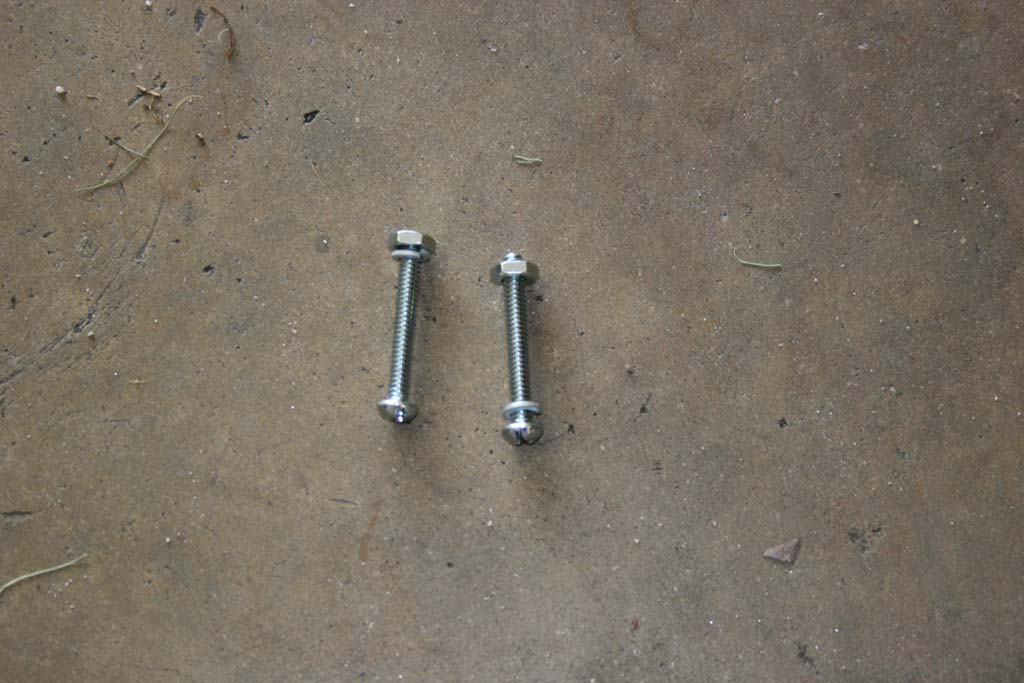
| Here's the kit. Pretty straight forward, just some metal, instruction and two nuts and bolts. |
 |
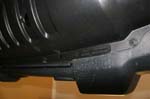
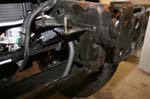
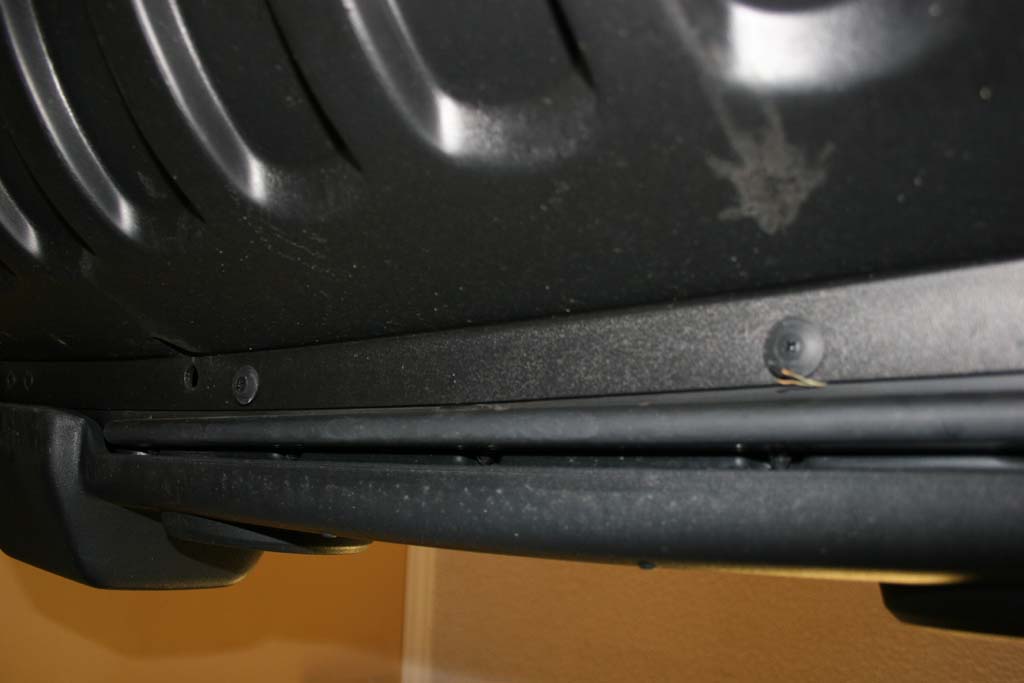
| 1. Remove the 6 push fittings that hold the lower air dam onto the frame and bumper. You will need a phillips screwdriver to slowly screw these out. They don't take much pressure to go back in, so be gentle. Hooking a nail, or a small flat tip screwdriver under the lip of the head as it comes out helps. 4 push connectors are on the front attached to the bumper, and the other 2 are up behind the air dam on the lower crash bar. |
 |
 |
 |
| 1a. The Air Dam will just fall off ontop of you when you pull the last tree out, don't worry, it's light. |
 |
 |
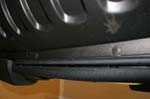
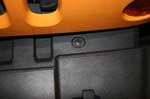
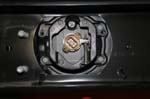
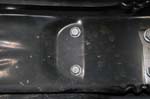
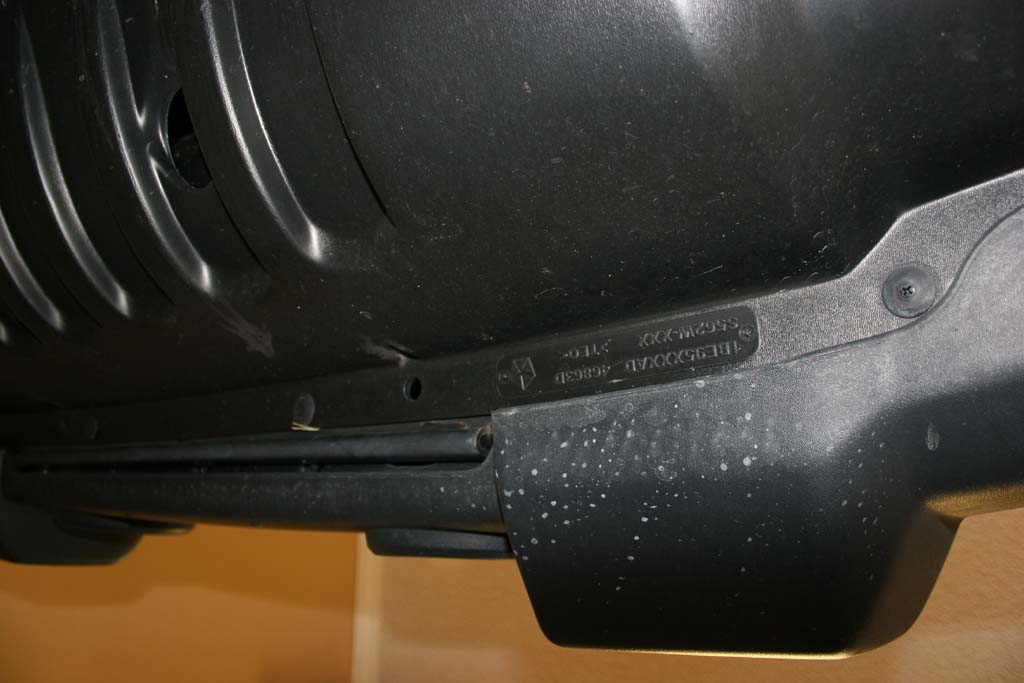
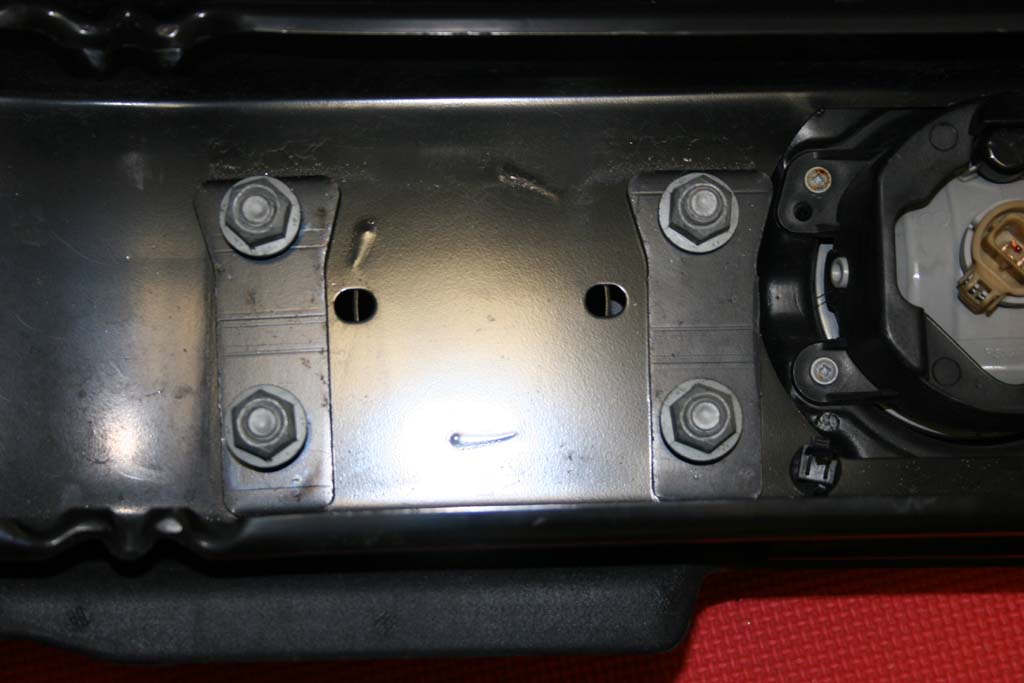
| 2. While your at it, remove the 2 push fittings that hold the plate behind the bumper on. Put all of these in a safe location. You won't be able to remove this plate now, but it makes a further step easier. |
 |
 |
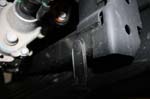
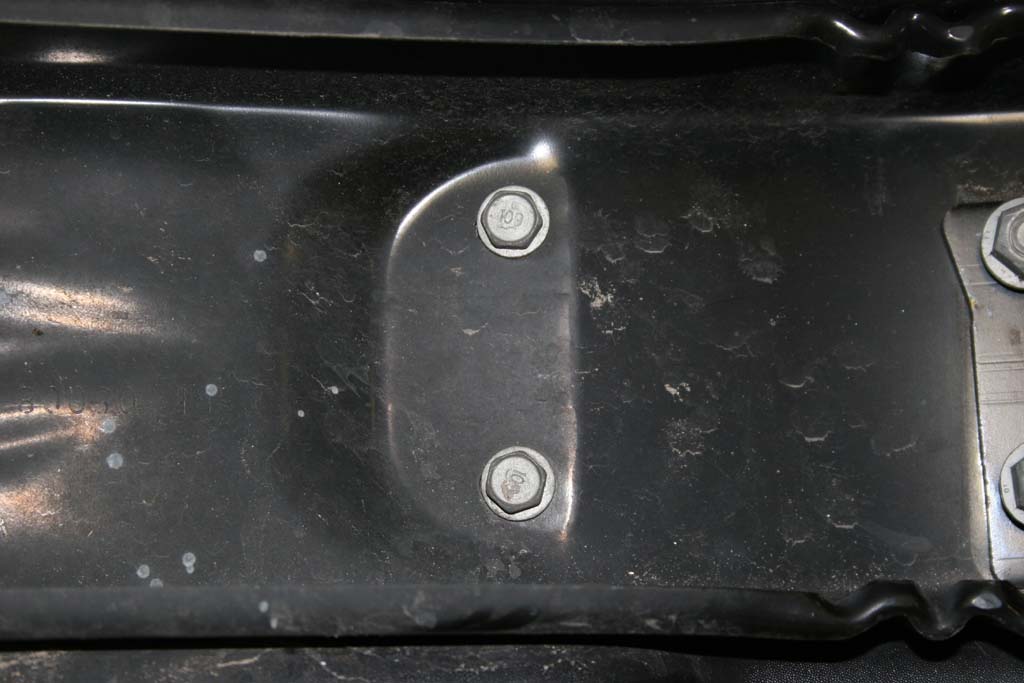
| 3. Remove the 8 bolts holding the bumper to the front frame horns with an 18mm deep well socket. I recommend doing the interior ones first since they are the hardest to get to. Remove the backing plates that are behind the nuts. Remove the backing plates from the outboard bolts and screw the nuts back onto the lower outboard bolts. |
 |
 |
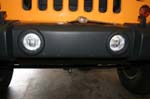
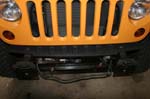
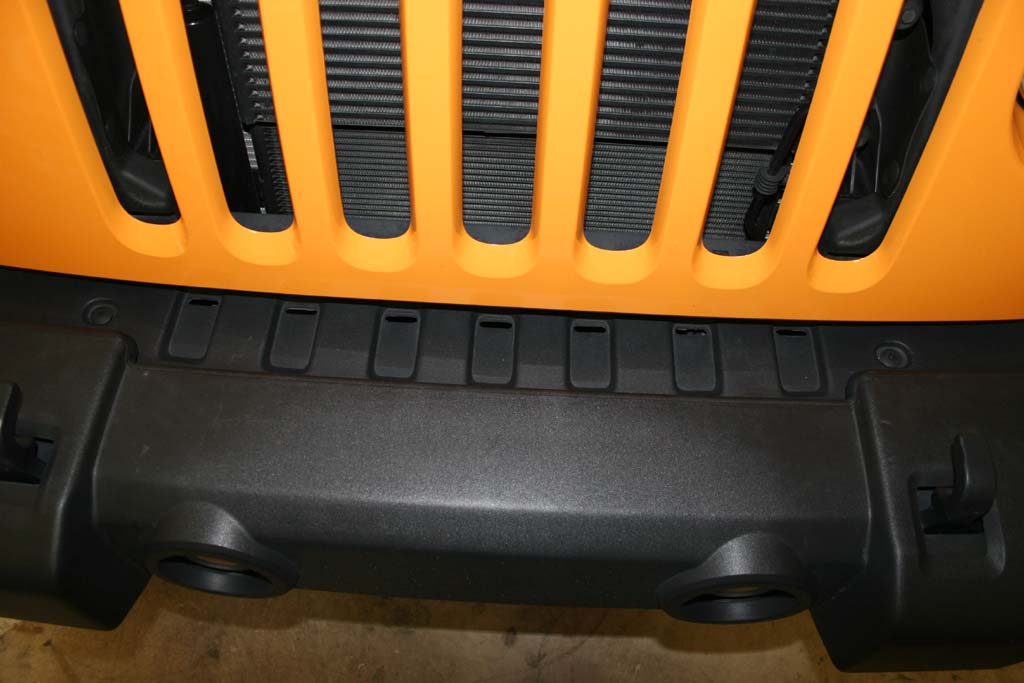
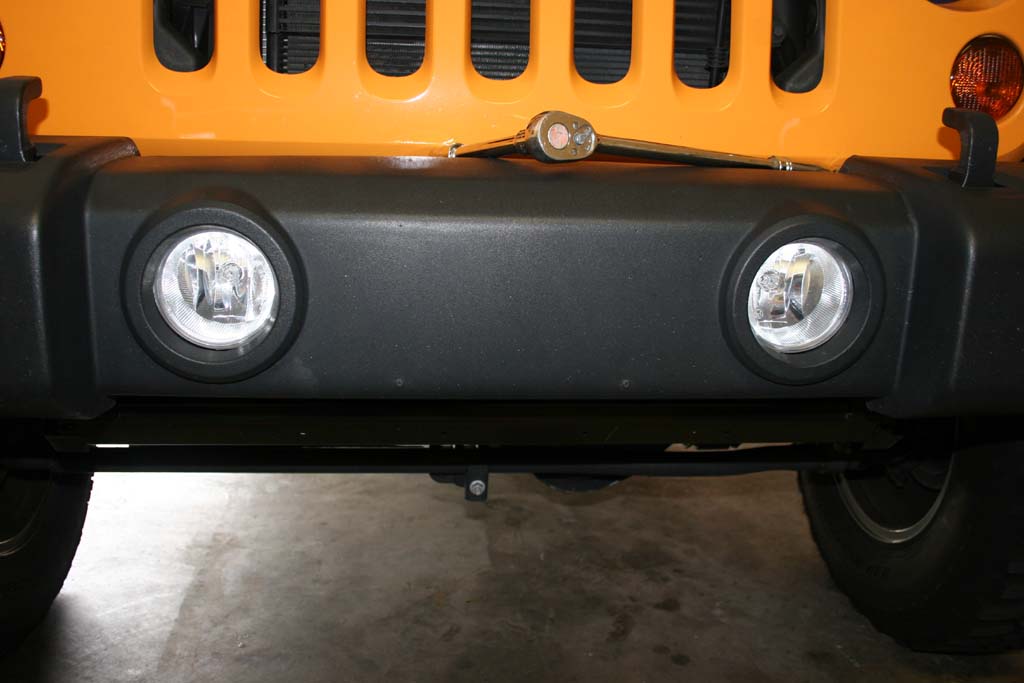
| 4. Carefully pull the bumper forward to expose the wiring and connectors for the fog lights that are mounted in the bumper. |
| 5. Disconnect the foglights from the harness. There is a latch to press and the connector pulls out. |
 |
 |
 |
| 6. The wiring harness is ziptied to the bumper. You can try to pry the trees out of the bumper, or just cut them like I did. Just be careful that you do not cut the wires in side the wire loom. Just cut the zip tie strap. |
 |
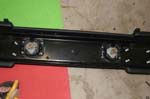
| 7. Double check that nothing is still attached to the bumper. Remove the two outboard bottom nuts while holding the bumper in place. Then pulling forward remove the bumper and set it aside. Remove the plastic piece from behind the bumper. |
 |
 |
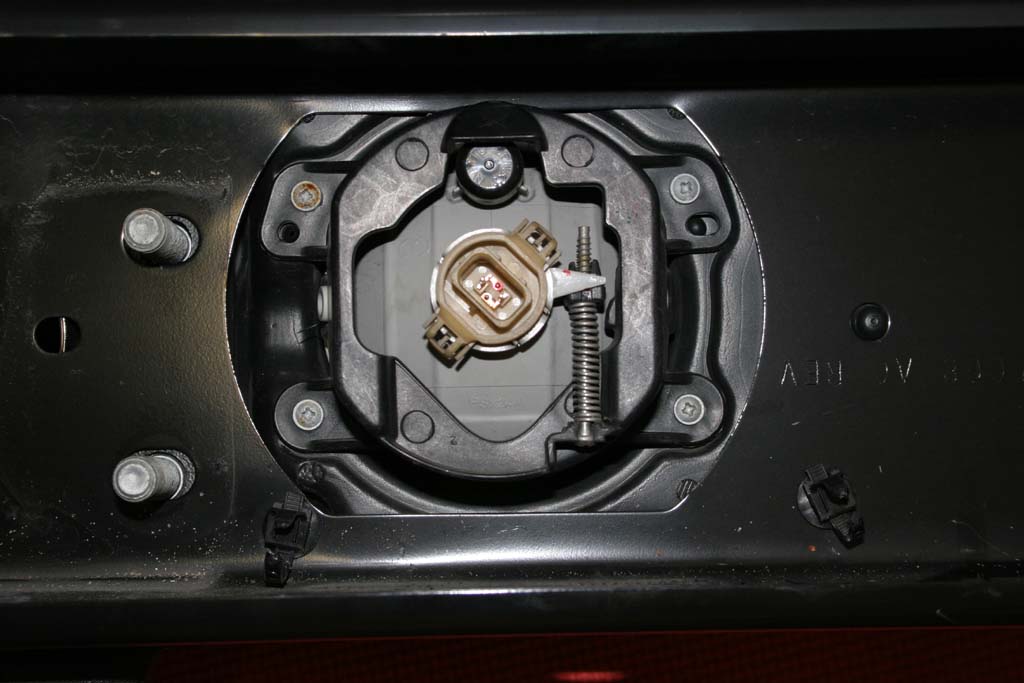
| 8. If you are going to reuse the foglight, first note their orientation in the bumper (there is an up to them) and then unscrew the 4 phillips head screws holding them on. |
 |
 |
| Note: If you want to remove the plastic bumper from the steel frame to access the two hooks, or just to remove it to look cool then remove the far outboard bolts. |
 |
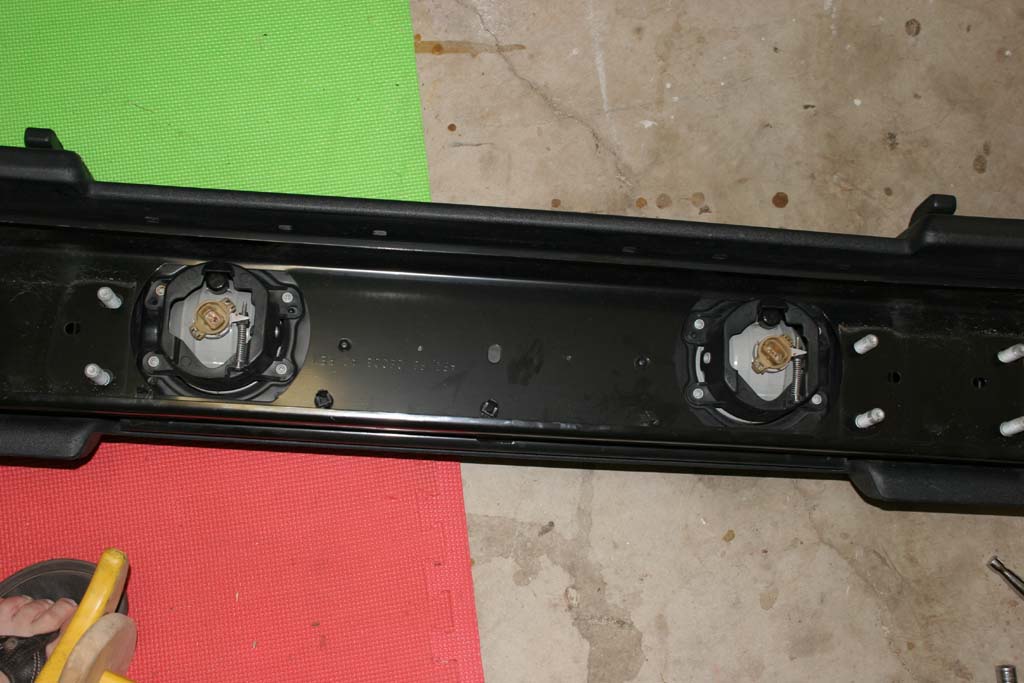
| I put the backing plates and nuts back on the bumper so they don't get misplaced while in storage. |
 |
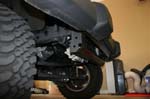
| Installation: |
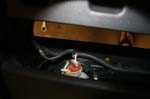
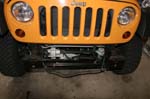
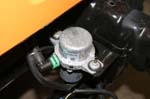
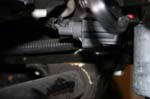
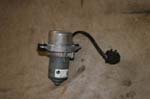
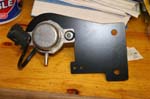
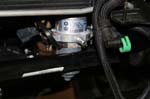
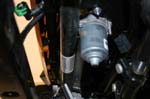
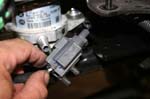
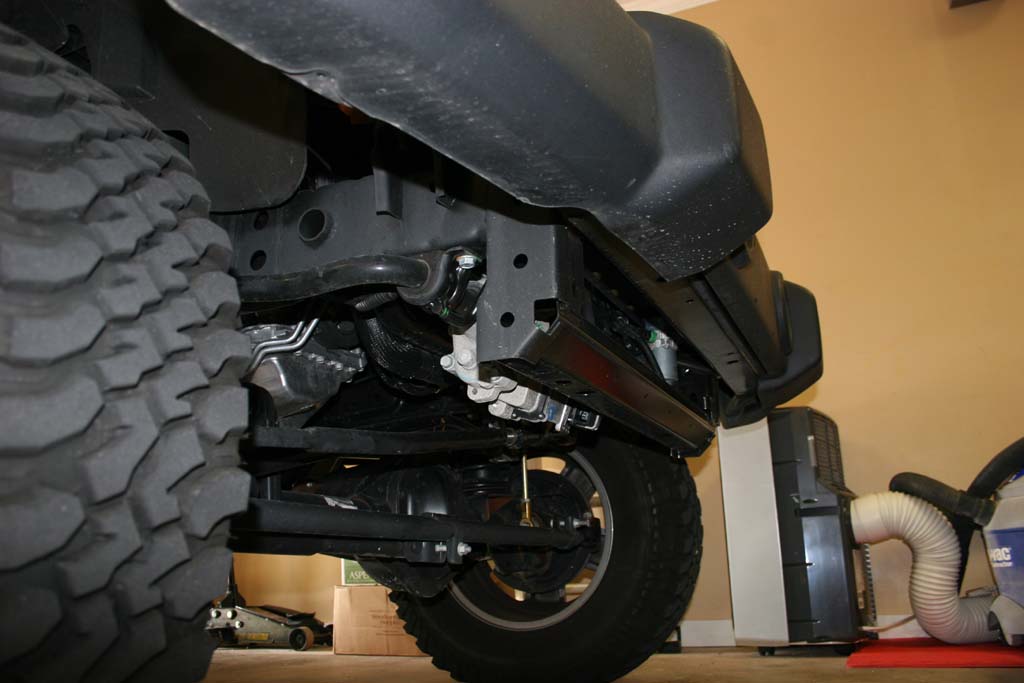
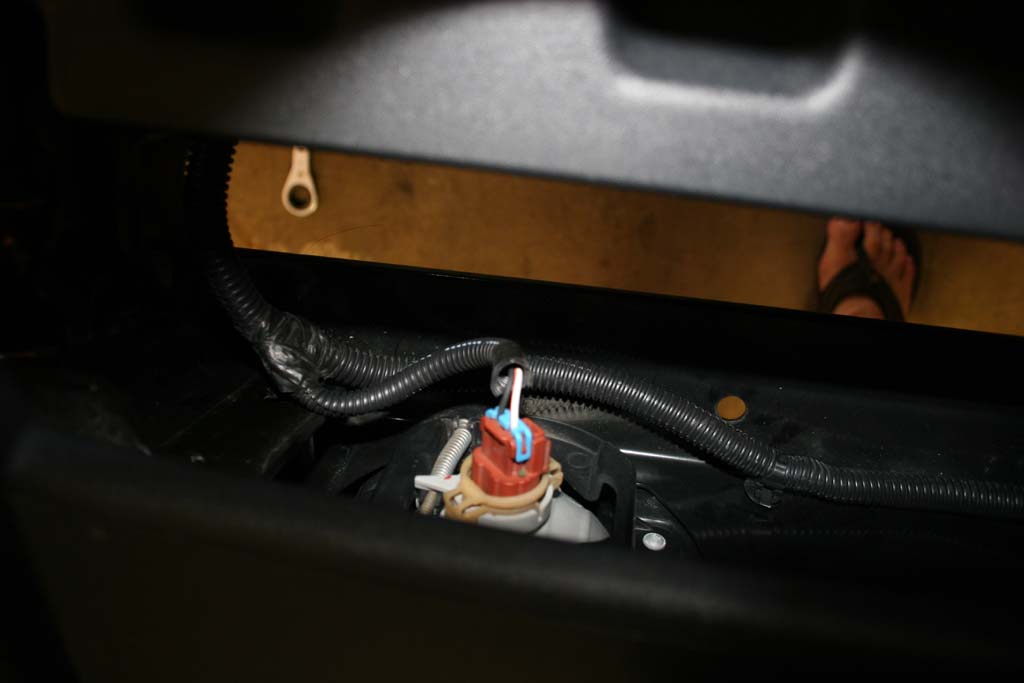
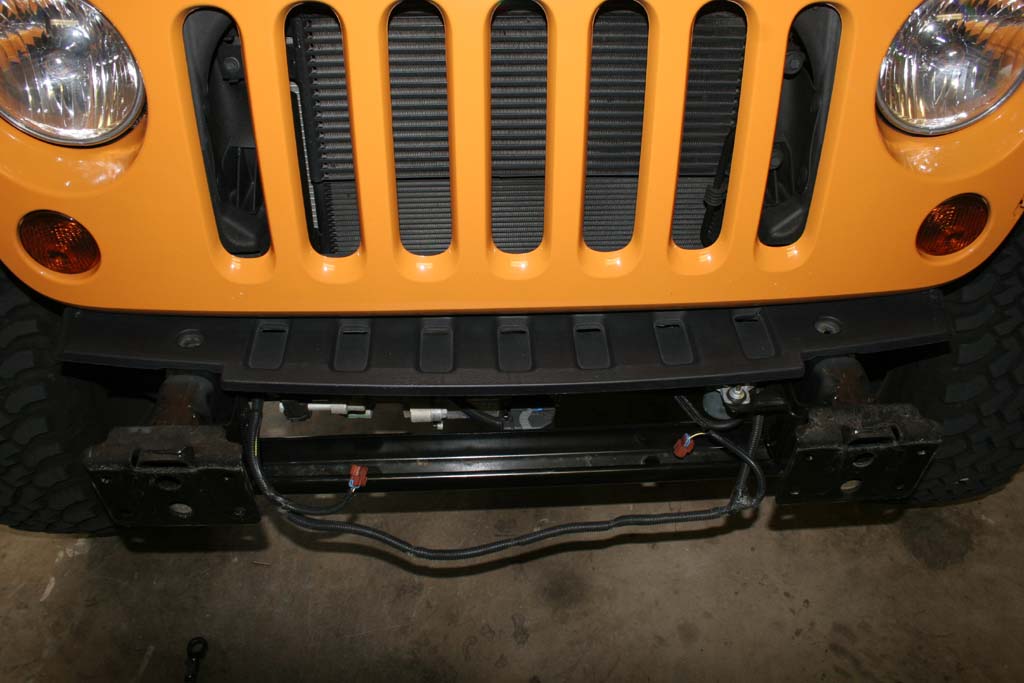
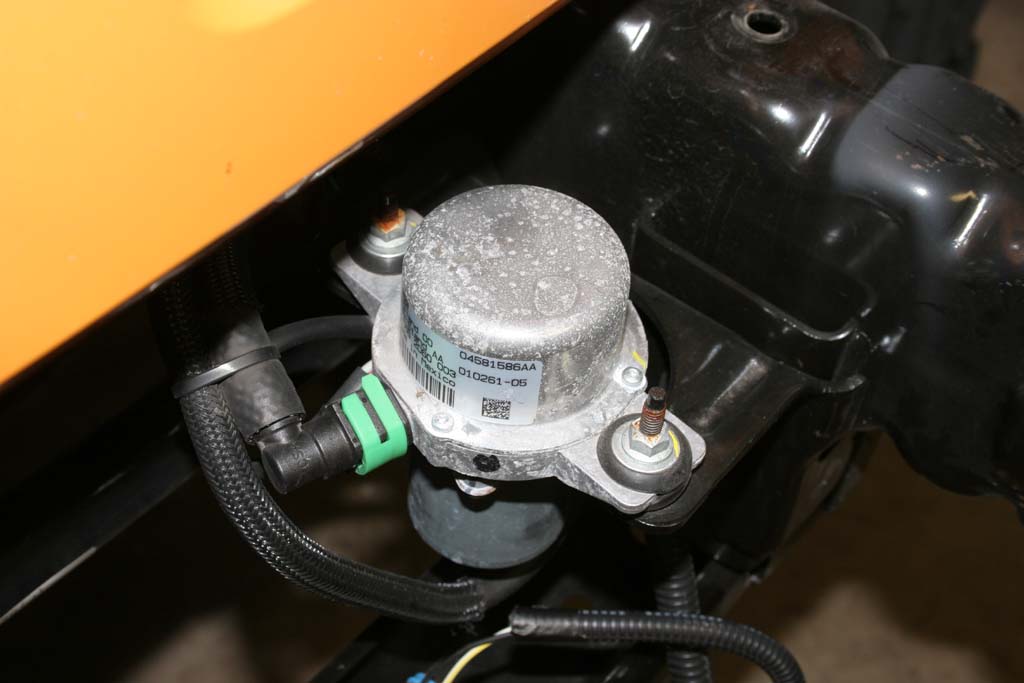
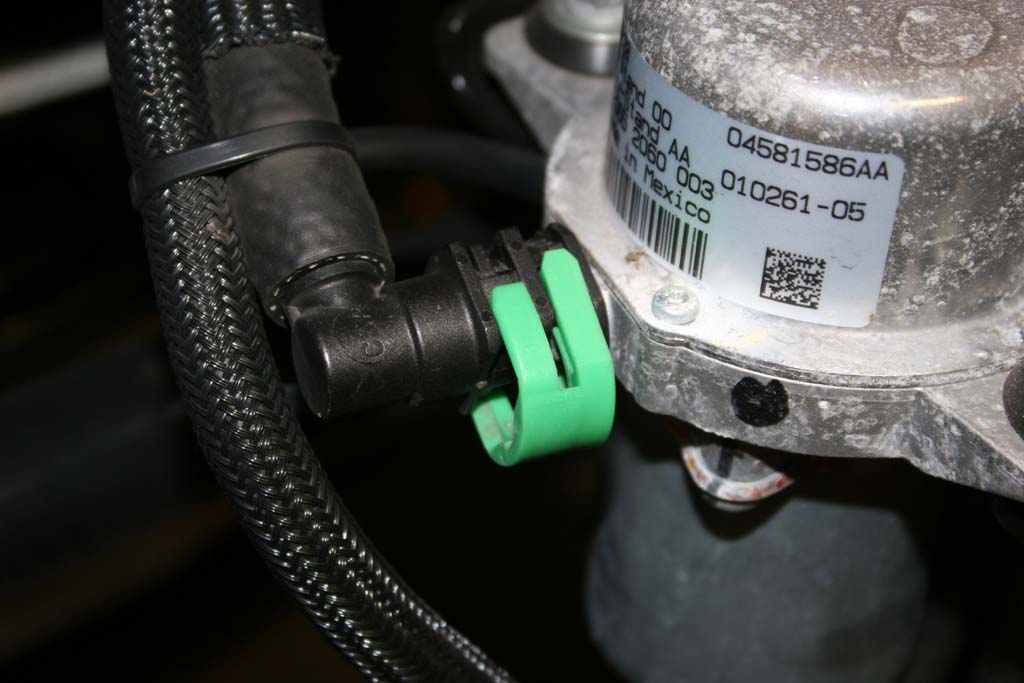
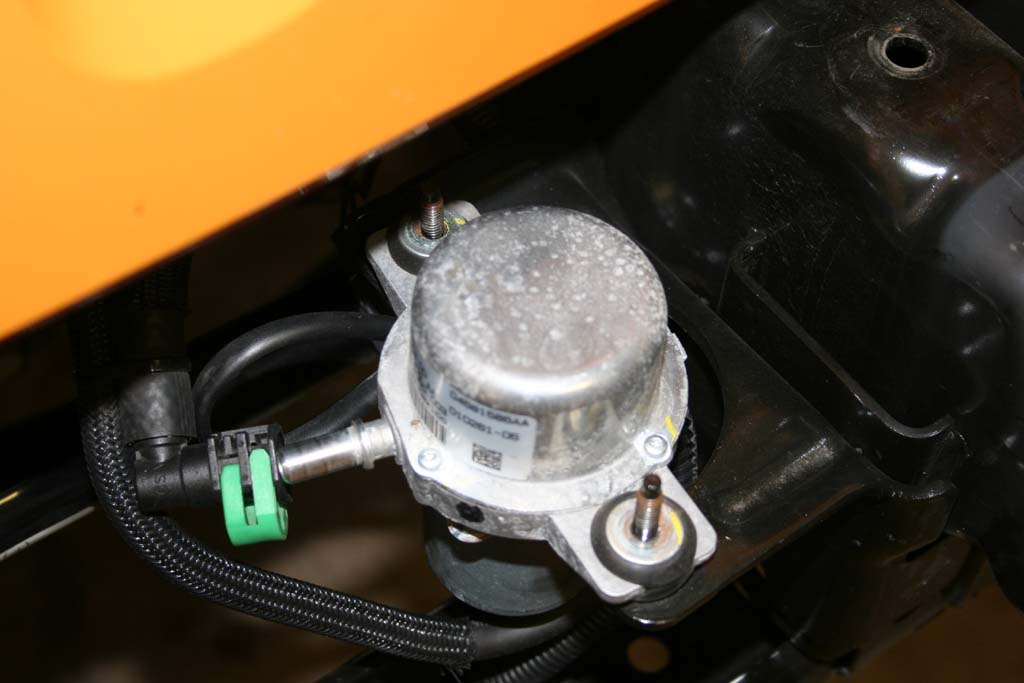
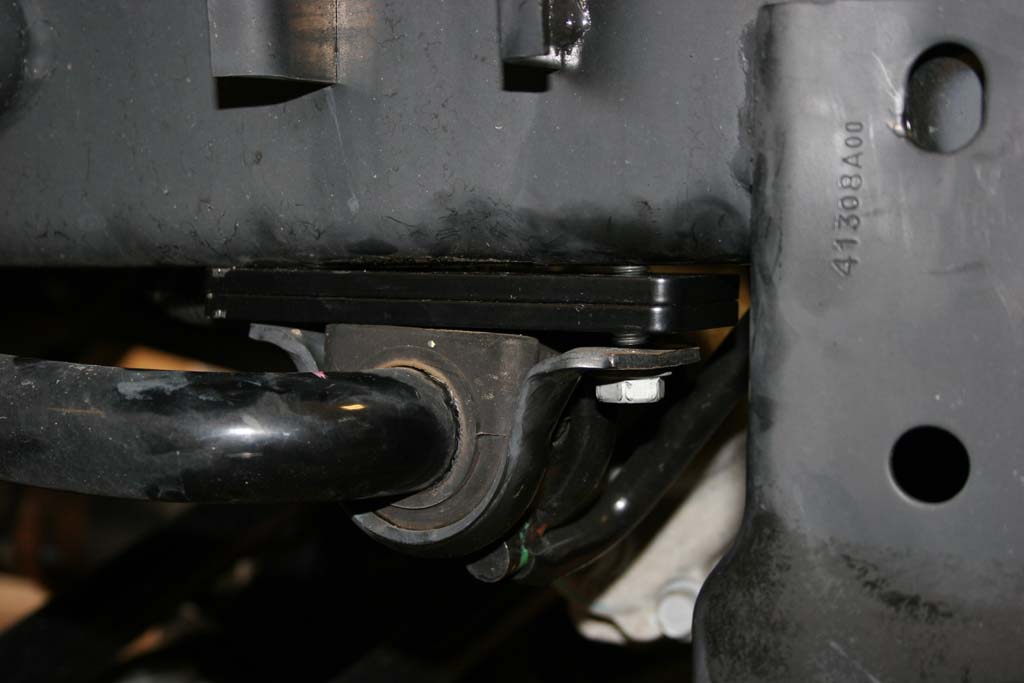
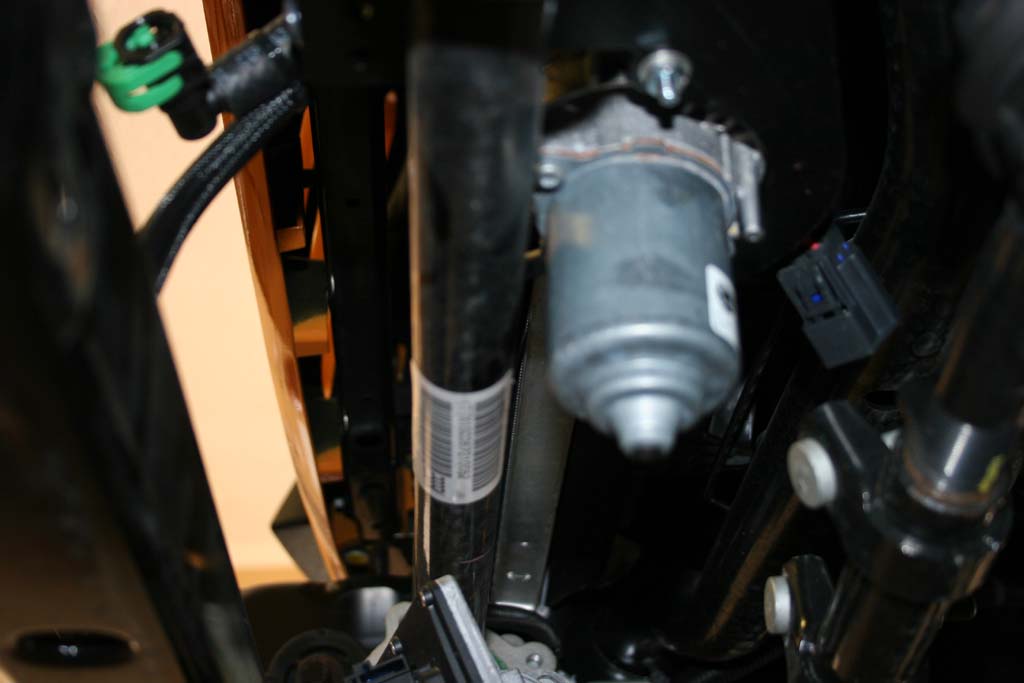
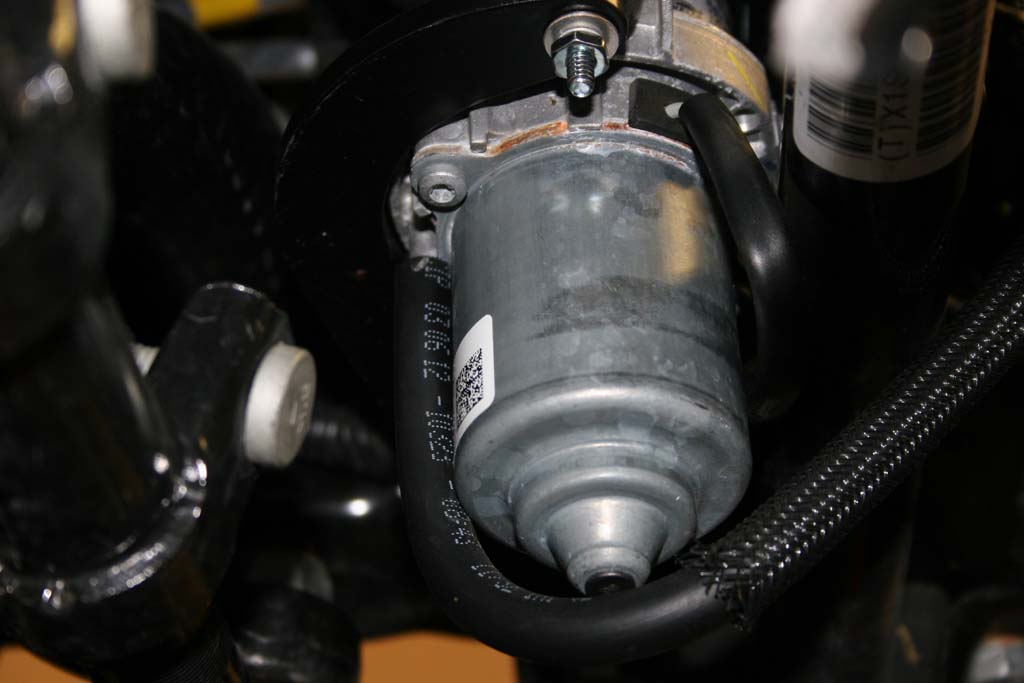
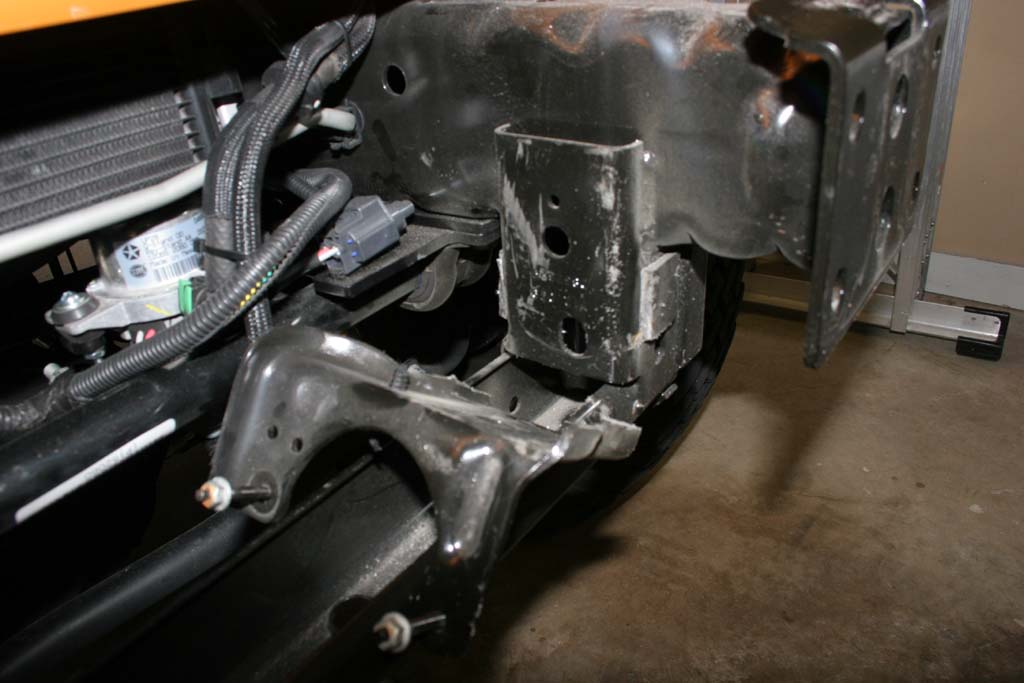
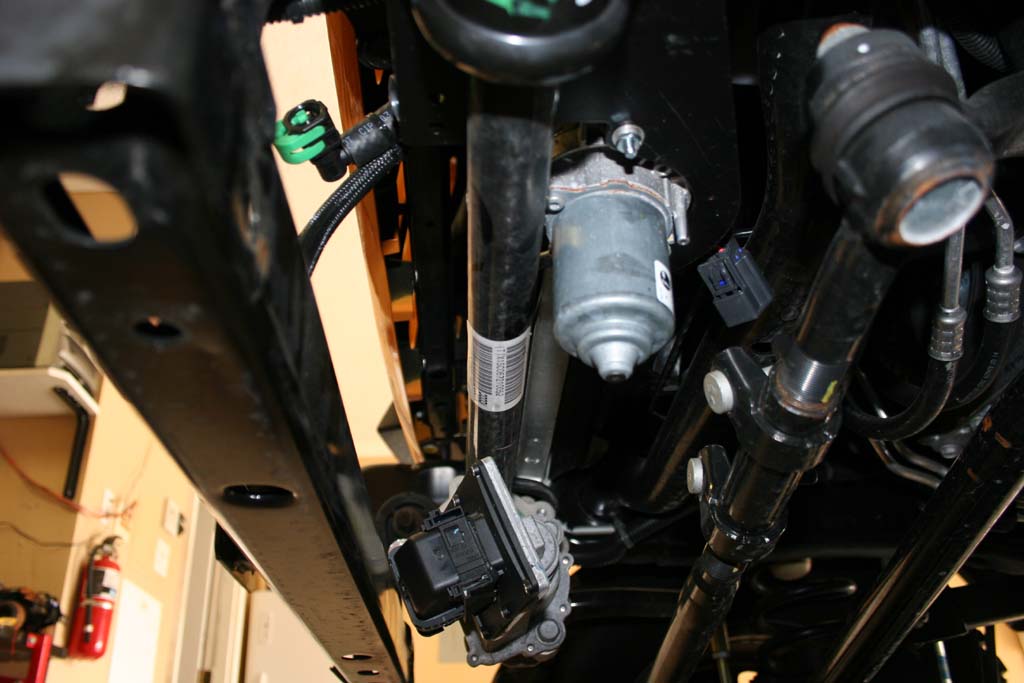
| Vacuum pump in all it's in the way glory. |
 |
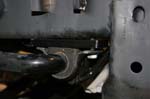
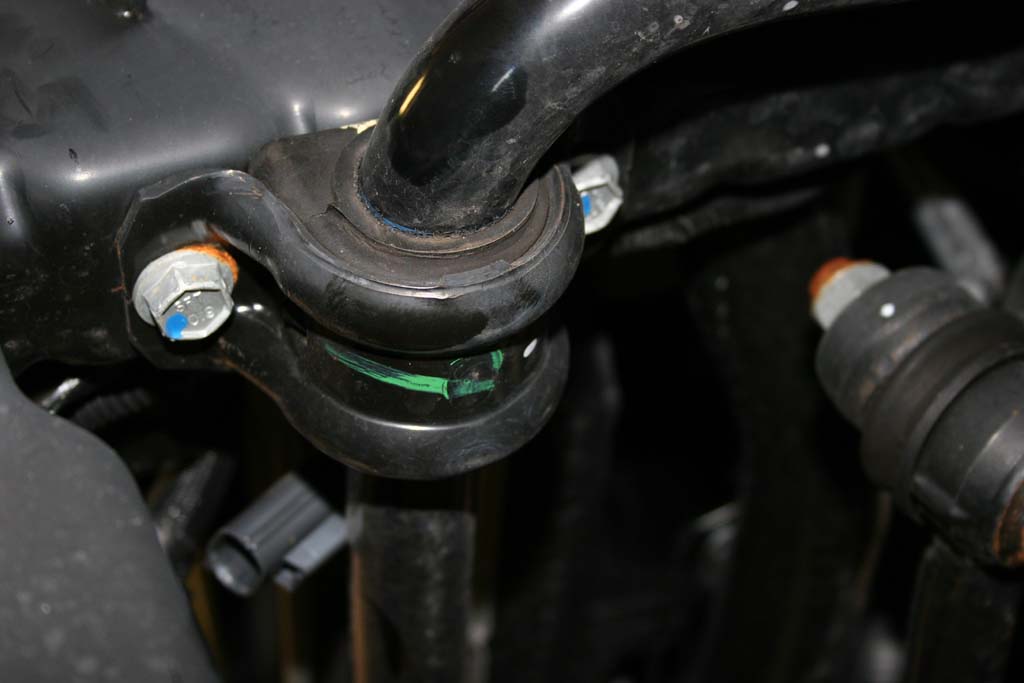
| 1. Loosen all the way, but do not remove the front anti-sway bar bracket to frame bolts. EVO says to remove, but I found that you don't want to do that if your a little lazy, or only have two arms. |
 |
 |
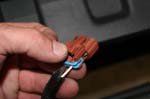
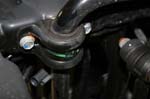
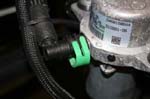
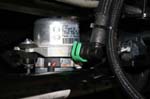
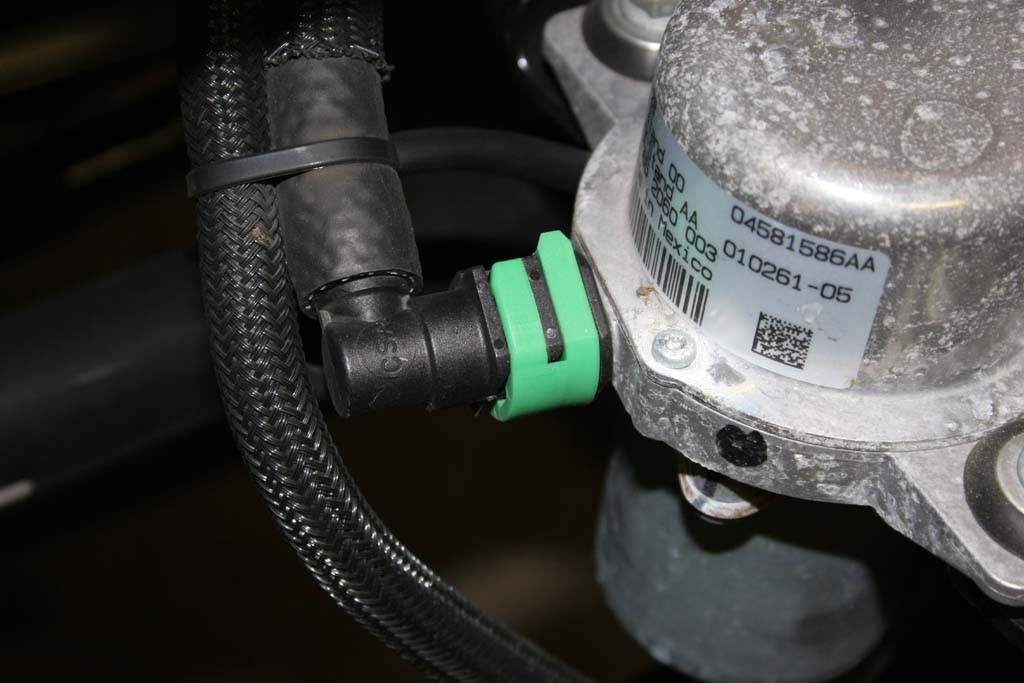
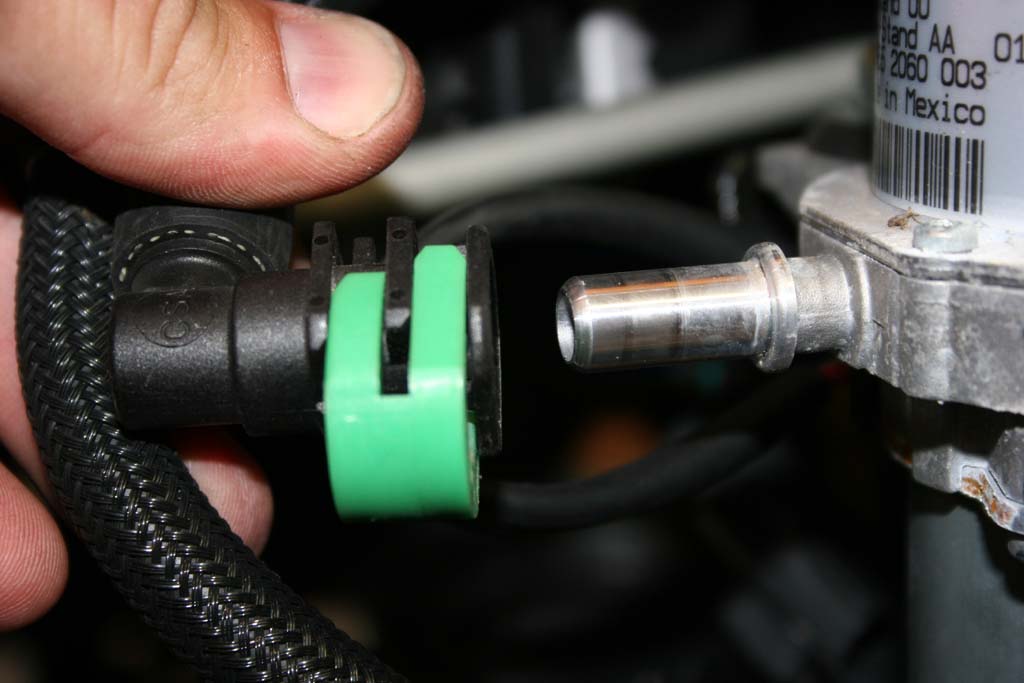
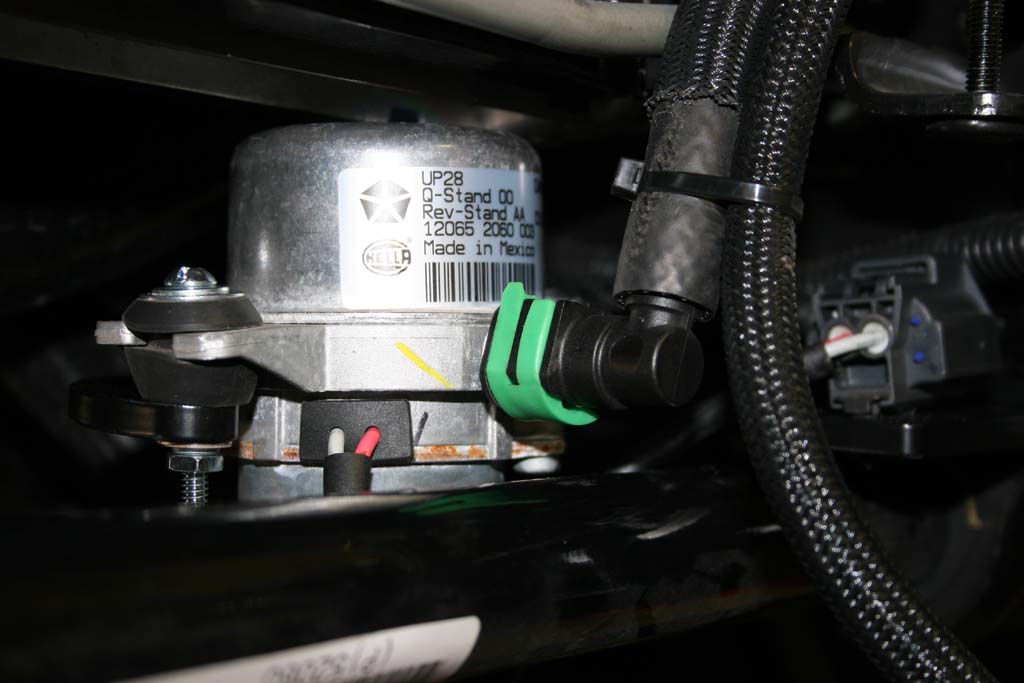
| 2. Remove the hoses from the vacuum pump. You will need to spread the ends of the green connector on the vacuum hose and then push to get it to release. |
 |
 |
 |
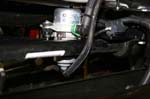
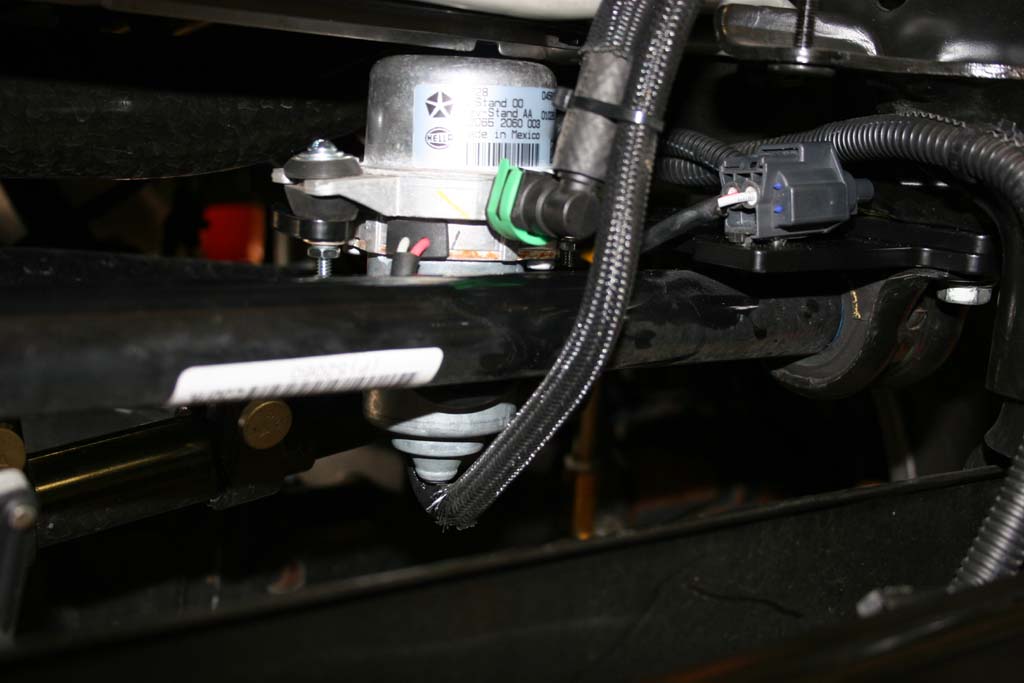
| 2a. Remove the small hose from the back side of the vacuum pump. It will just pull down and off. |
|
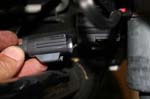
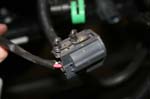
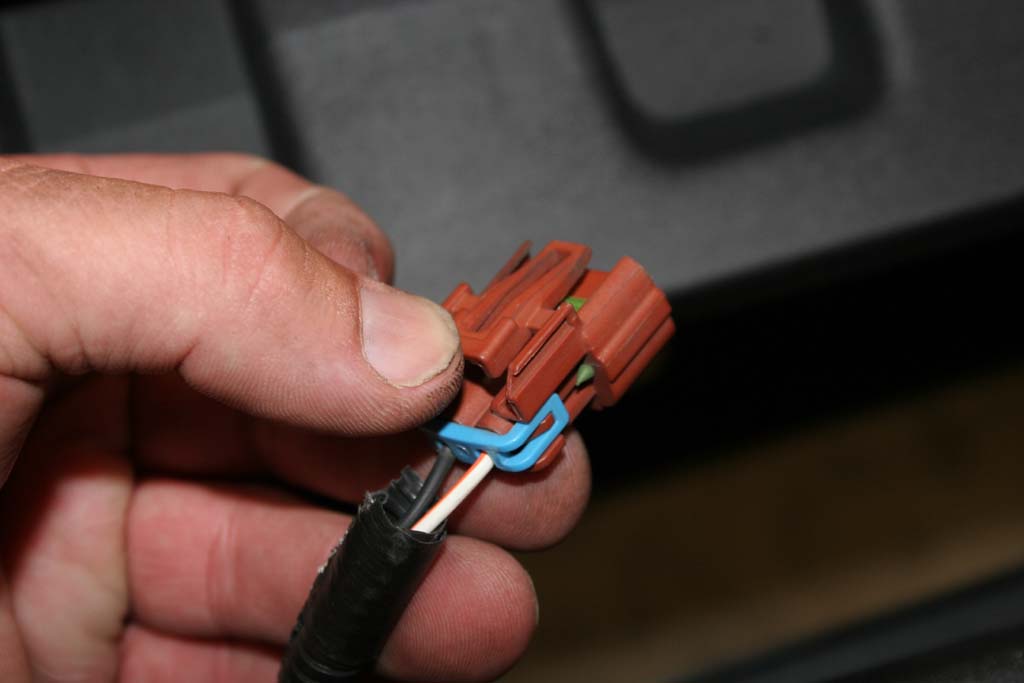
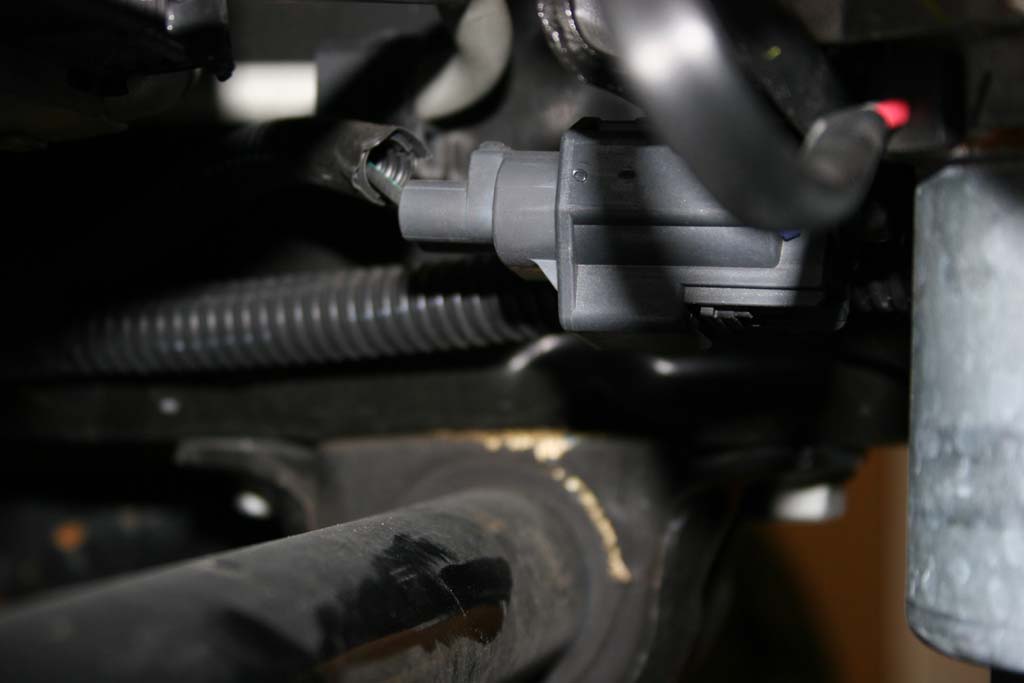
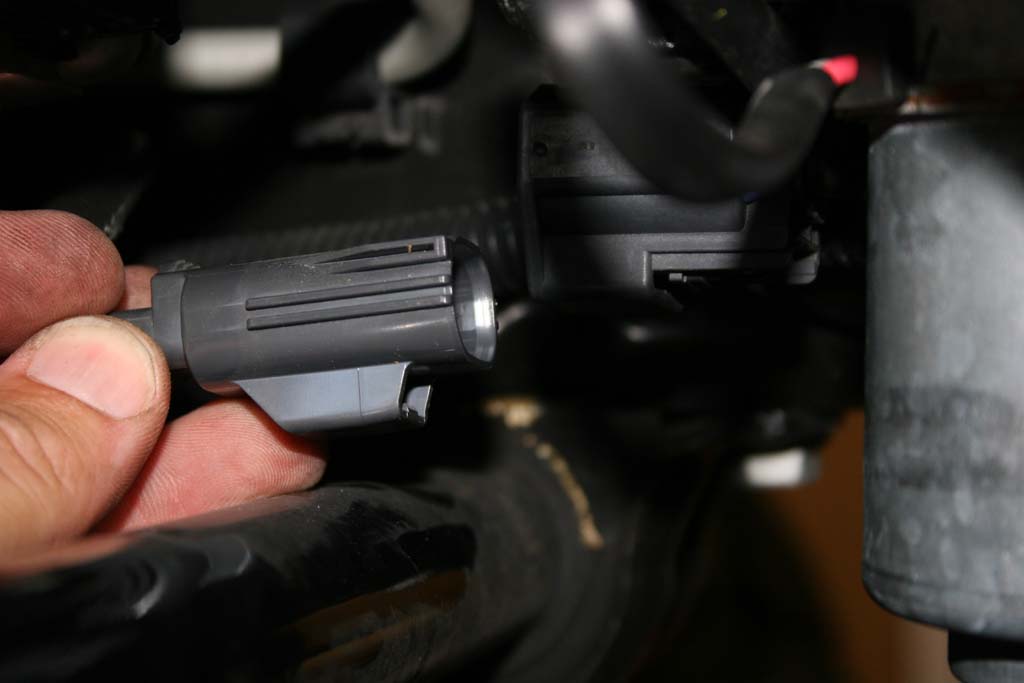
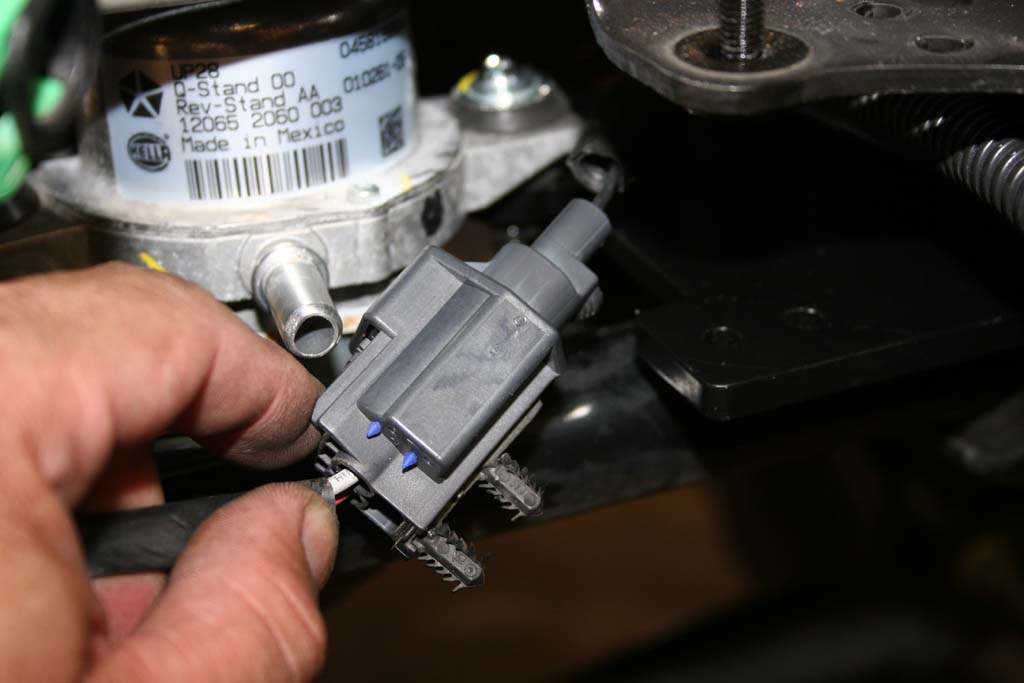
| 3. Unplug the wireing connector. Press the release on the latch and pull it straight back and out. This is a little hard if you have big hands. |
 |
 |
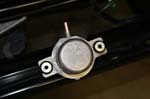
| 4. Remove the two nuts holding the pump onto the bracket with a 10mm socket and 10mm combo wrench. Ratcheting box end wrenches make life easy in tight spots. |
 |
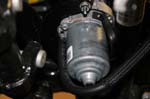
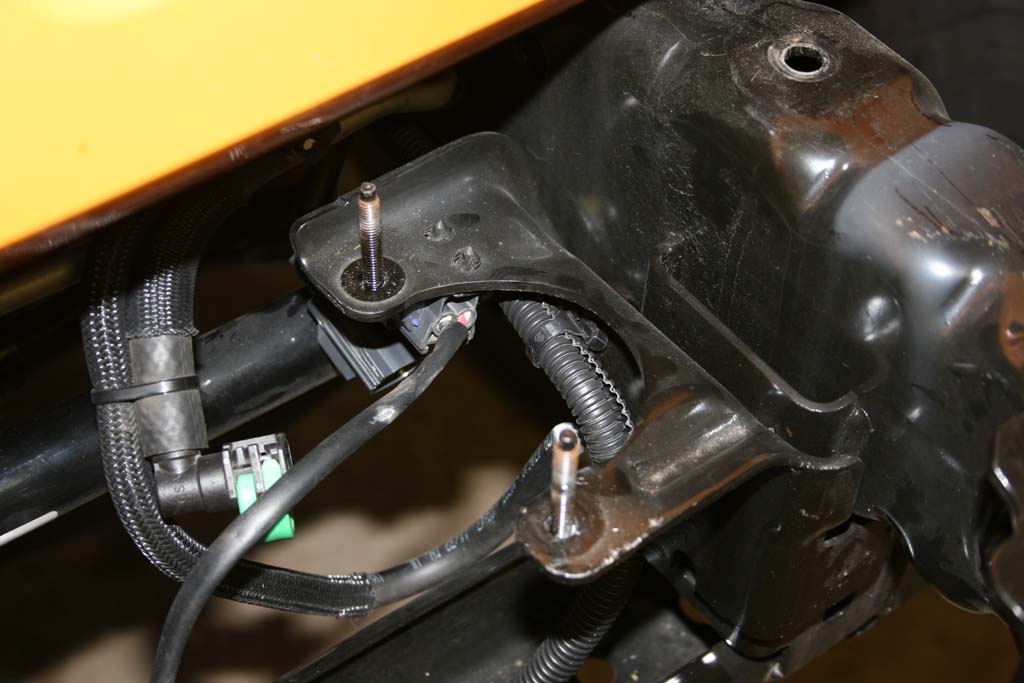
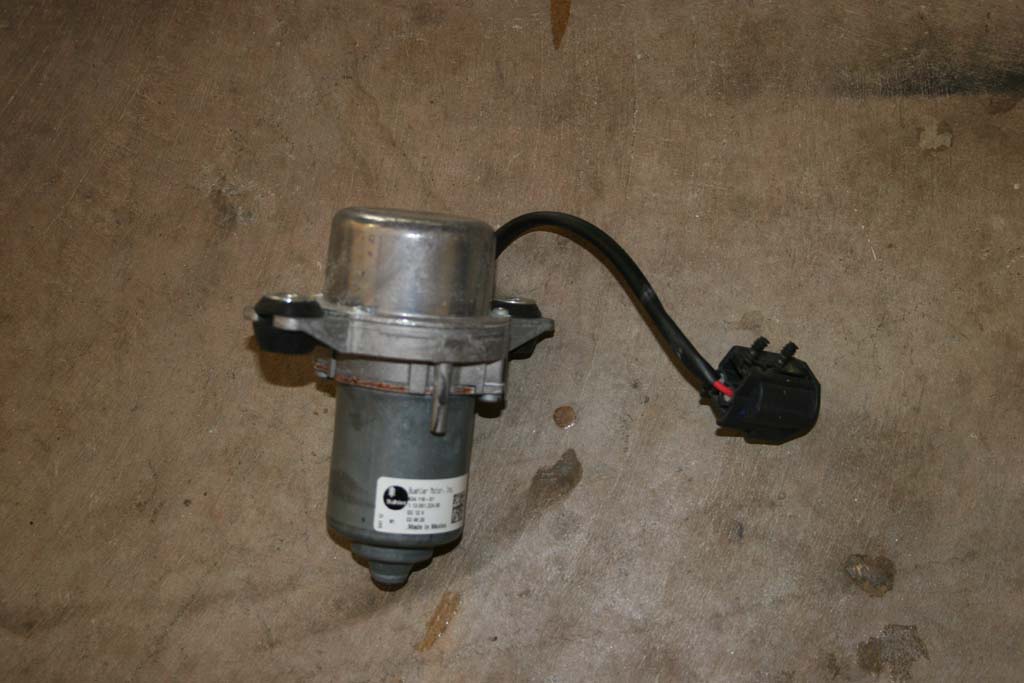
| 5. Remove the vacuum pump from it's bracket. This can require a little prying with a flattip screwdriver to get the rubber bushings to release. |
 |
 |
 |
| 6. Remove the electrical connector from the factory bracket. I just pried it out with a flat tip screwdriver. Didn't take much to get it out. |
 |
 |
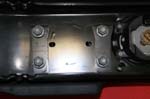
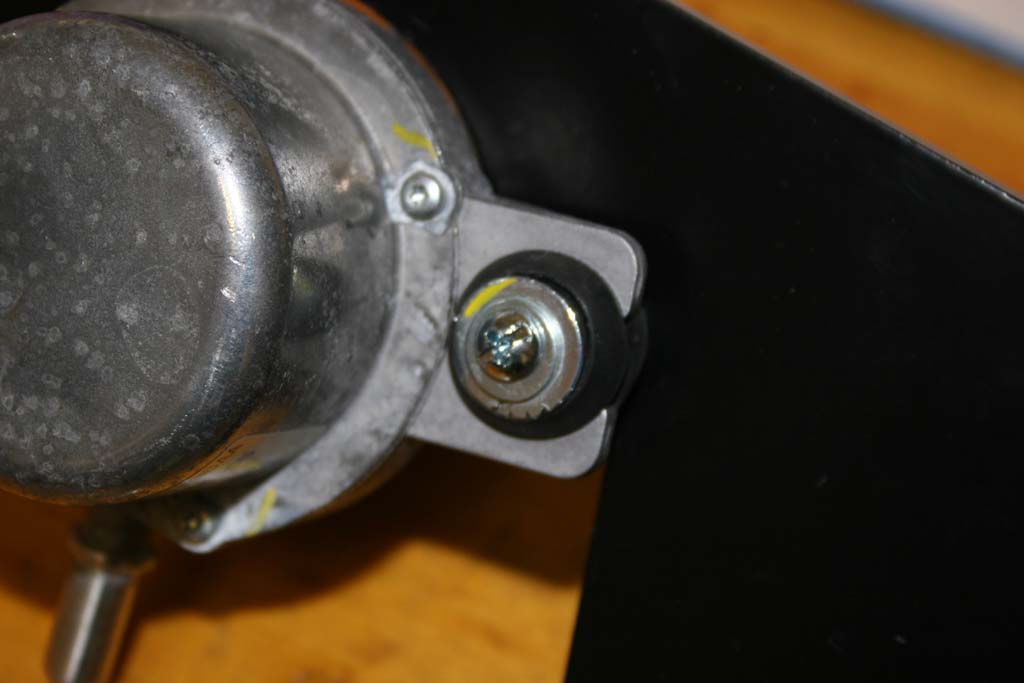
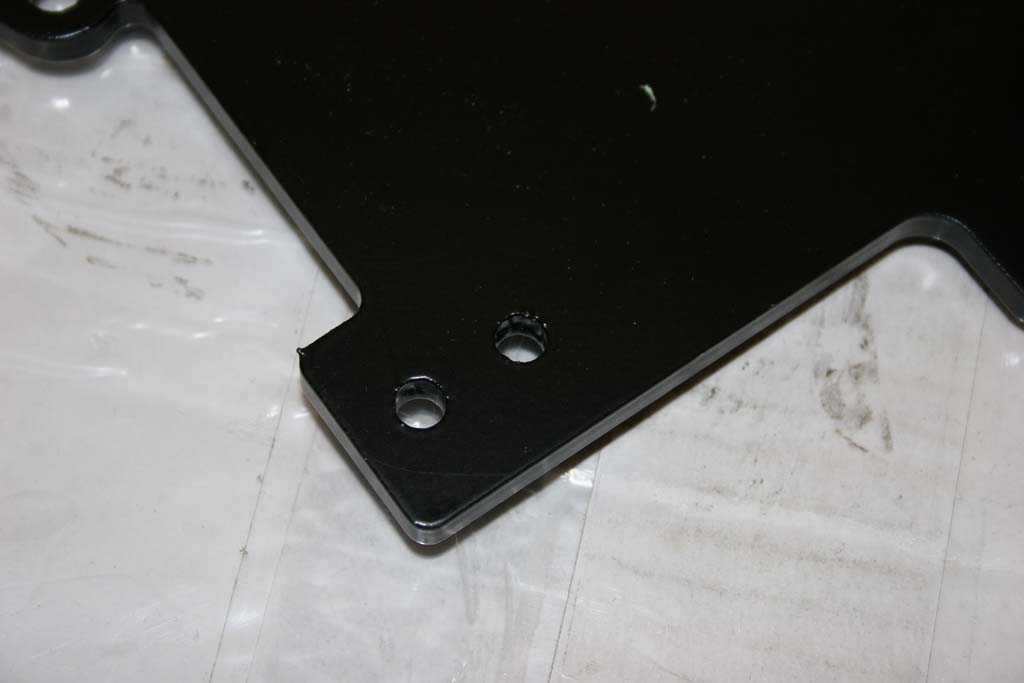
| 7. Install the pump onto the EVO bracket (hose connector goes away from the bracket) with the supplied bolts. The supplied screws were really small compared to the holes, so I pulled out a couple of #10 washers for each side. |
 |
 |
 |
 |
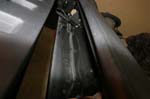
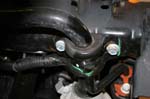
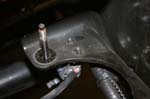
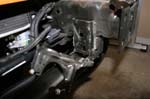
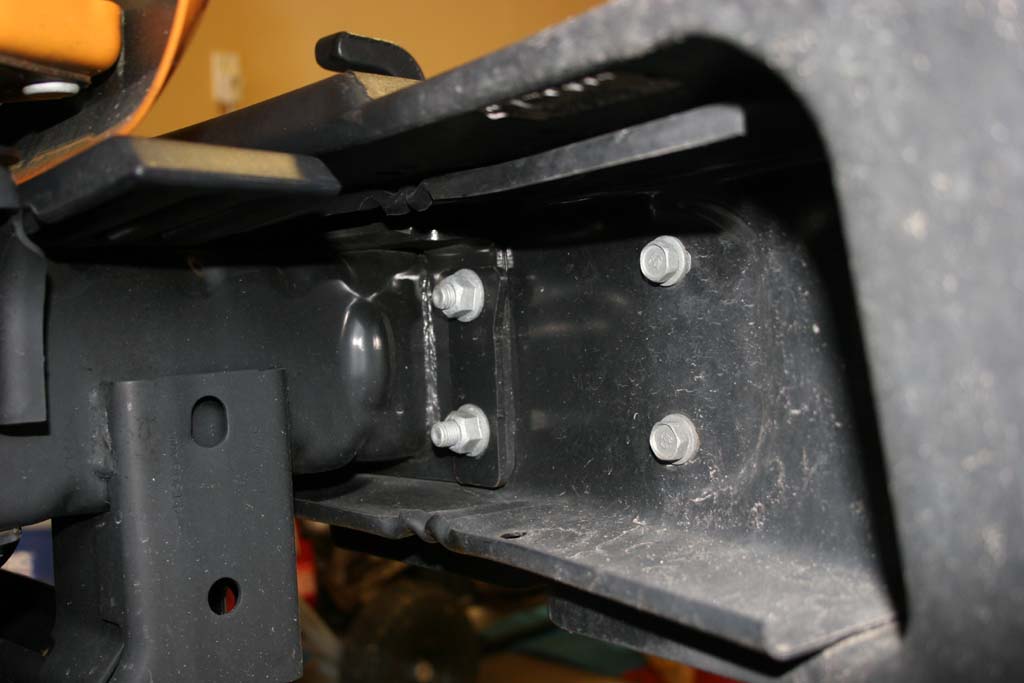
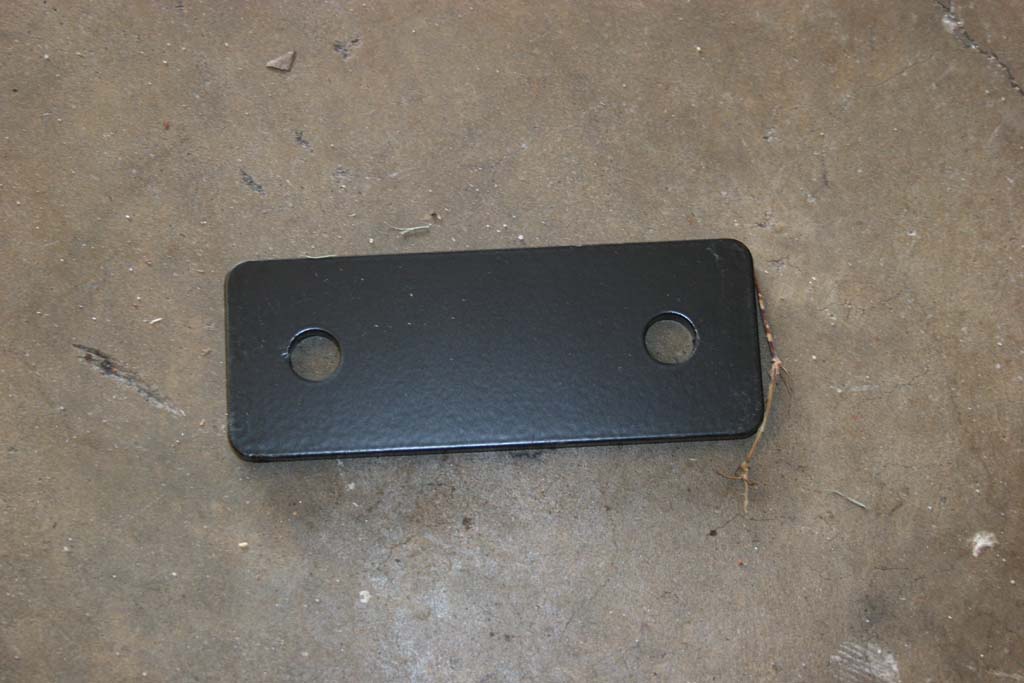
| 8. Remove the two bolts on the driverside from the anti-sway bar bracket. Install the vacuum pump bracket and one spacer above it between the frame and the anti-sway bar bracket. Reinstall the factory hardware. Do not tighten up yet, just get the bolts installed. |
 |
 |
| 9. Remove the two bolts on the passenger side from the anti-sway bar bracket. Install two spacers between the frame and the anti-sway bar bracket. Reinstall the fractory hardware and snug, but do not tighten the bolts yet. |
 |
 |
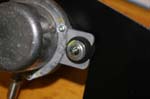
| 10. Tighten the bolts on the driverside anti-sway bar bracket. Check the clearance of the pump to the anti-sway bar. It shouldn't be rubbing. There is plenty of play on the plate for you to shift it a little. Tighten all anti-sway bar bolts to factory settings. |
 |
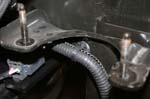
| 11. Reconnect the vacuum pump lines to the vacuum pump. Make sure you reinstall the green clip to hold the line onto the pump. Route the smaller line down and around the anti-sway bar to the small fitting on the back of the pump. If you need a little more line you can pull a little down from above. I didn't need to with my install. |
 |
 |
 |
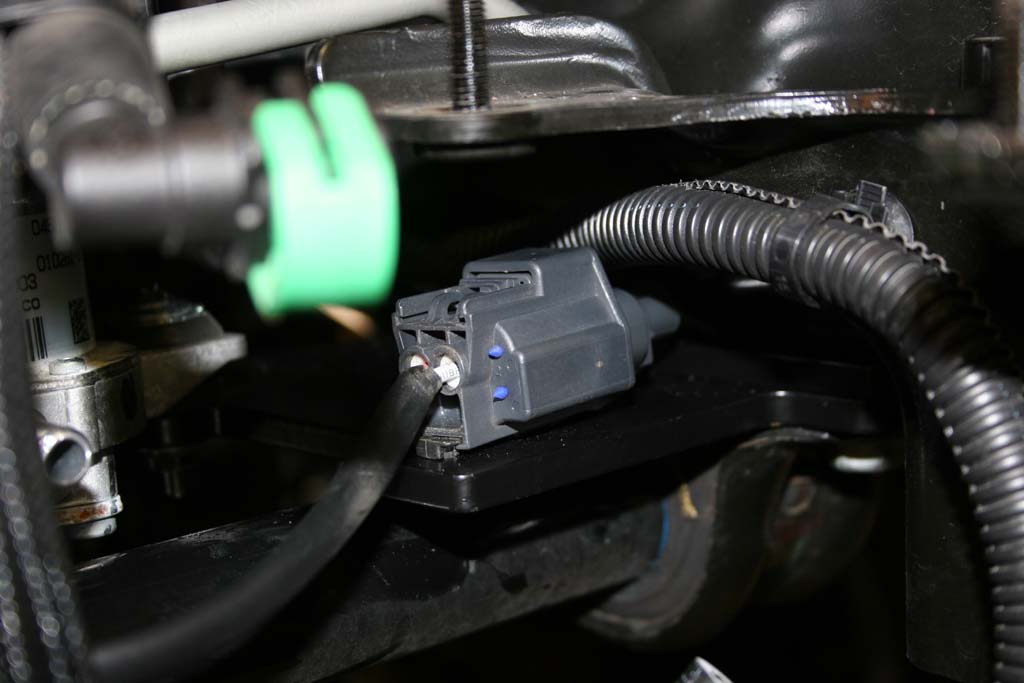
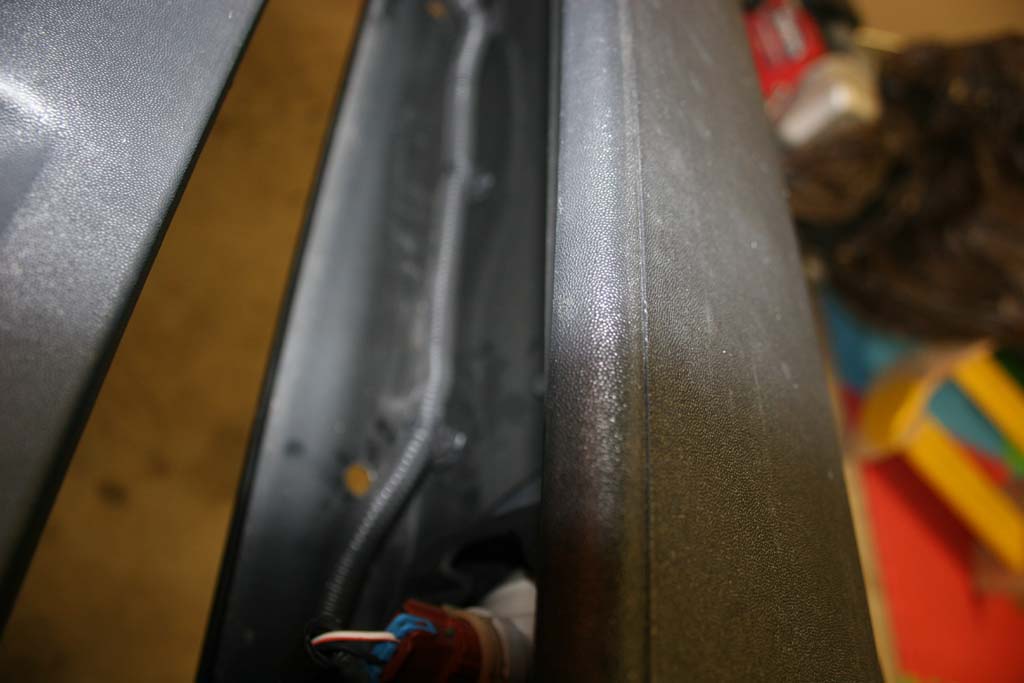
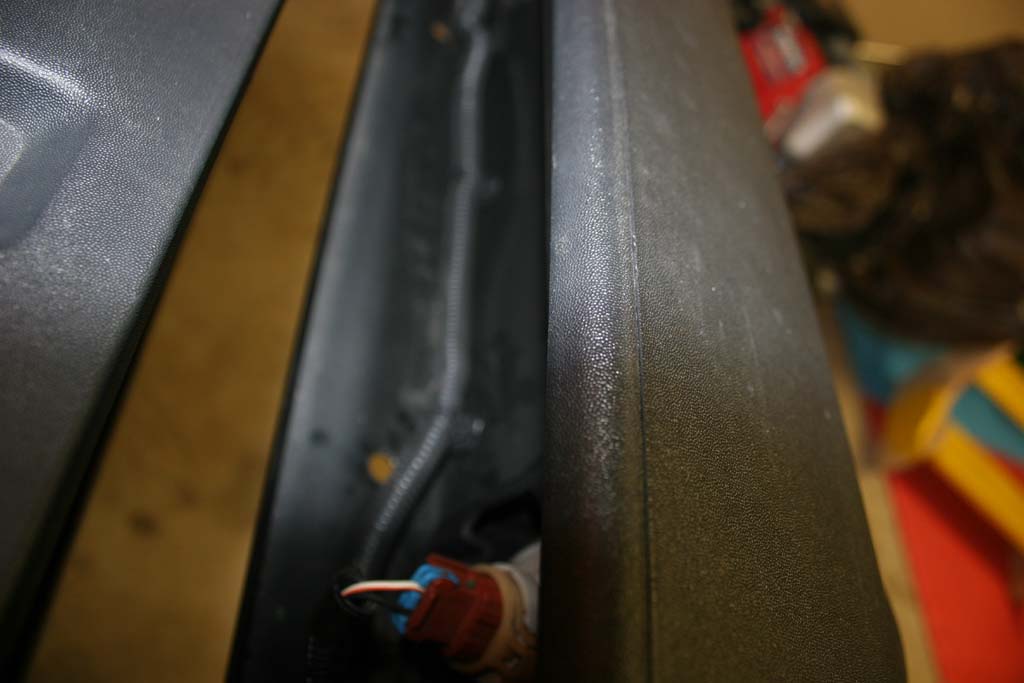
| 12. Reconnect the electrical connector and push the trees into the supplied holes on the EVO bracket. |
 |
 |
 |
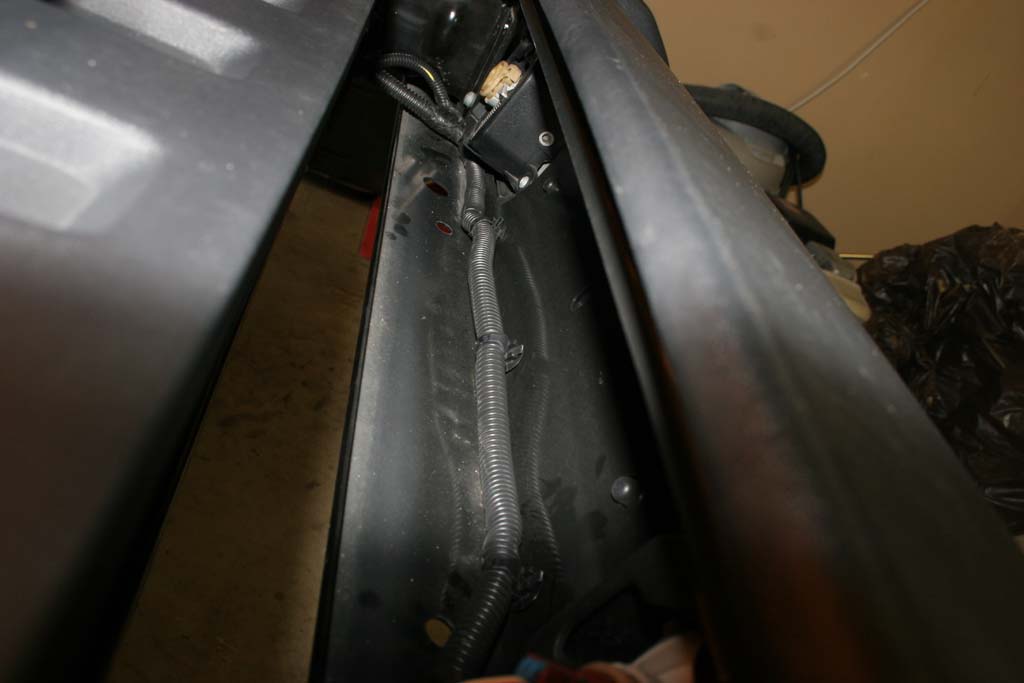
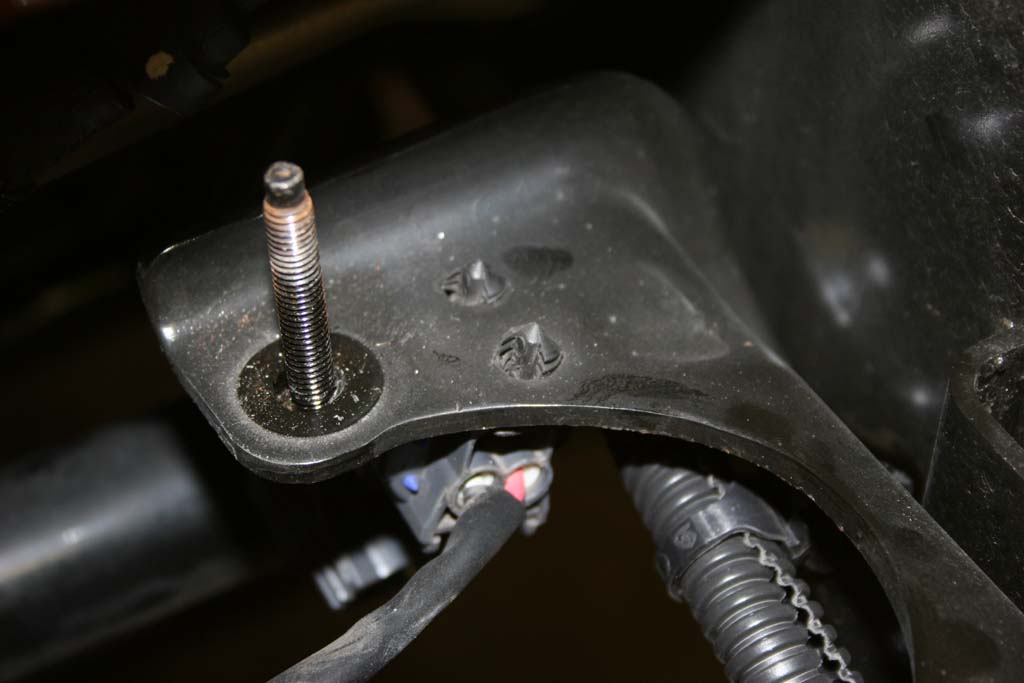
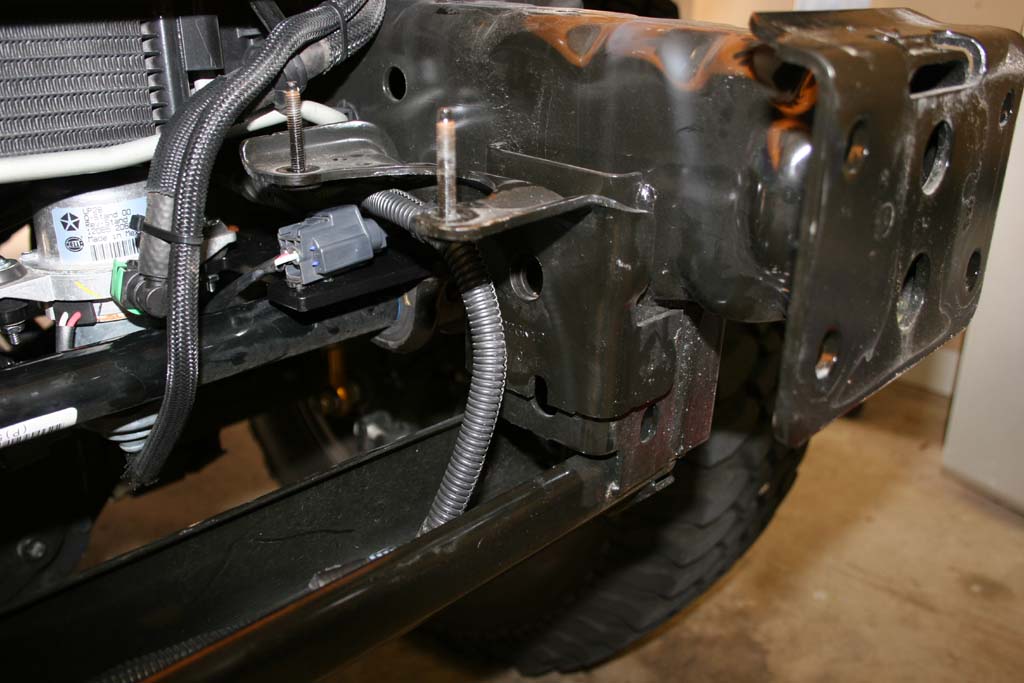
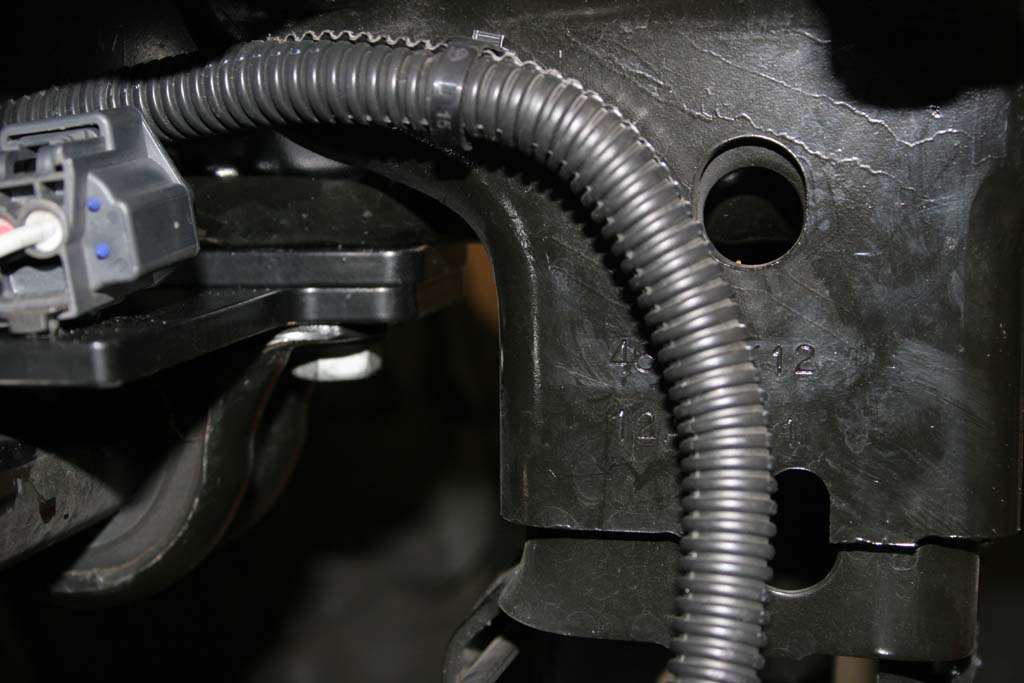
| 13. Remove the zip tie from the factory bracket to clear the wire harness for the factory fog lights. I just cut the zip tie and pulled the remains out of the bracket. |
 |
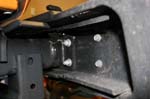
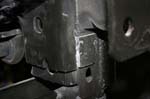
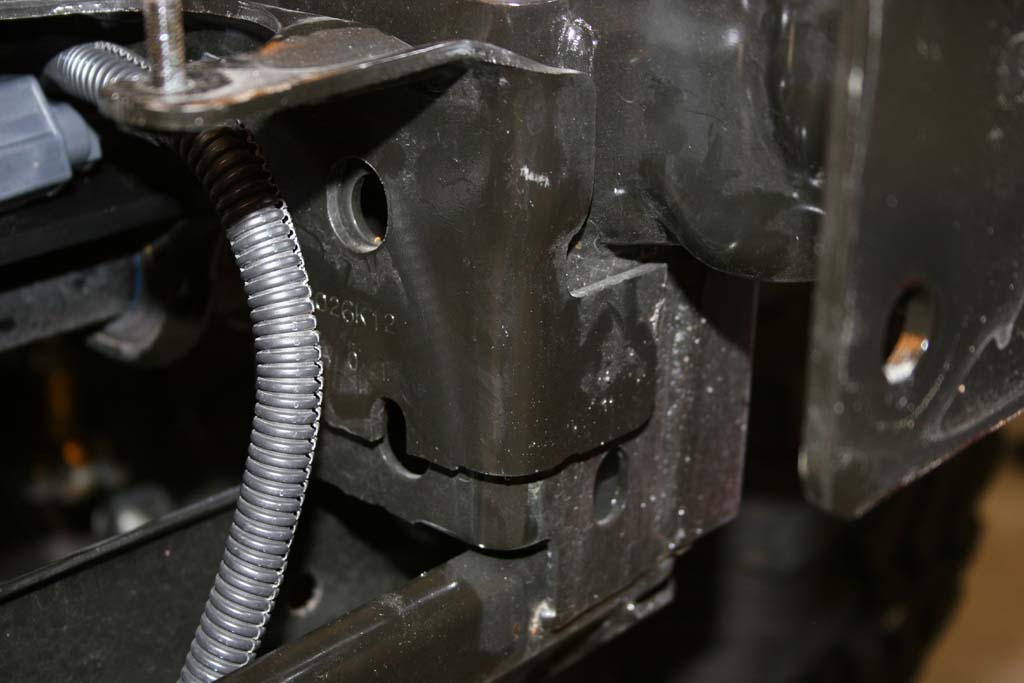
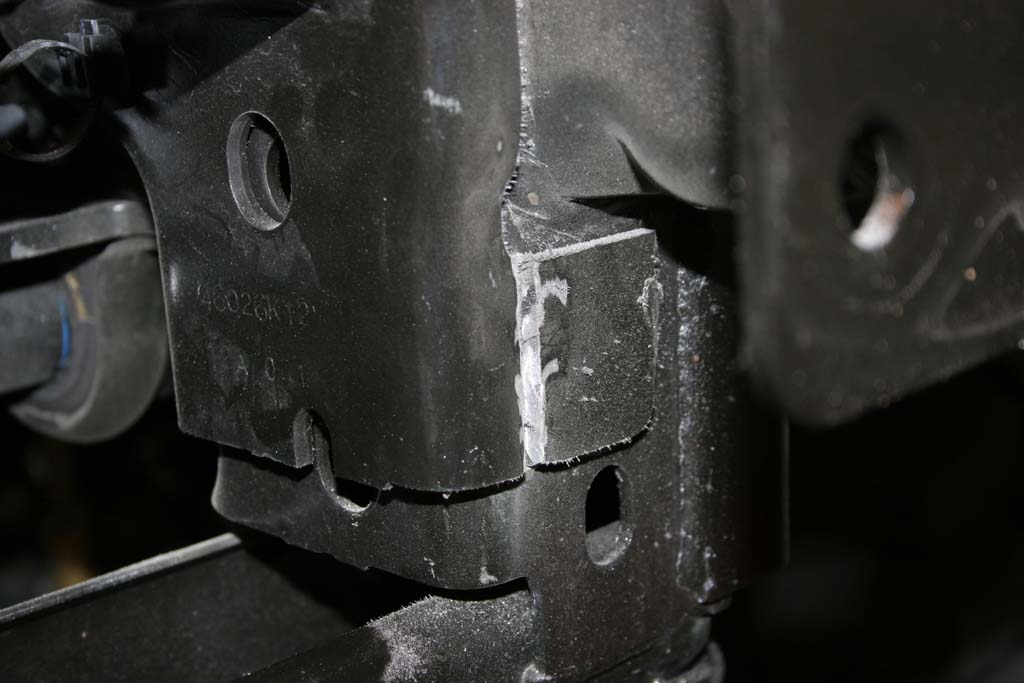
| 14. Remove the factory bracket. Cut the bracket on the inside and outside with a cutoff wheel and dremel. Pry the bracket off with a flat tip screwdriver. |
 |
 |
 |
 |
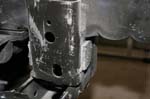 |
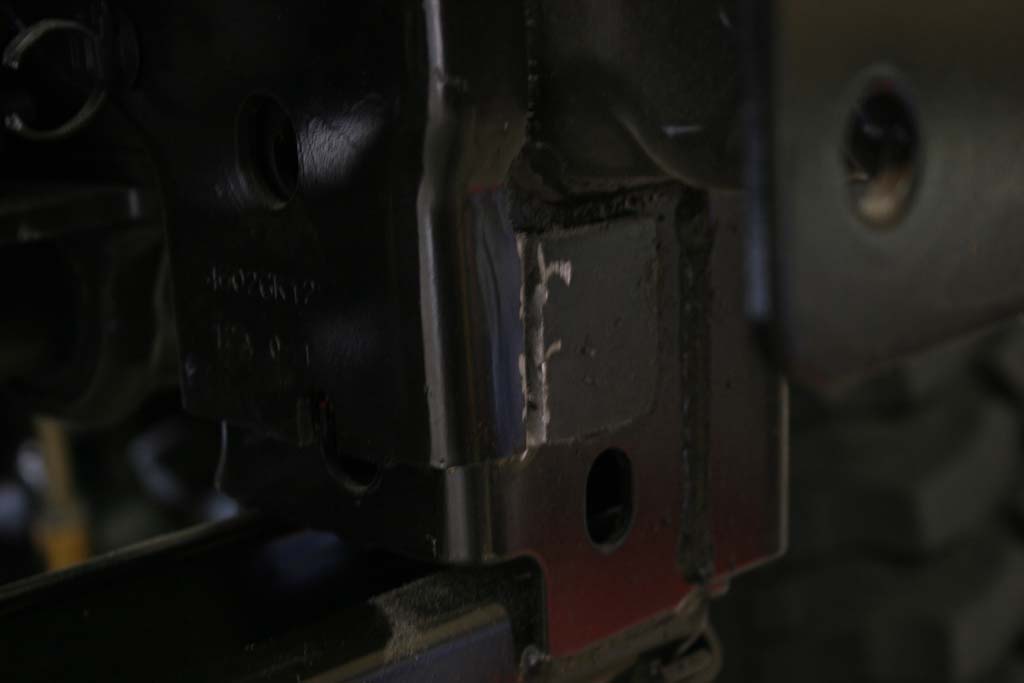
| 15. I just hit the cutoffs with some black spray paint to keep the rust away. |


