I had always noticed how dim the headlights were on the
Jeep, but never really had a reason to replace them yet. I was thinking
about doing the IPF conversion to them eventually so had held off.
Then came a mysterious draining of my battery. Not once, or twice,
but 3 times the battery was sucked dry. I couldn't figure out what
was draining down the battery. Until I happened to look down at
the Passenger side headlight harness. I noticed that the insulation
had melted back away from the connector, that was strange, so I decided
to pull it off and part of the light came with it. Well now I needed
a new headlight. I had seen pictures of how much brighter the Silverstars
were compared to stock, and since I knew I could get them a lot faster
than the IPF conversion I went ahead and purchased them.
Additional
Parts:
Tools
Needed:
T-20 Torx
Installation:
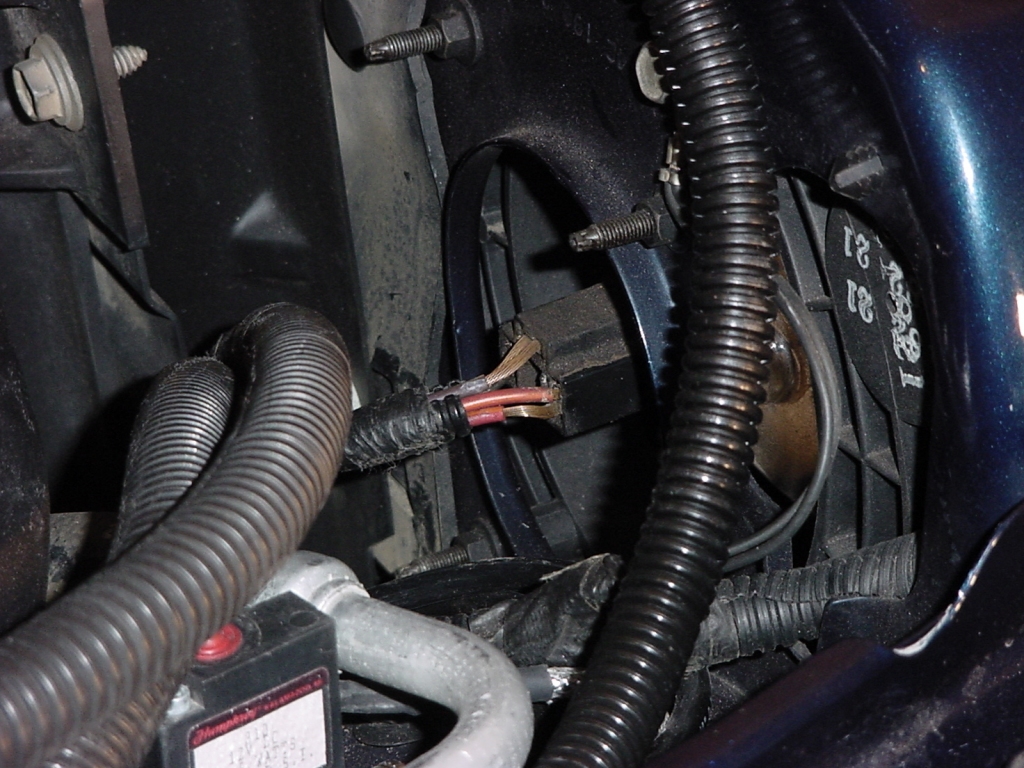
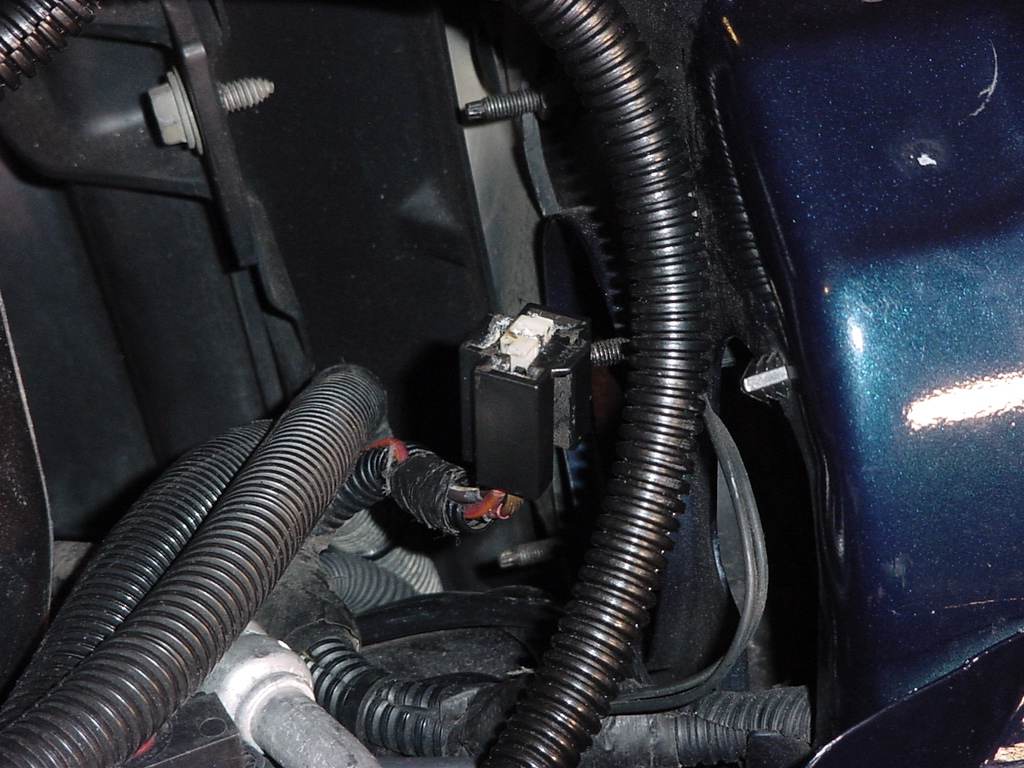
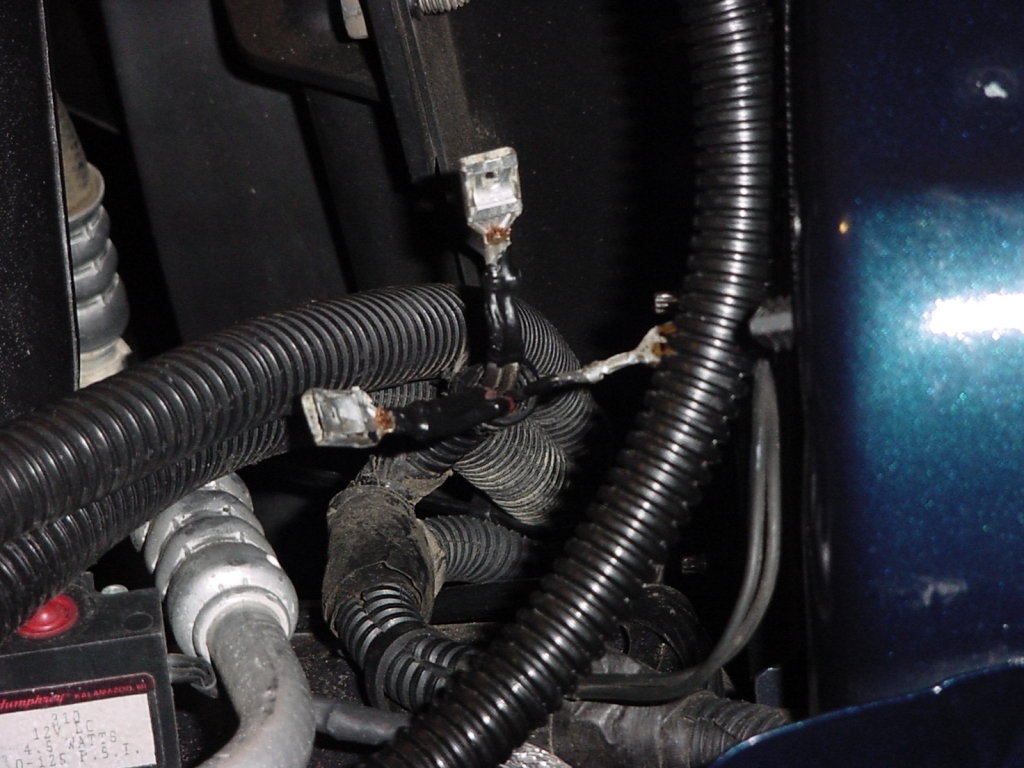
This
is what I discovered when I looked at the passenger side headlight
harness. After I unplugged it the battery didn't drain down,
so I figure this was the problem.
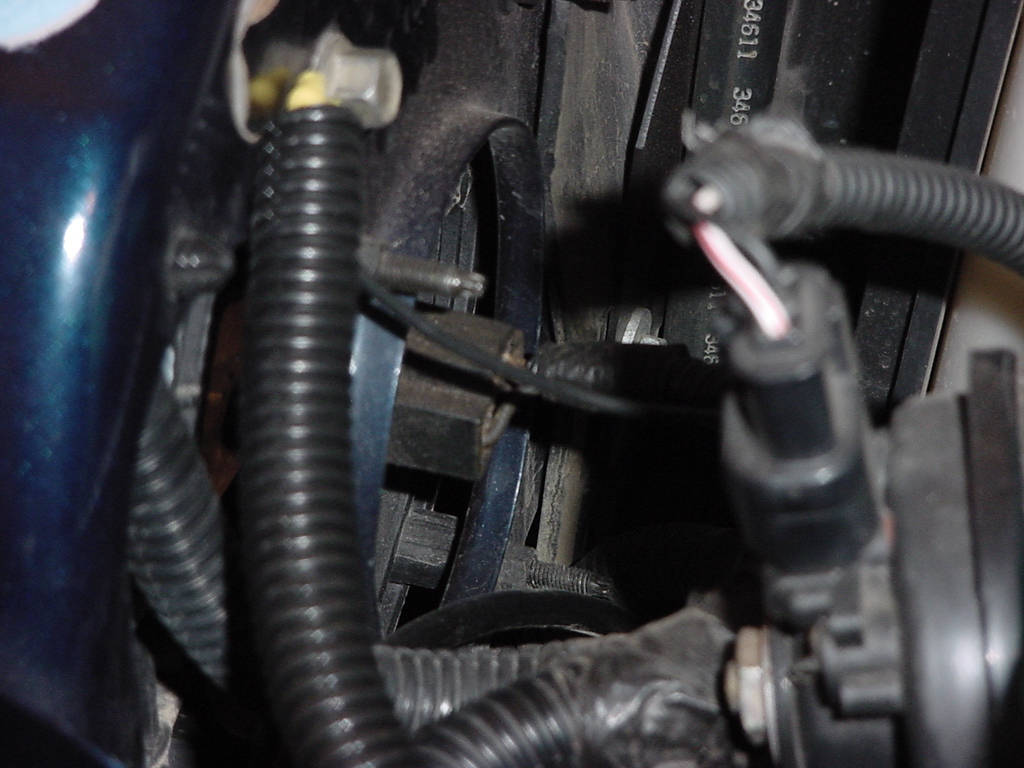
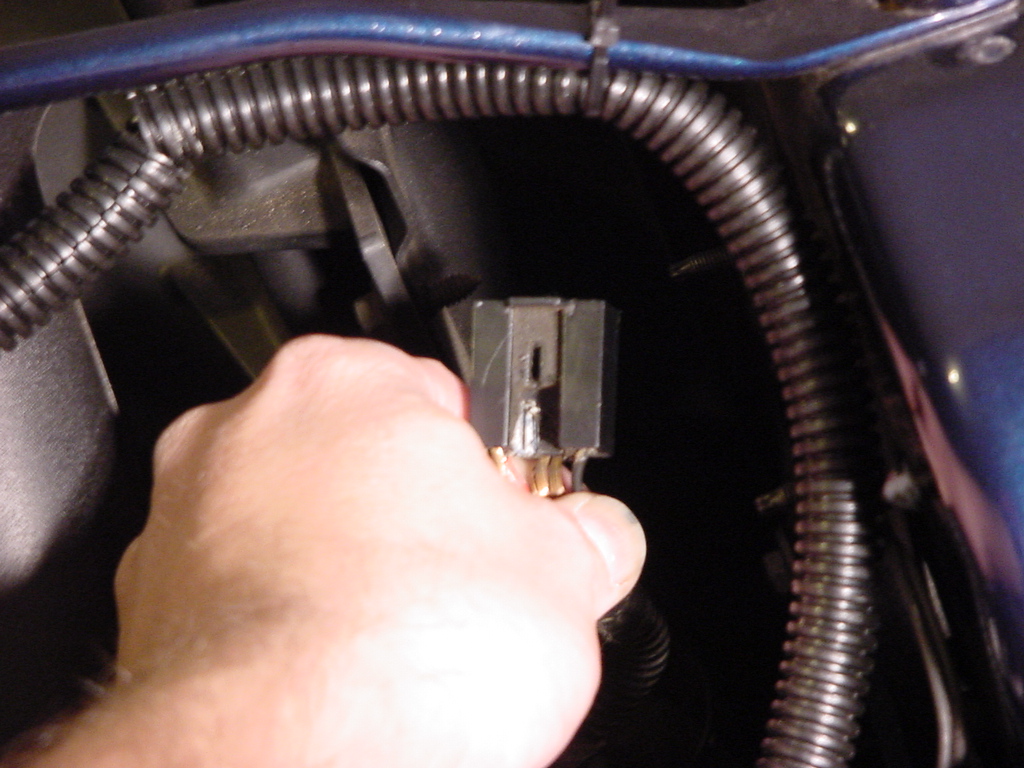
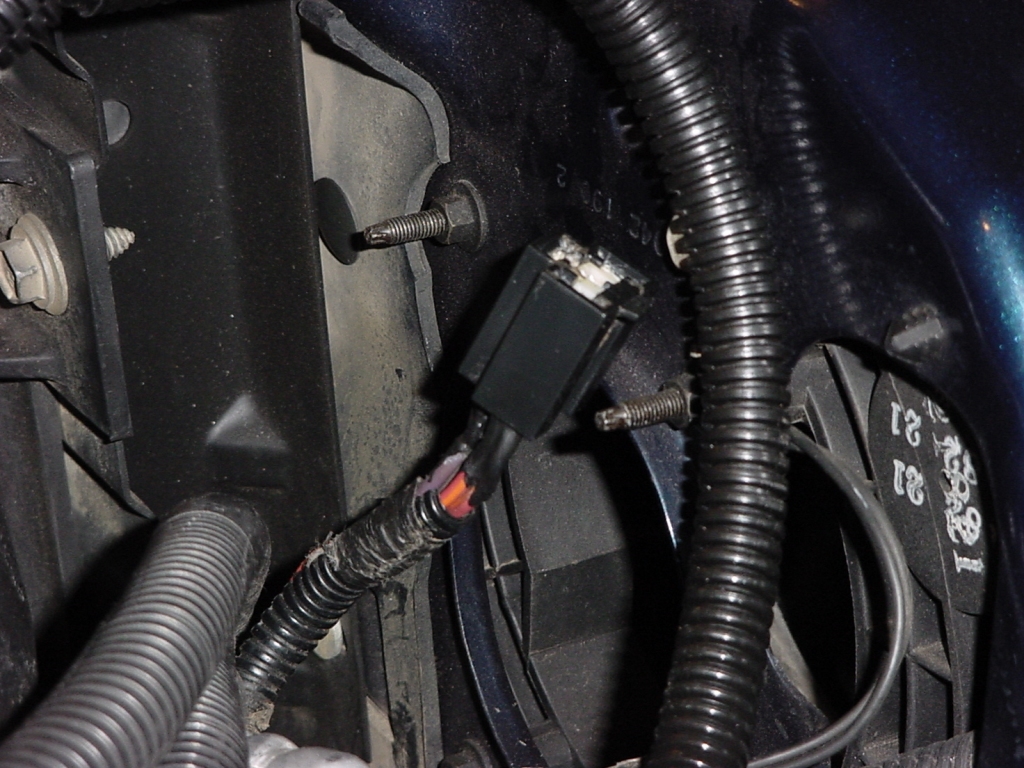
What
it should have looked like over on the driver side. If your
changing out the headlights, you will need to unplug both of these
connectors.
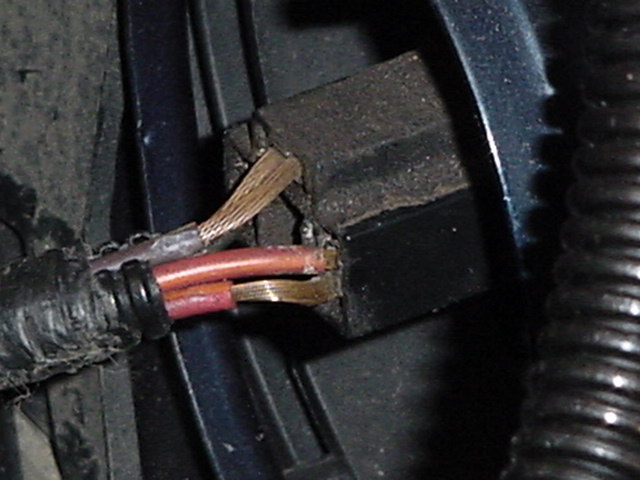
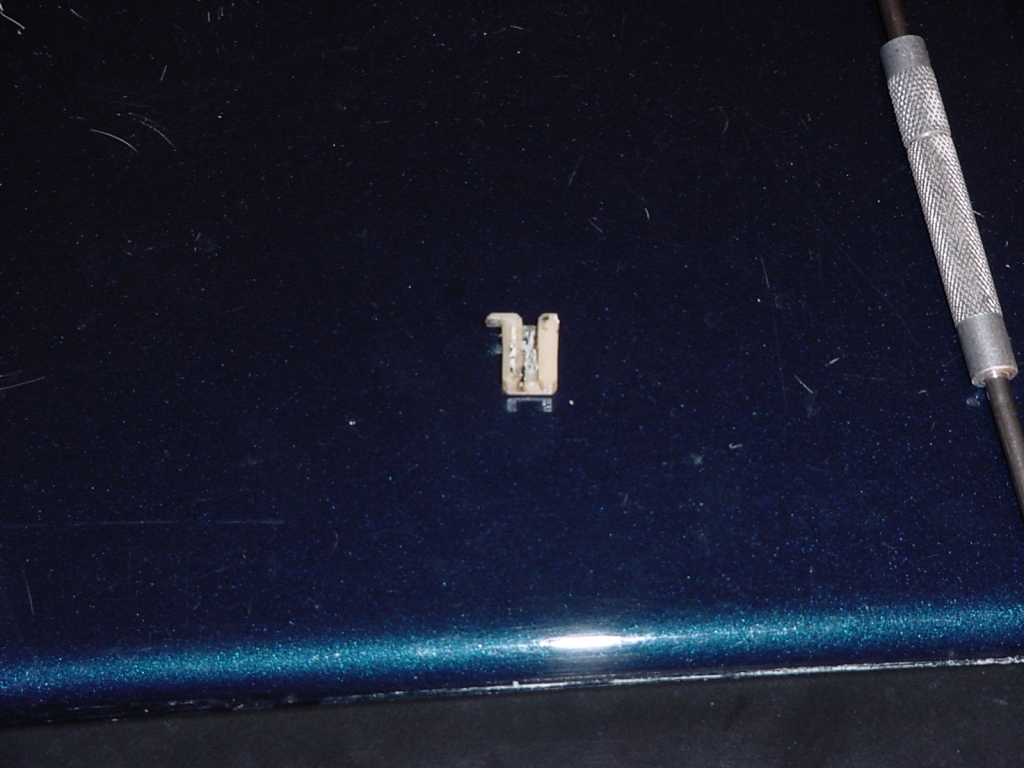
When
I unplugged the harness from the passenger side the upper prong
that is supposed to be welded onto the headlight came with it.
I believe that the increased amp draw could have been the cause
for the melting of the wires.
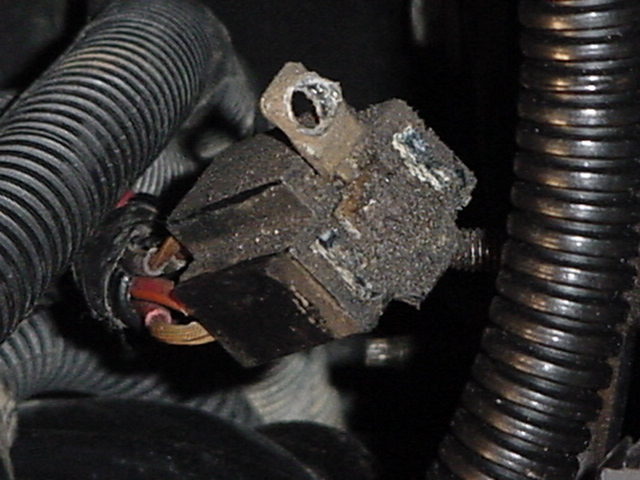
I
wiped the plug clean and went about removing the wires from the
plug so I could clean them up.
You
will need to remove the plastic clip from the inside of the connector.
It is clipped in, so all you have to do is lift the plastic tab
and push it out. Be careful I ended up braking one of the little
feet off of the side of it.
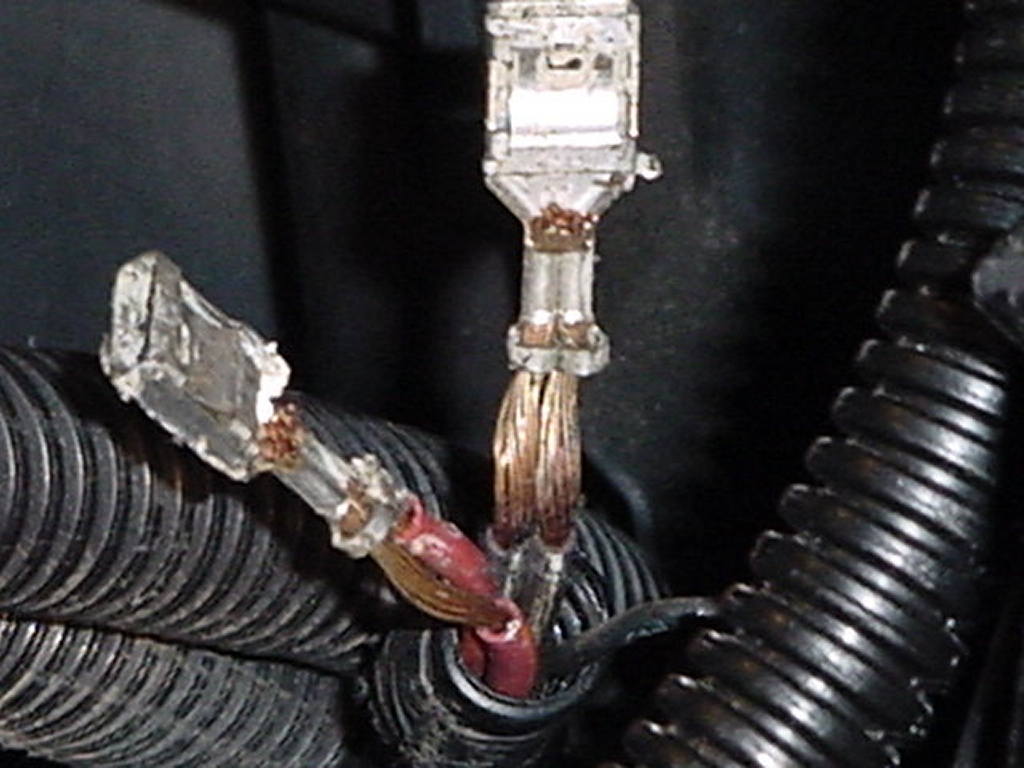
Here
is a close up of the wiring, you can see how it is melted back.
I
coated the wires with a couple coats of liquid electrical tape.
Make certain that all the wires are coated well so that they don't
touch each other.
I
then plugged them back into the connector after letting them dry
overnight.
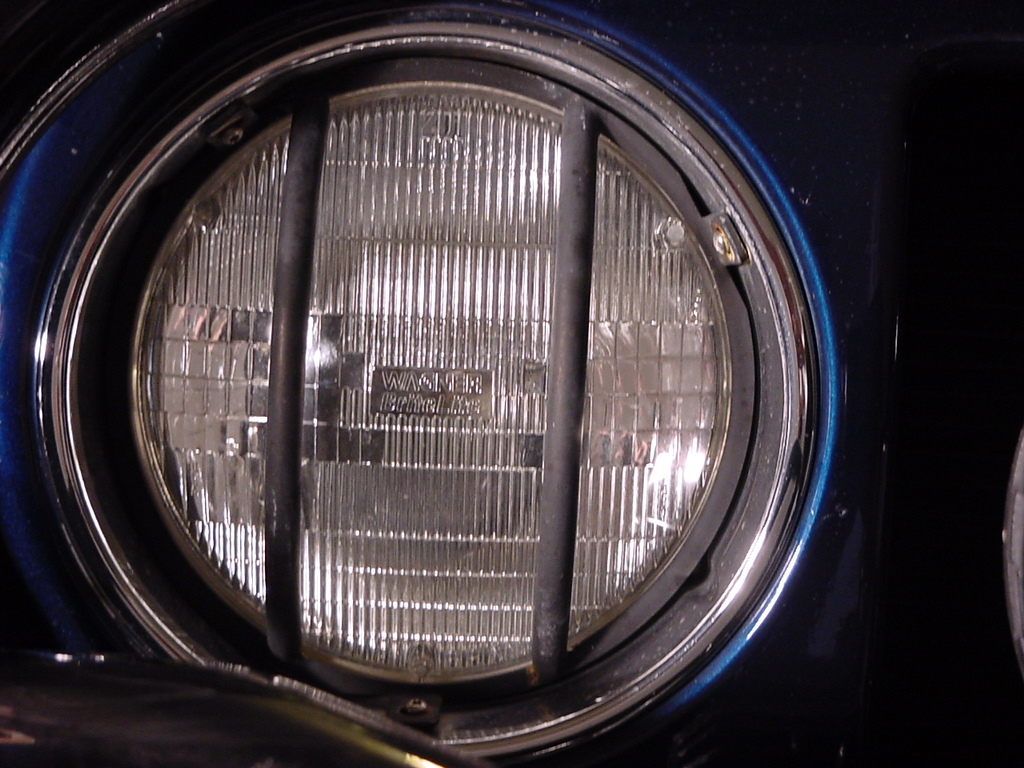
Here
is the new silverstar, you can see that it is brighter than the
old OEM lens sitting next to it. I thought it might be a trick
of the camera, but I held them both up next to each other and the
silverstar was definitely brighter. The OEM was yellowish.
Remove
the 3 T-20 Torx screws holding the bezel on. This will allow
you access to the mounting ring torx's underneath.
Remove
the 3 mounting ring torx's with a T-20 Torx. Make certain
that you are removing the screws holding the mounting ring and not
trying to remove the adjusting screw. Note that the mounting
ring has the tabs in a certain position. It only goes in 1
way.
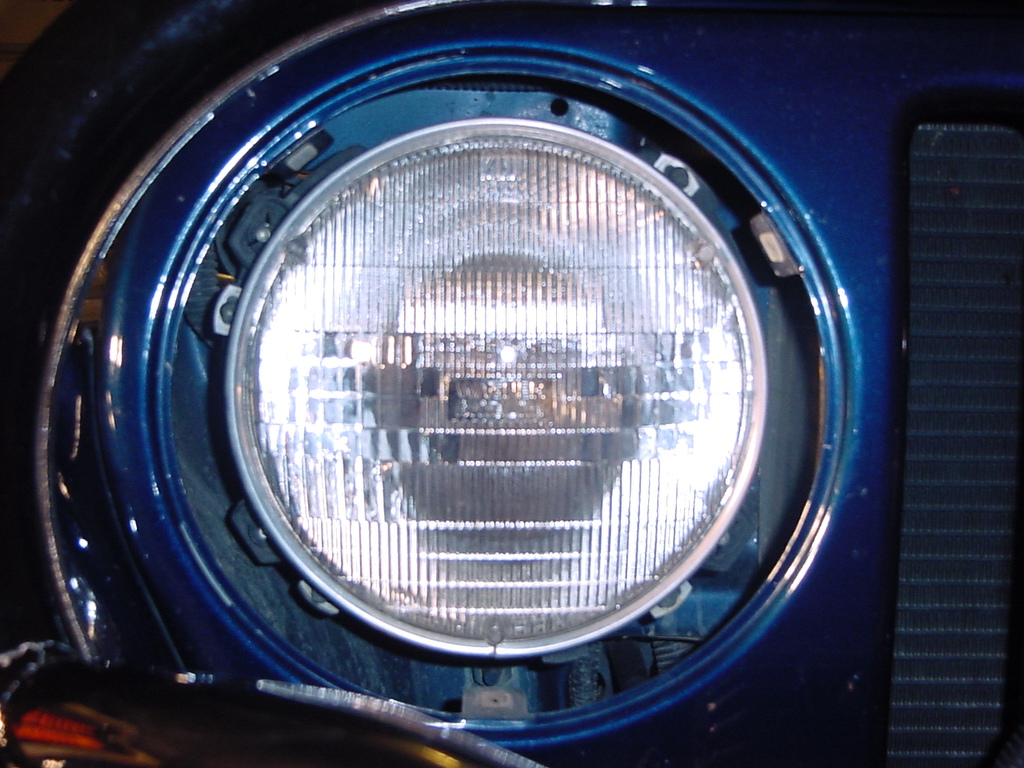
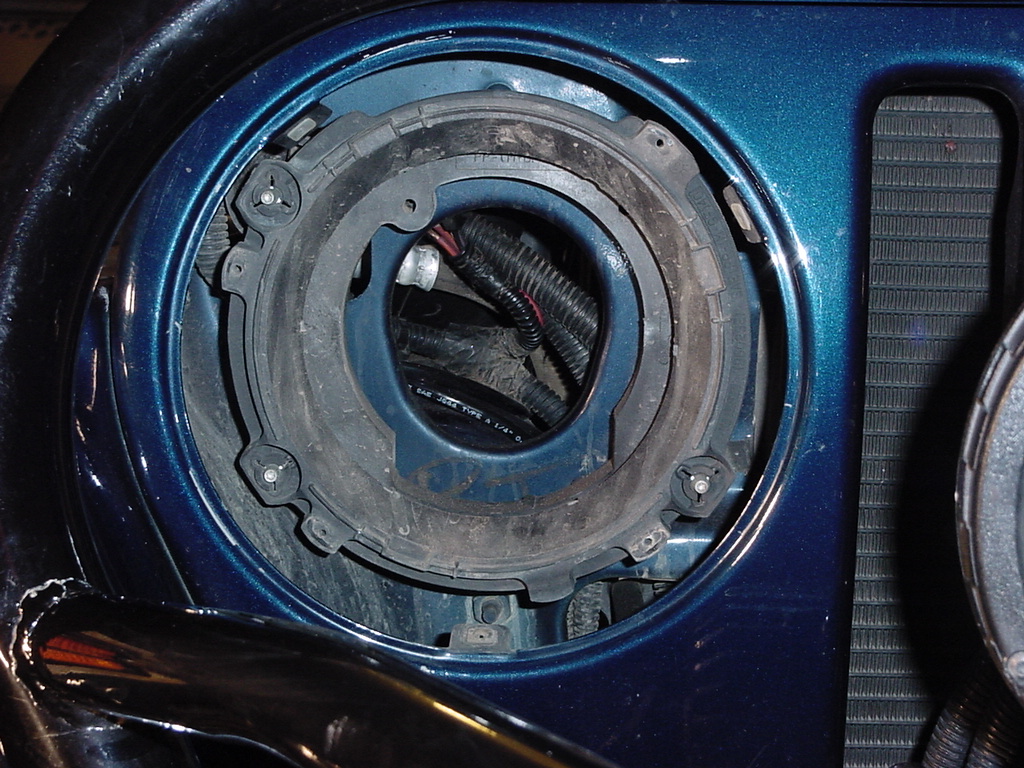
This
is what the holder looks like without the headlight in. Now
reinstall the new headlight in reverse order. Don't forget
to plug in the connector on the back side. The headlight has
an indexing tab on it, so that you put it in the right way.
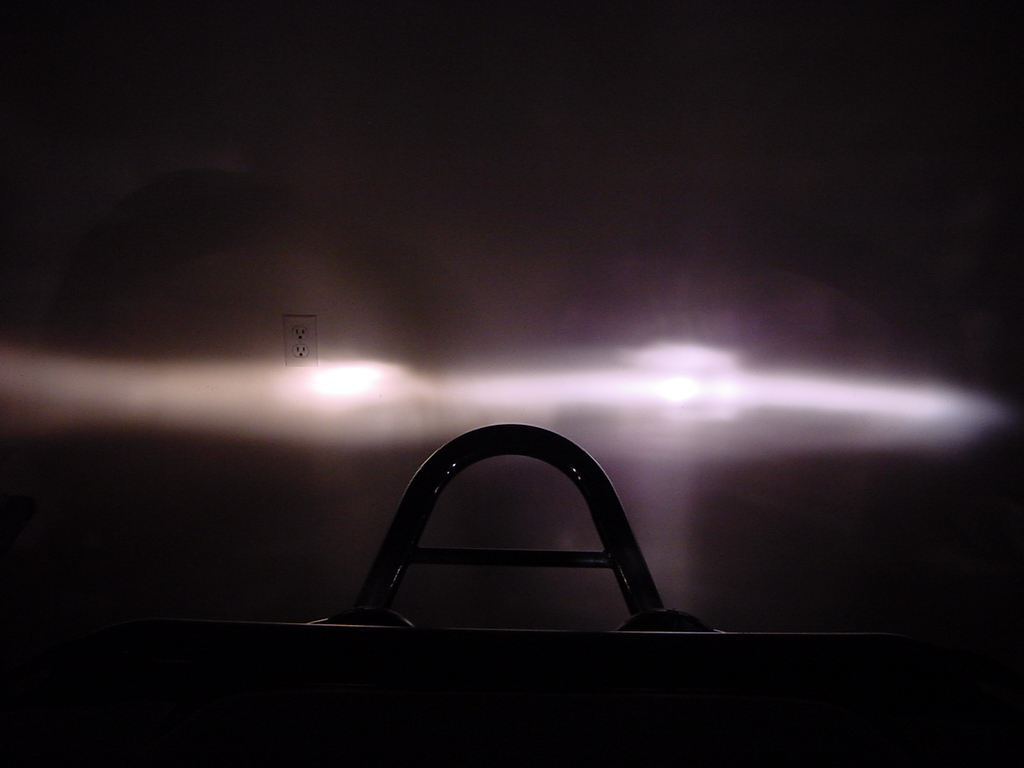
Here
you can see the light color difference between the OEM (Left) and
the Silverstar (Right). Not only is the light whiter, but
it definitely is brighter at night.