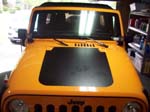
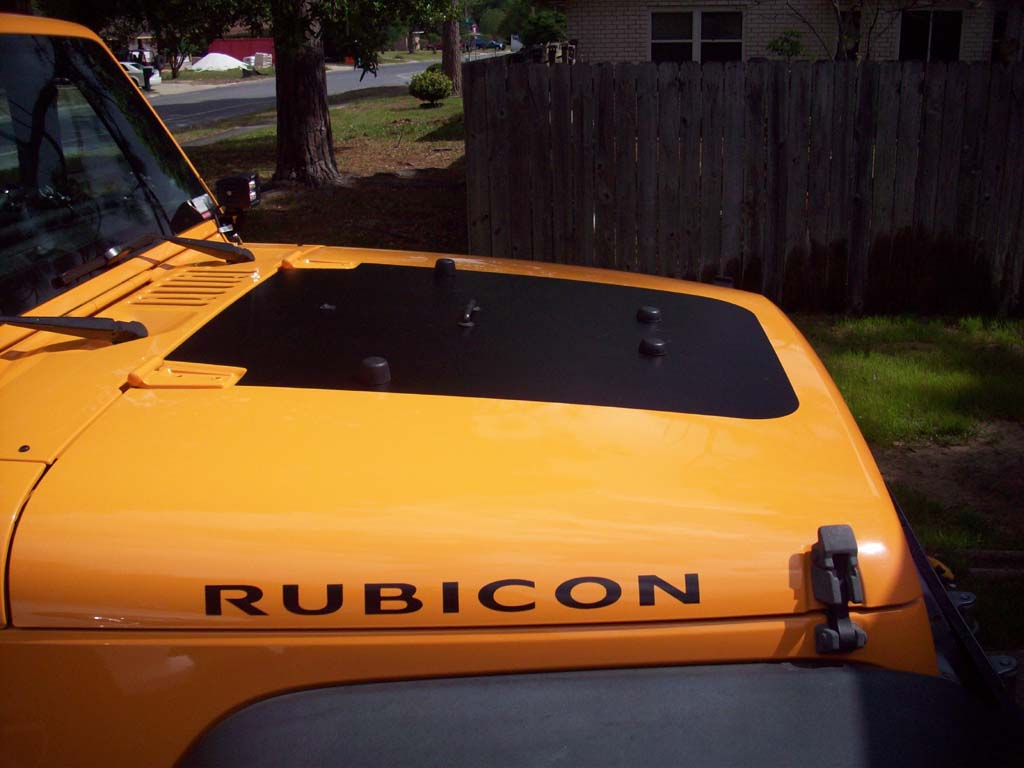
I finally got tired of dealing with the glare off the hood and decided to do something about it. I picked up this basic hood blackout from AlphaVinyl.com to install. I have done a couple of these in the past, usually with help, but decided I would do a few things different on this one to see how it comes out. AlphaVinyl has a great set of instructions for this on their webpage, they just didn't send it in the tube with the blackout in it. They did send the instructions to do stickers though.
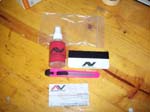
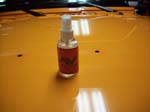
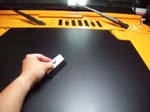
| What you get: |
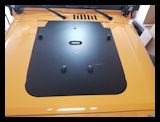
| Nice installation kit, and the hood blackout. You don't get any instructions for the actual blackout, just a generic one for stickers. You will need to go to their website to get the latest copy. |
 |
 |
| |
| Preparation: |
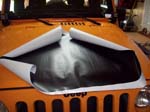
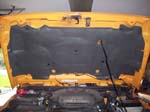
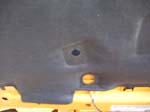
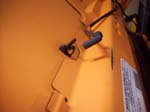
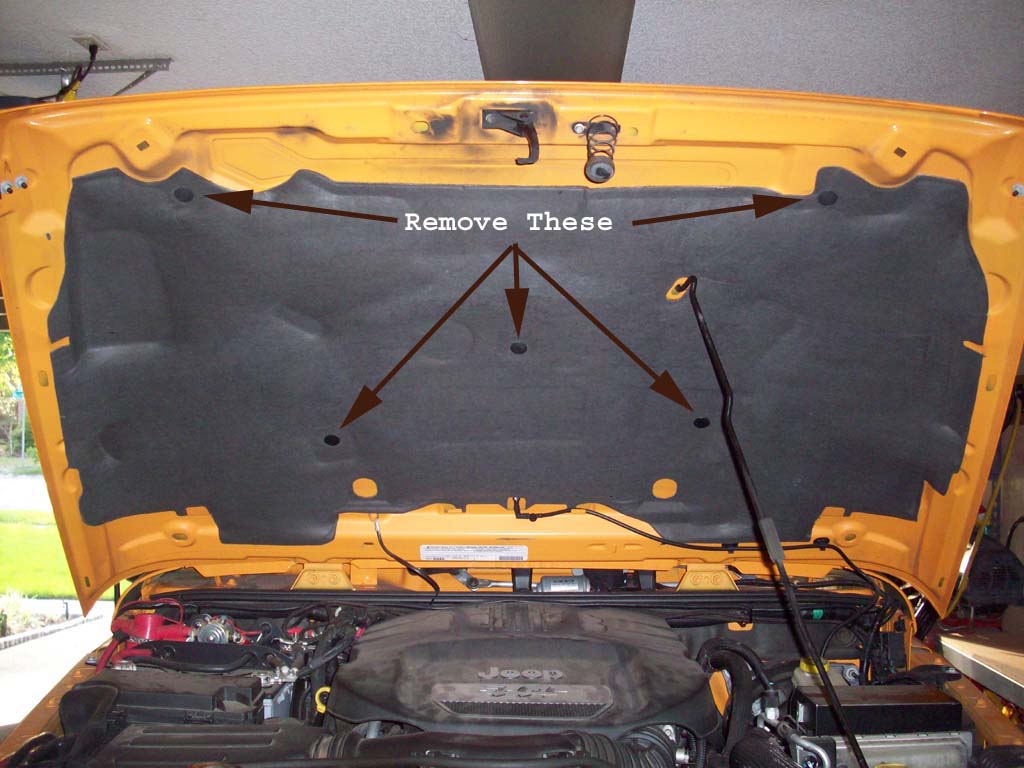
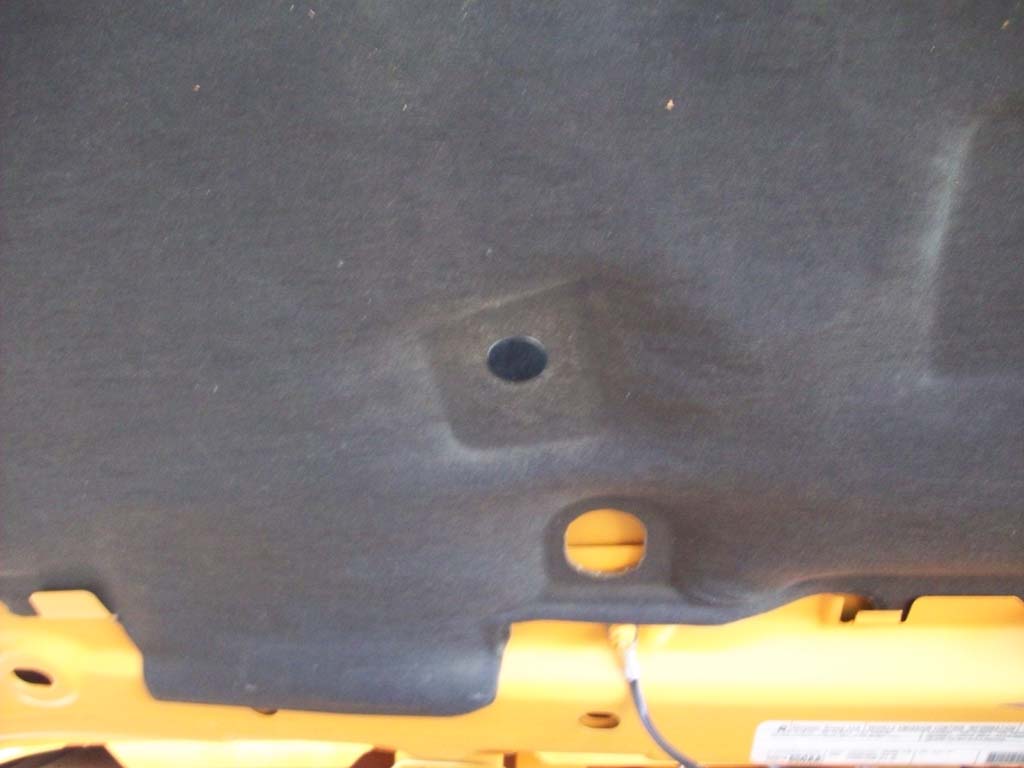
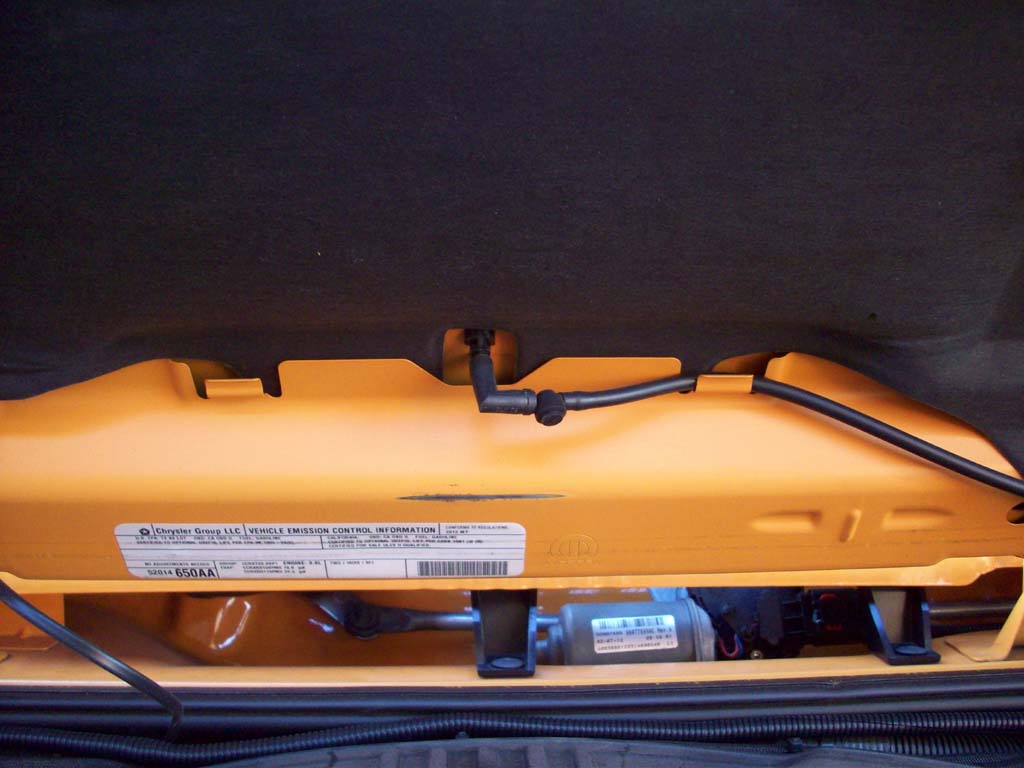
| 1. Open up your hood and remove the hood insulation if your's came with it. It is held in by 5 plastic trees that you will need remove. It then slides up and out of the clips on the bottom and sides. You will need to undo the hood holder temporarily to get it all the way off. |
 |
 |
 |
 |
 |
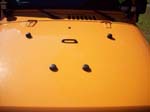
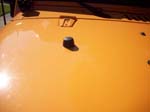
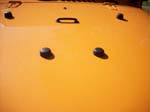
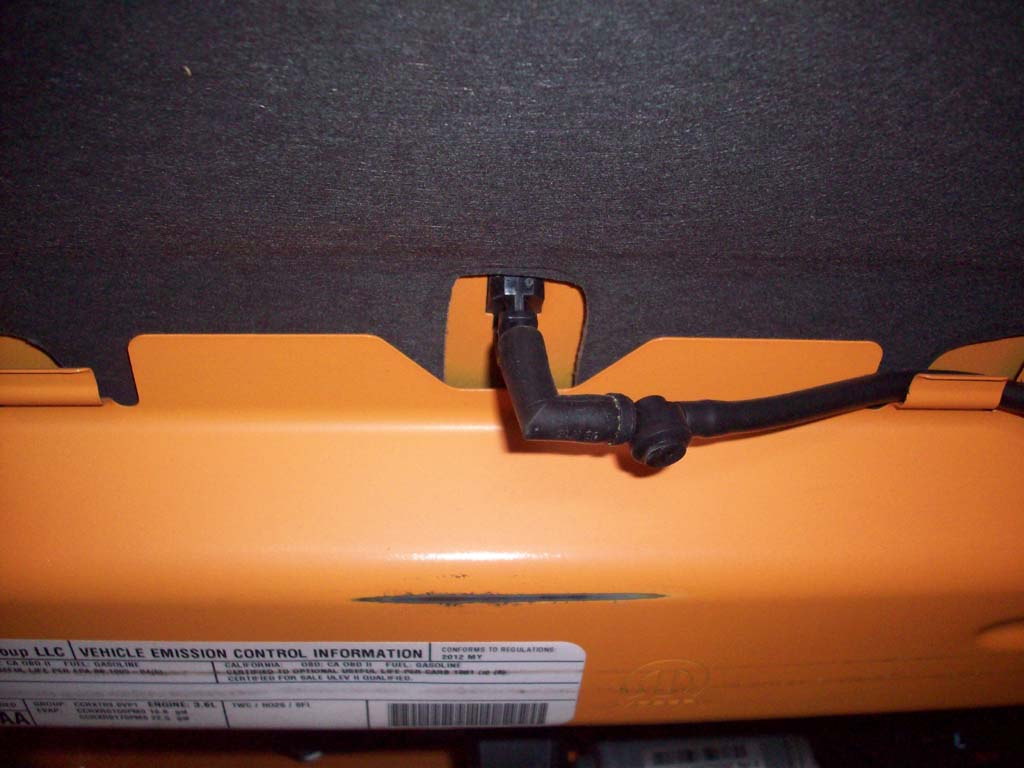
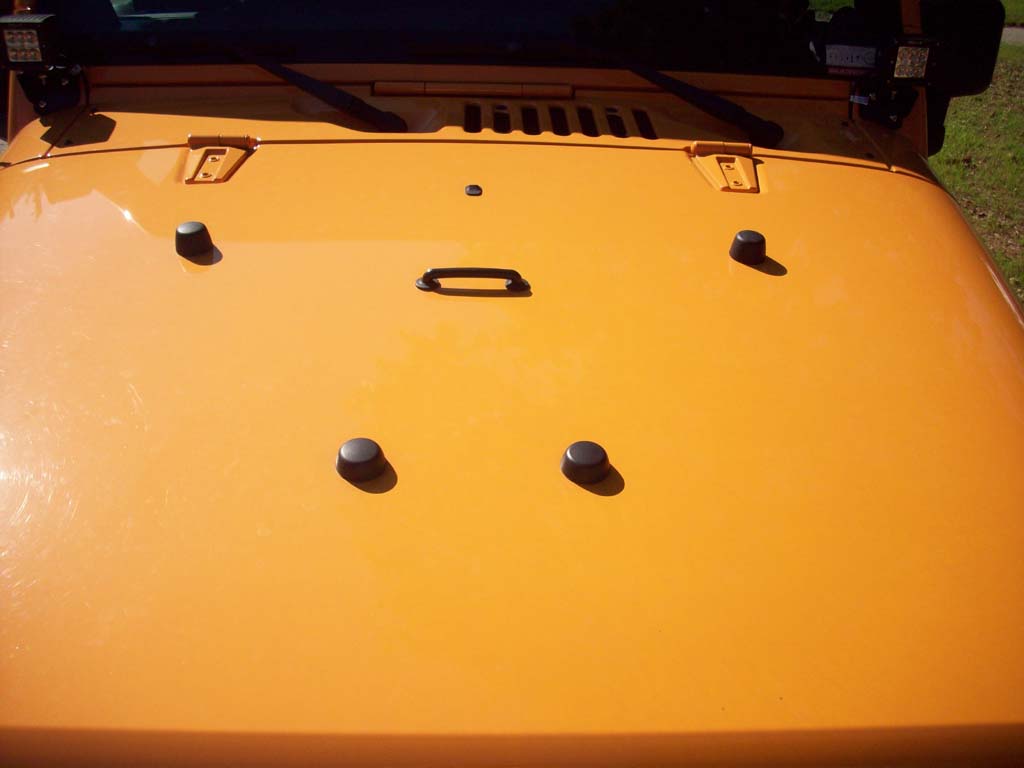
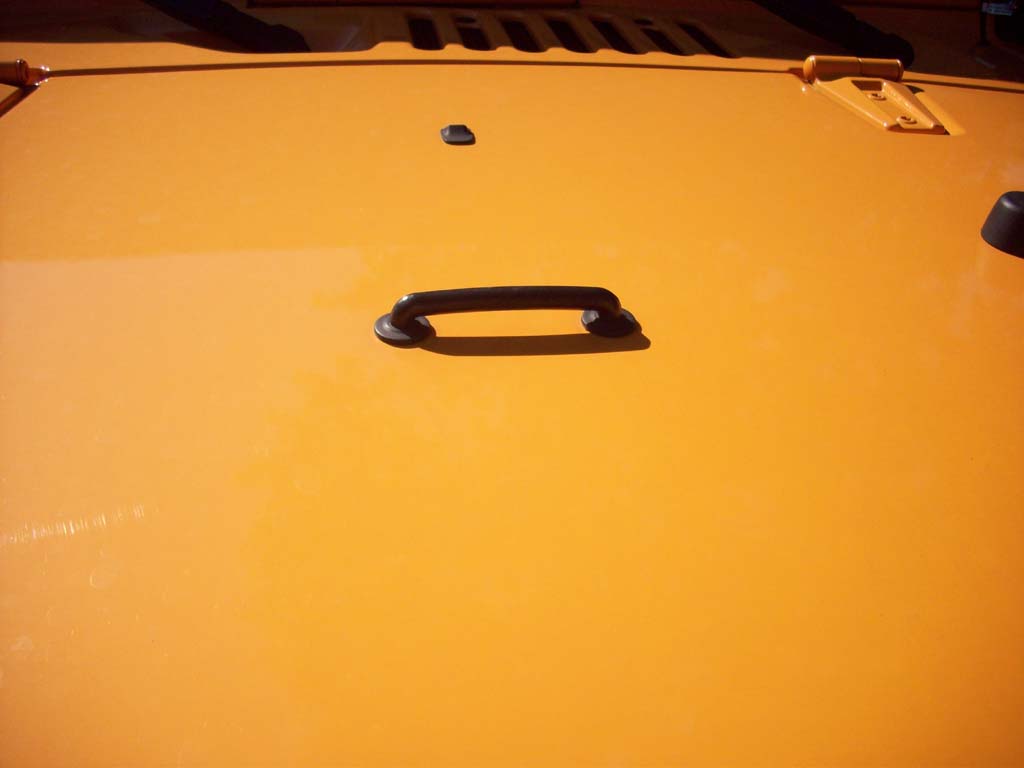
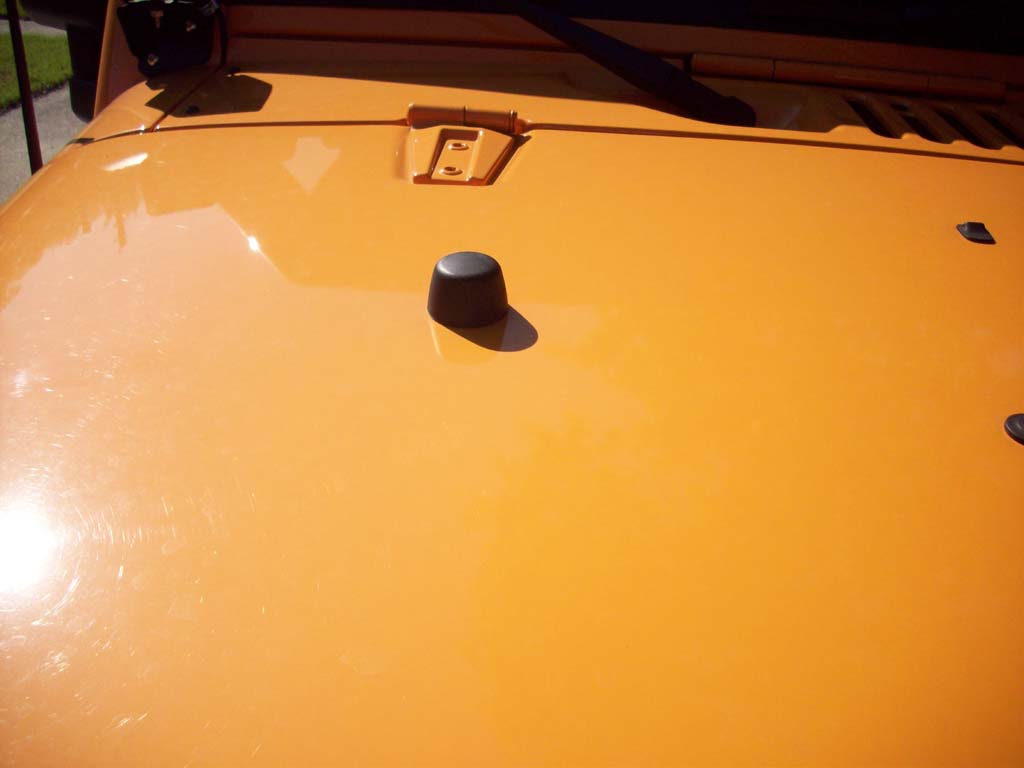
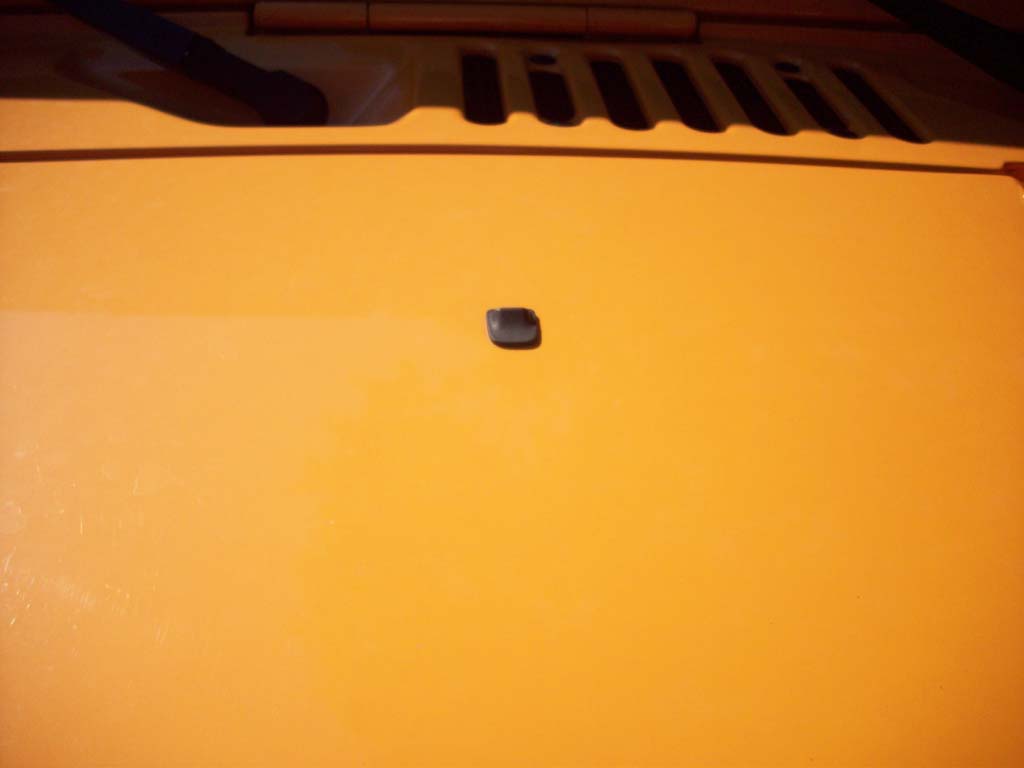
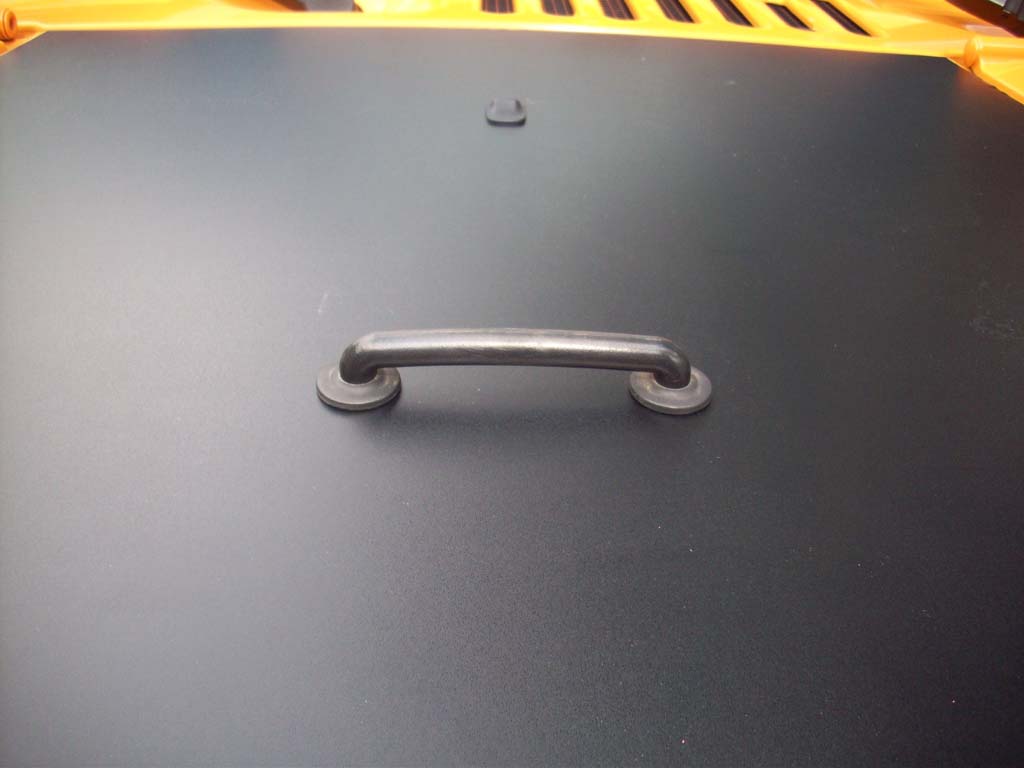
| 2. Remove everything from the center of your hood. This will include the windshield bumpers, footman's loop, and windshield washer nozzle(s). In my case I installed a second set of bumpers for the hood when I lay it back against the windshield. |
 |
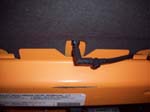
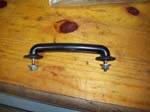
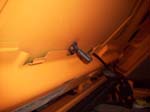
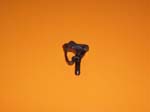
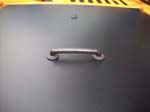
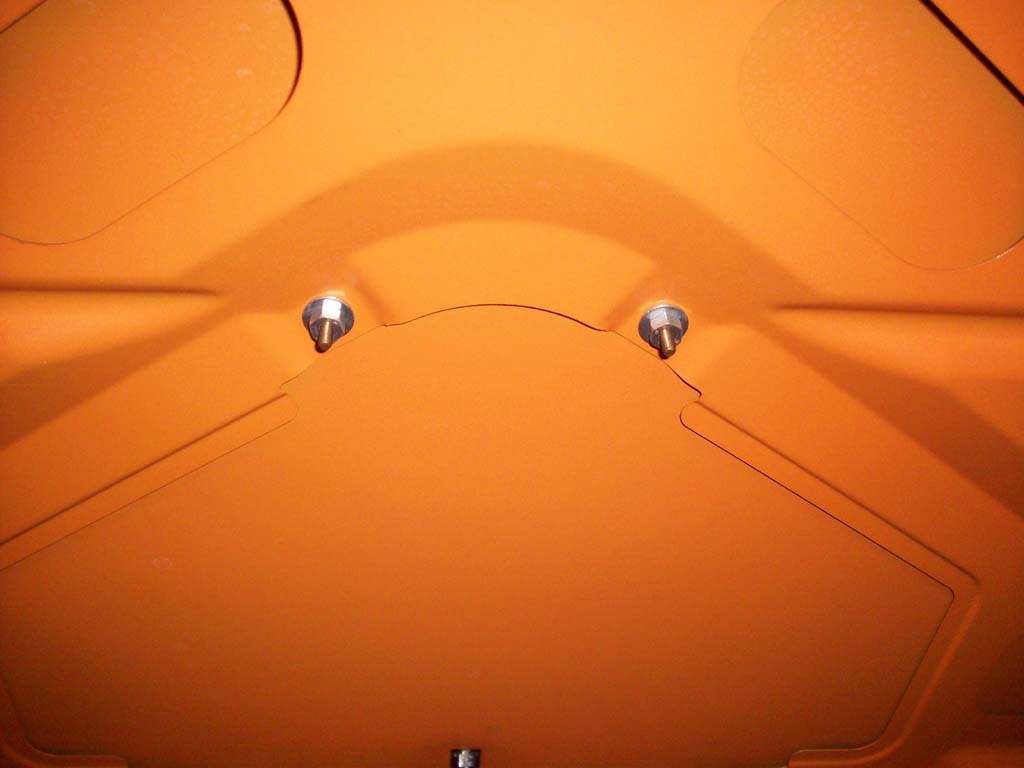
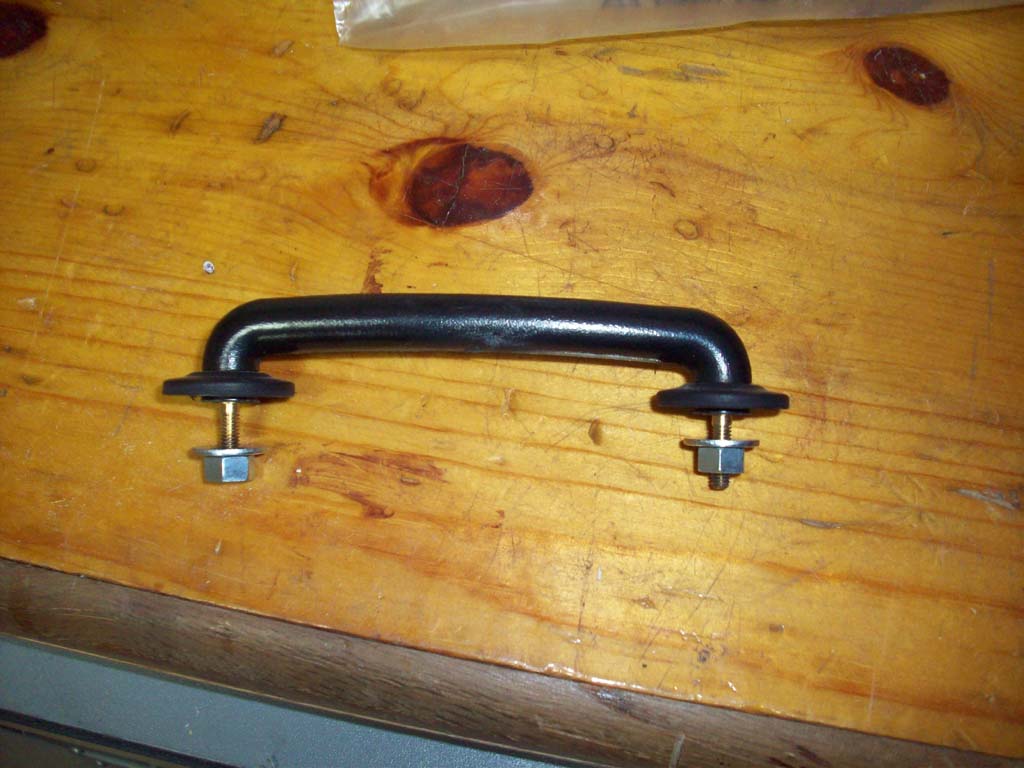
| 2a. Remove the footman's loop using a 9mm socket and ratchet. I recommend not removing the first nut all the way, just leave it at the end until you get the second nut off, otherwise the loop can fall and scratch your hood. Put the nuts back on the footman's loop so you don't loose them. |
 |
 |
 |
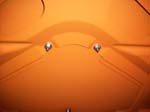
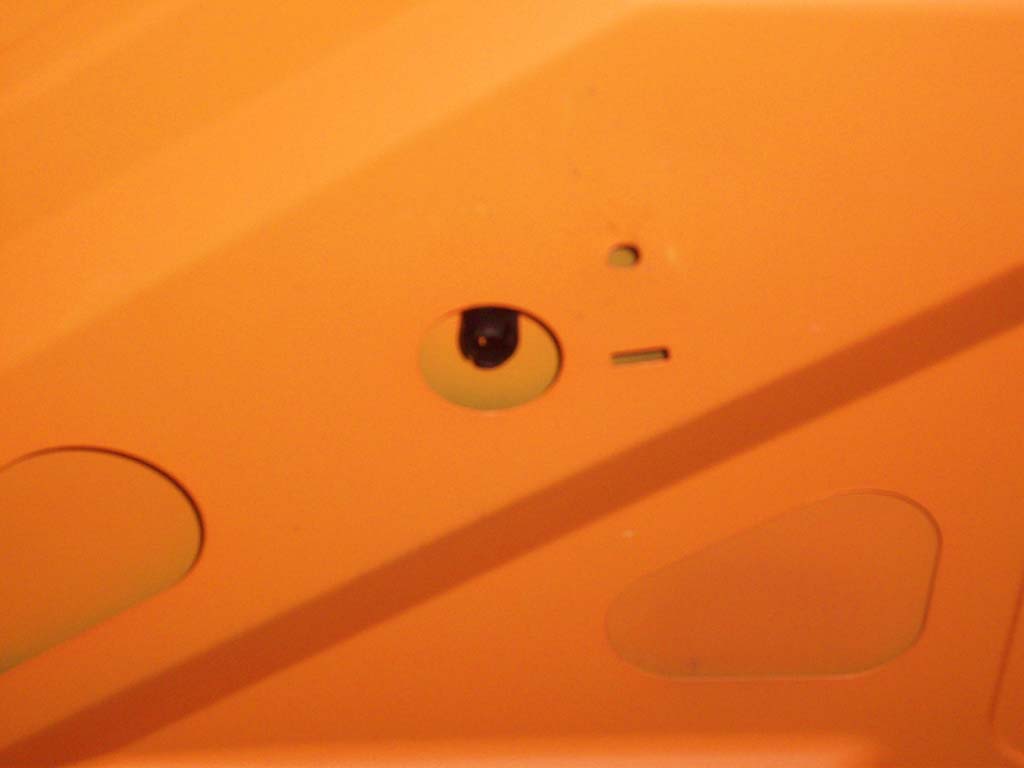
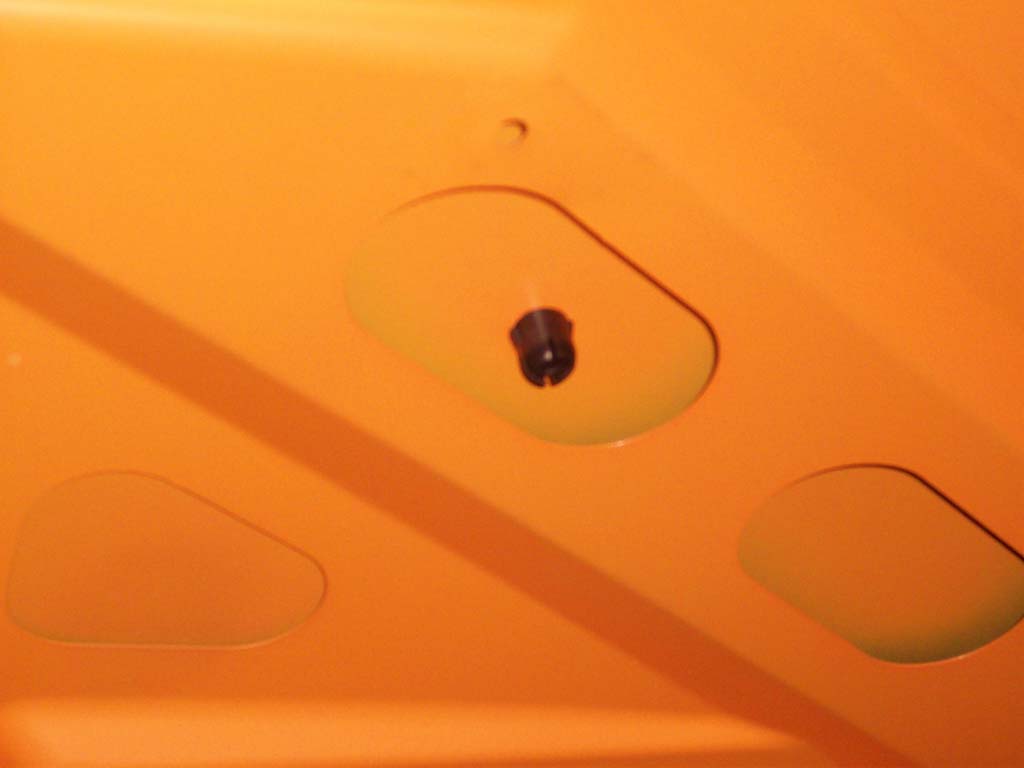
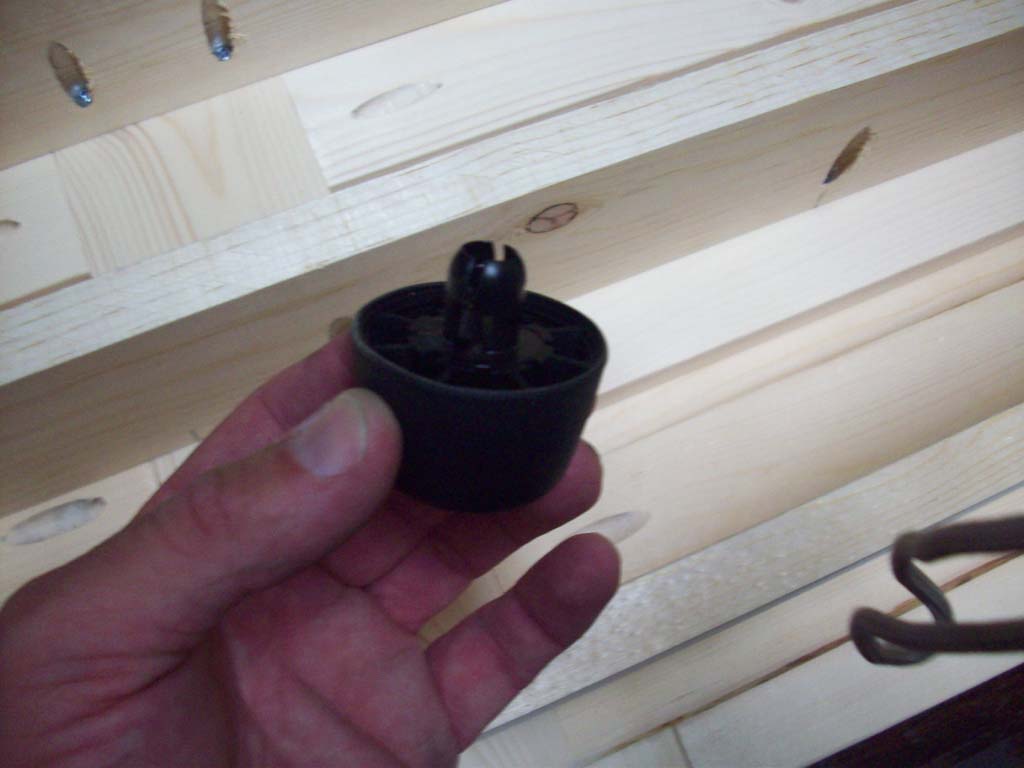
| 2b. Remove the two (2) windshield bumpers from the hood. You will need to squeeze two small tabs on either side of the bumper from underneath and push them out. You will need a needle nose pliers to get to the one on the passenger side. |
 |
 |
 |
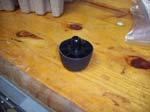 |
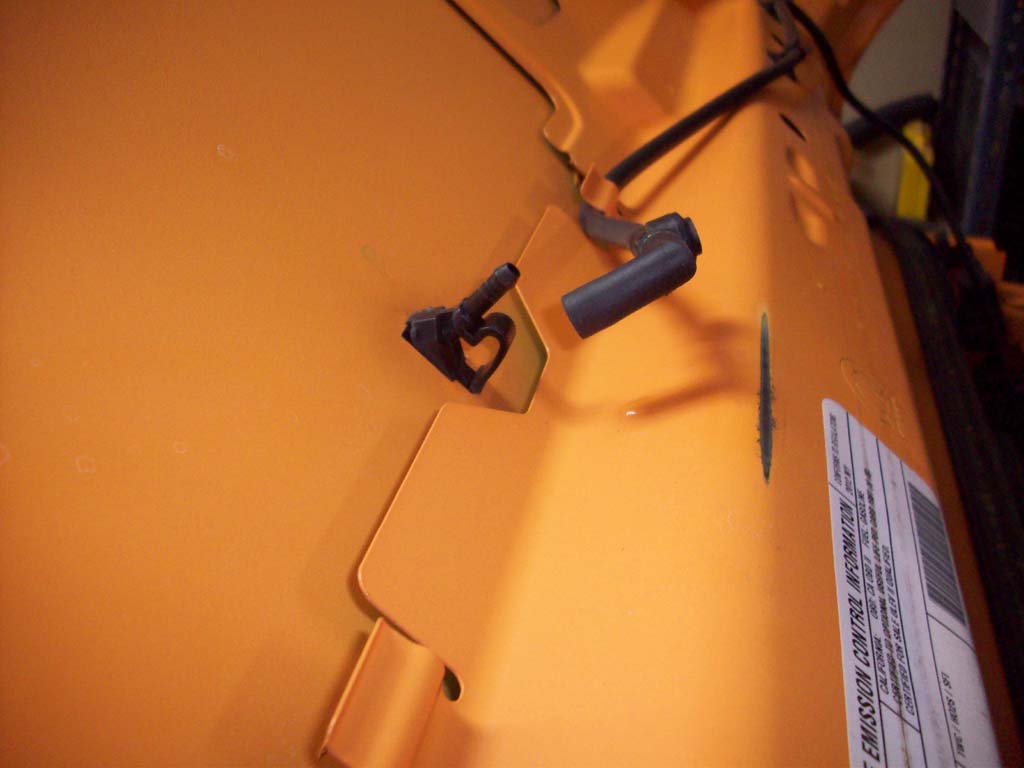
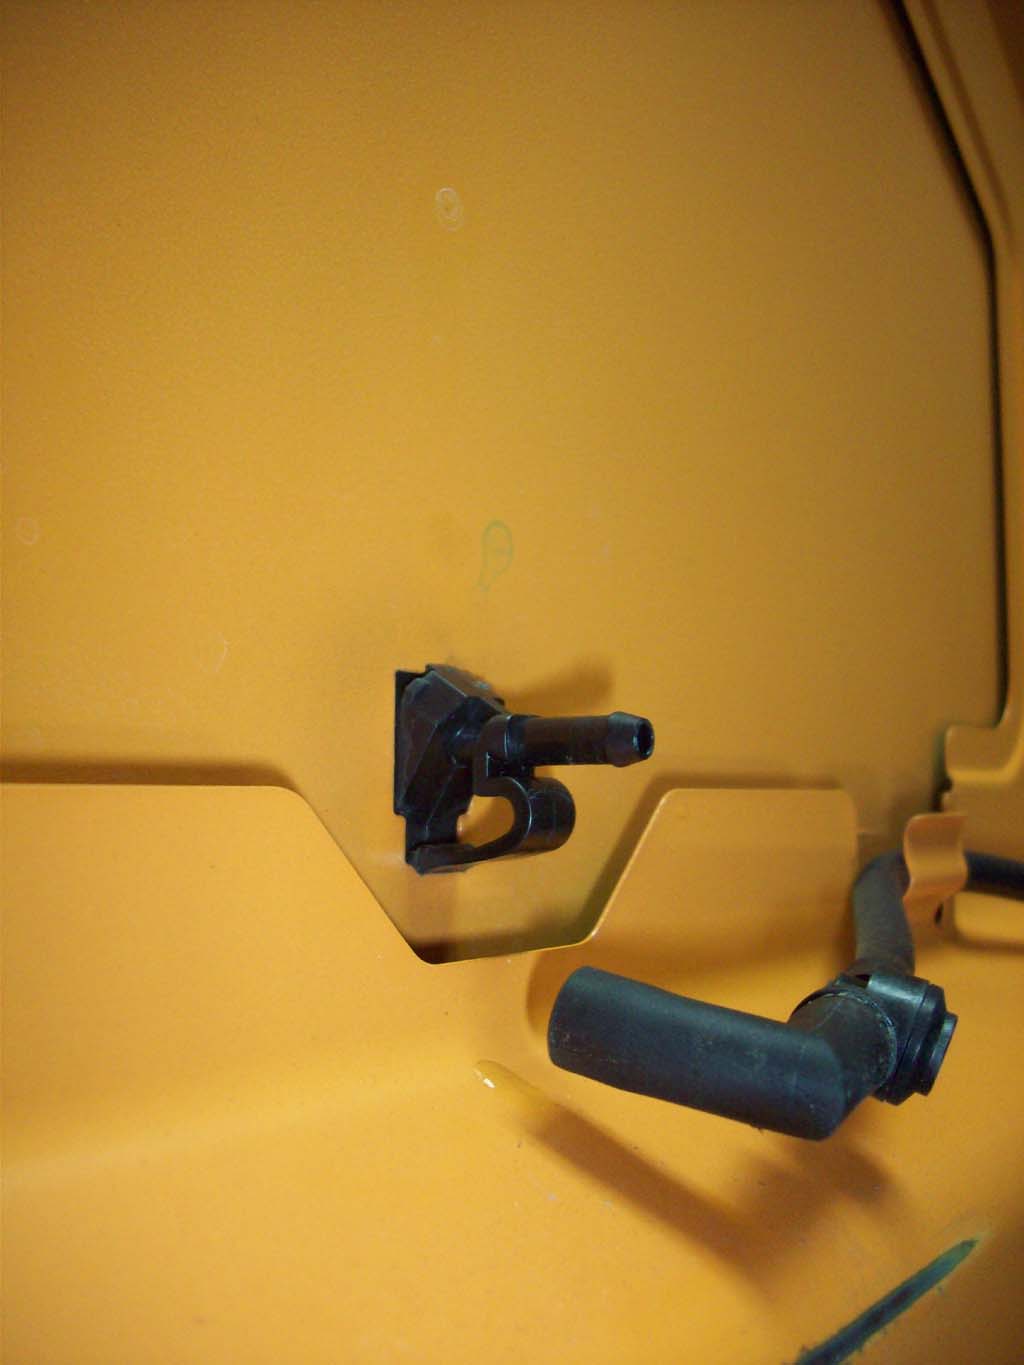
| 2c. Remove the windshield washer nozzle. Disconnect the hose from the nozzle by just twisting and pulling it off. |
 |
 |
 |
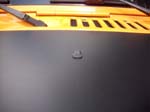
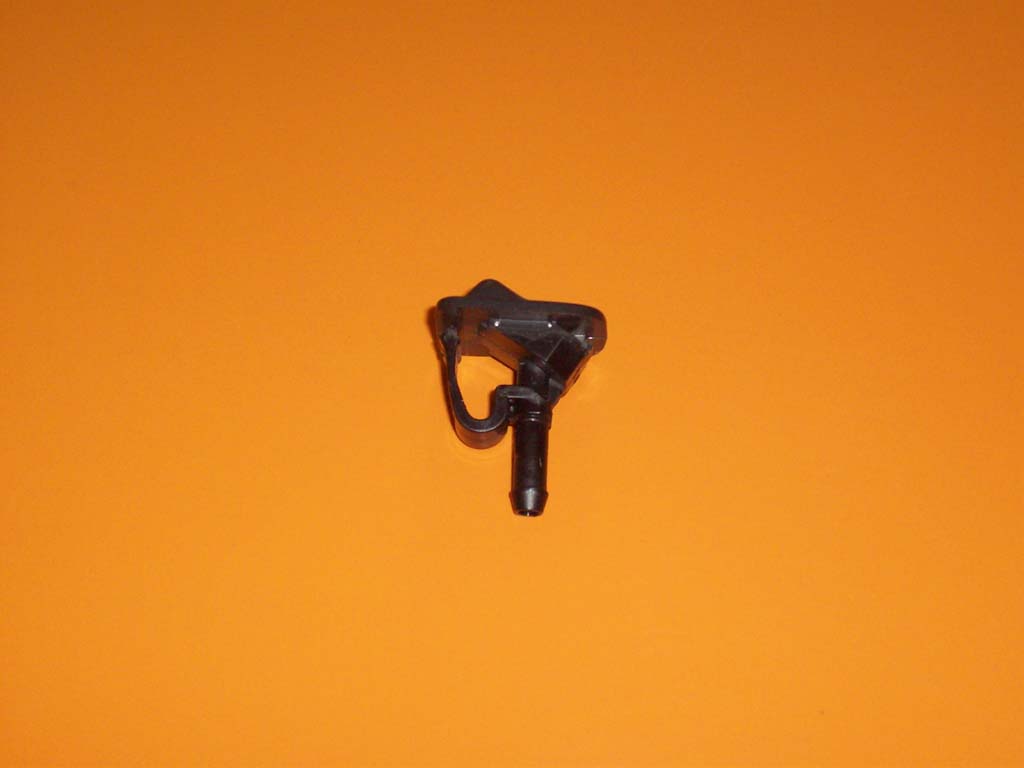
| 2d. Then press the small tab on the bottom of the nozzle and push it out. It does have a little lip on the opposite side, so it comes out at an angle. |
 |
 |
| 2e. The hood bumpers that I had installed just twisted and pulled out of the hood. |
 |
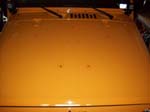
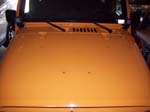
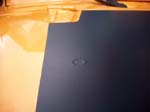
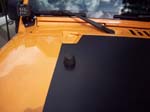
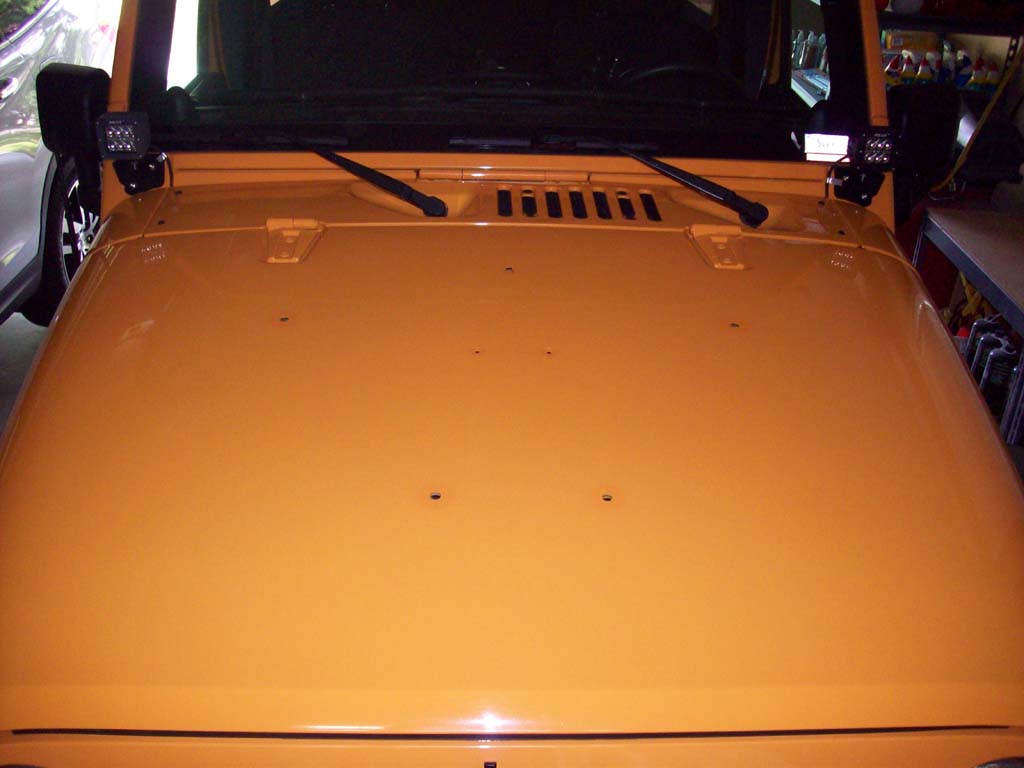
| 3. Now that you have everything removed you need to clean the hood very good and remove any wax that you may have on the surface. I clay barred mine and then wiped it all off with Alcohol and a lint free rag. After letting it dry, I blew it off with the compressor to make sure that there was no dust on the hood. (Still got a speck under the vinyl anyways.) |
 |
 |
 |
| |
| Installation (AKA Pain in the Rear Way): |
| I did one of these in the past on another Jeep and followed Alphavinyl's instructions and it worked well. I just wanted to see how hard it would be if I did it slightly different. |
| 1. The hood needs to be out of the sun and cool for this to work well. Spray down the hood with the supplied spray bottle of application fluid. |
 |
 |
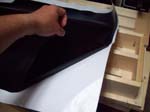
| 2. Lay down the hood blackout and carfully pull up one side. Spray the underside of the hood blackout with the application fluid. Remove the entire hood blackout from the paper being careful not to let it touch itself. |
 |
 |
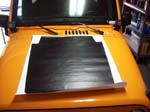
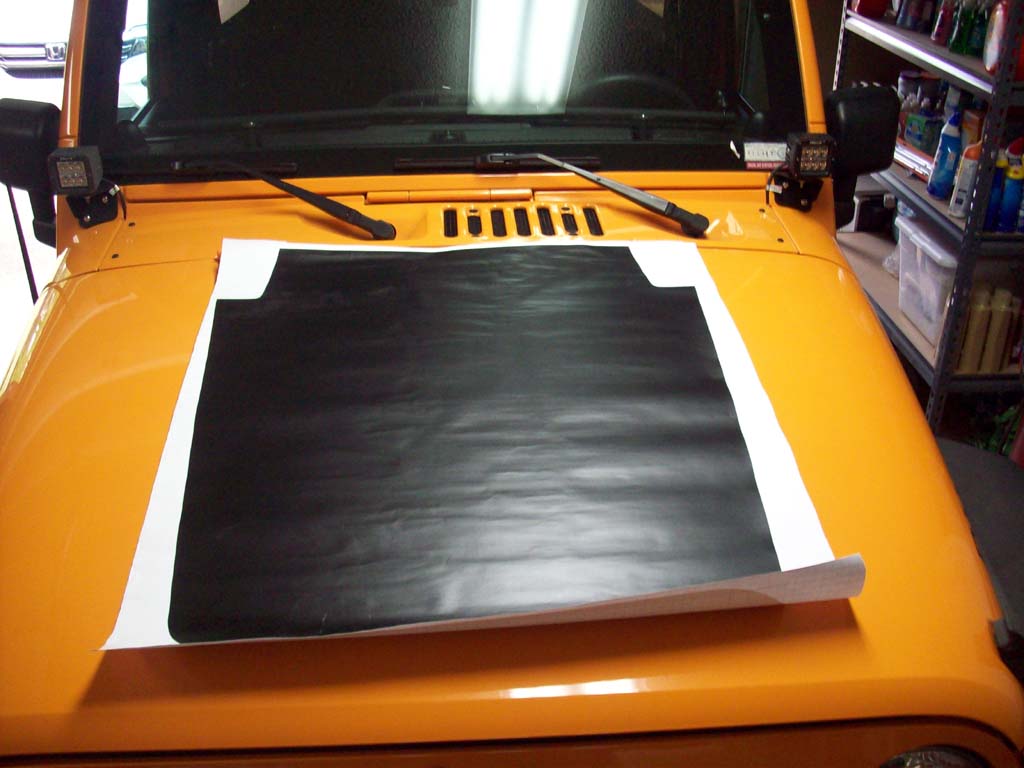
| 3. Lay the hood decal on the hood (having help works best). The hood blackout should be able to slide around a little. This is the point where I will definately say that the other way is best and easier. You may need to spray more application fluid between the hood and the hood blackout during this. Line up the hood blackout around the hood hinges and upper edge of the hood. Check to make sure that you are centered and straight on the hood. |
 |
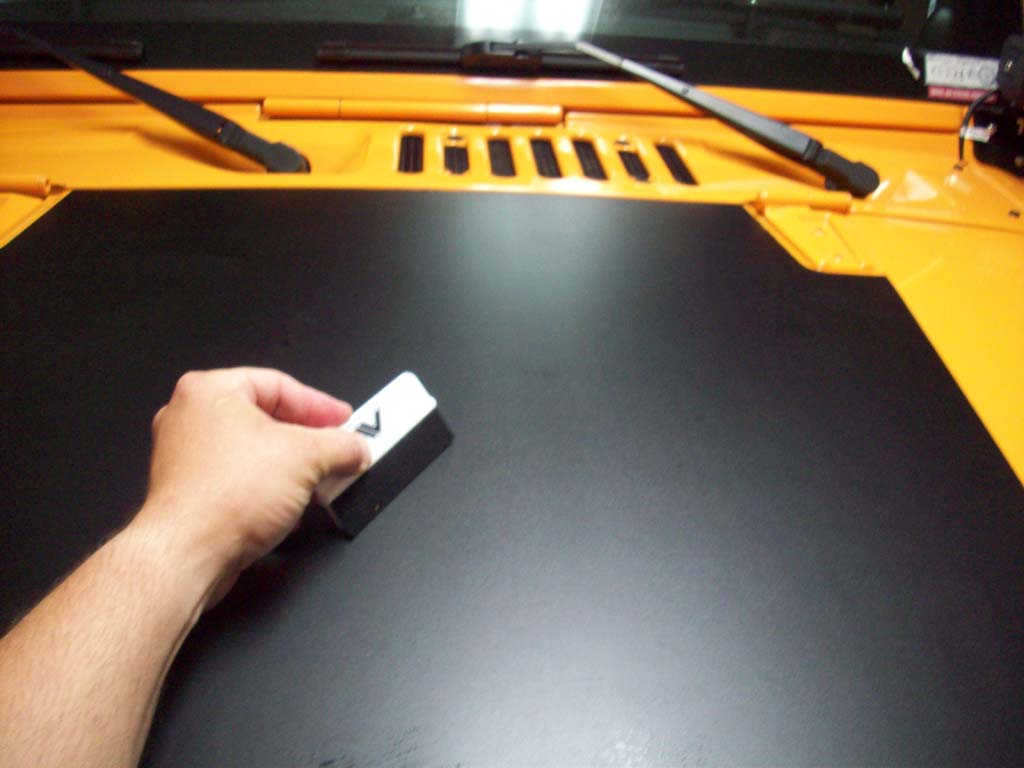
4. With the soft side of the squeege, carefully work any air bubbles out from under the hood blackout. Work from the center towards the edges.
Notes:
DO NOT use the plastic squeegee directly on the vinyl decal as it can cut and scratch the vinyl decal. Wrap a microfiber cloth around the squeegee. If you squeegee your hood from center outwards you should work any and all air bubbles out of the vinyl.
If you are doing a decal that has a design on it, you will need to wait until the decal dries before removing the transfer tape from the top. Use caution when pulling the tape off so that you don't pull the decal off of the hood. |
 |
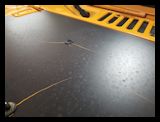
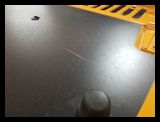
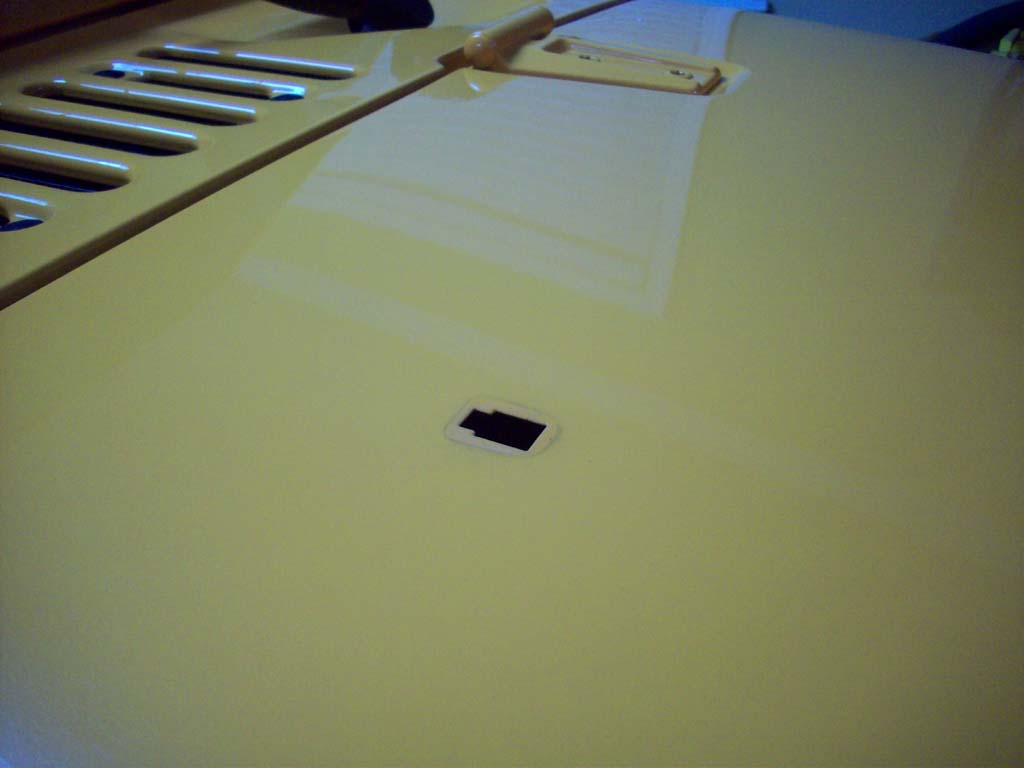
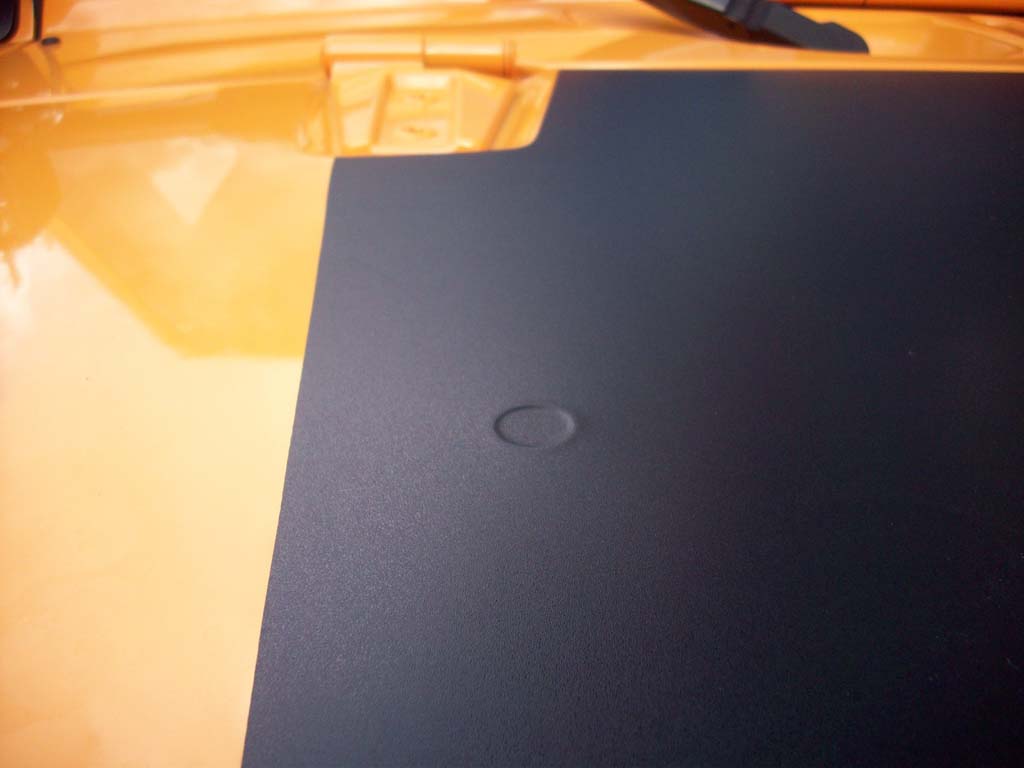
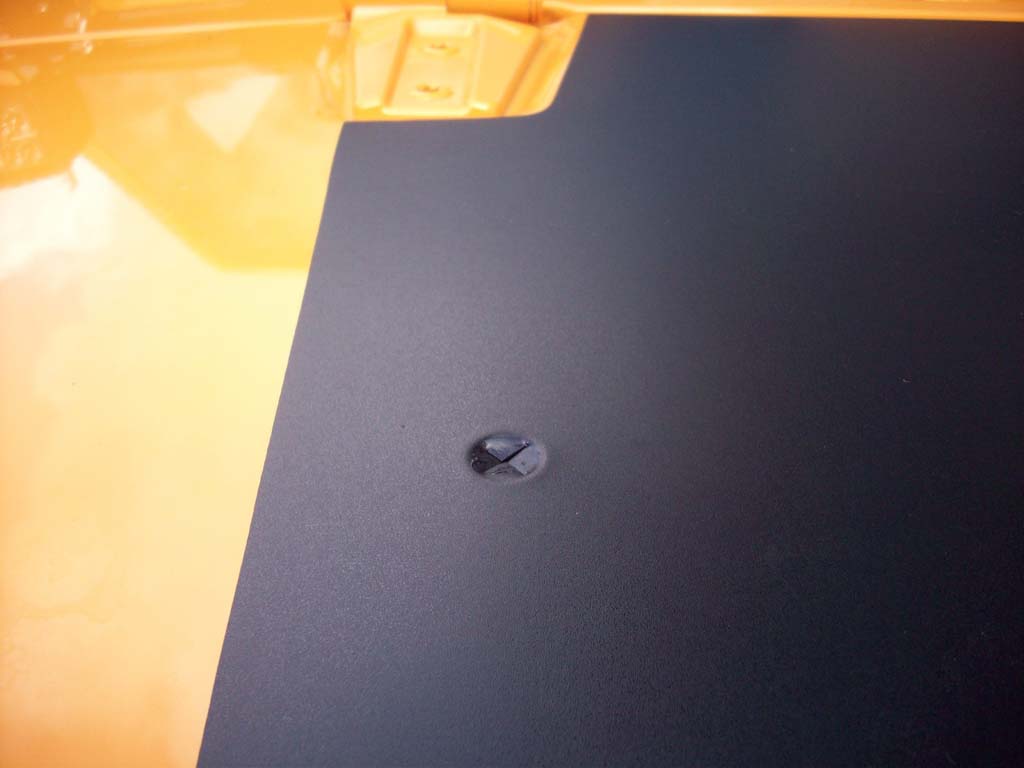
| 5. With the razor knife find the holes in your hood and make small X shaped incesions. |
 |
 |
 |
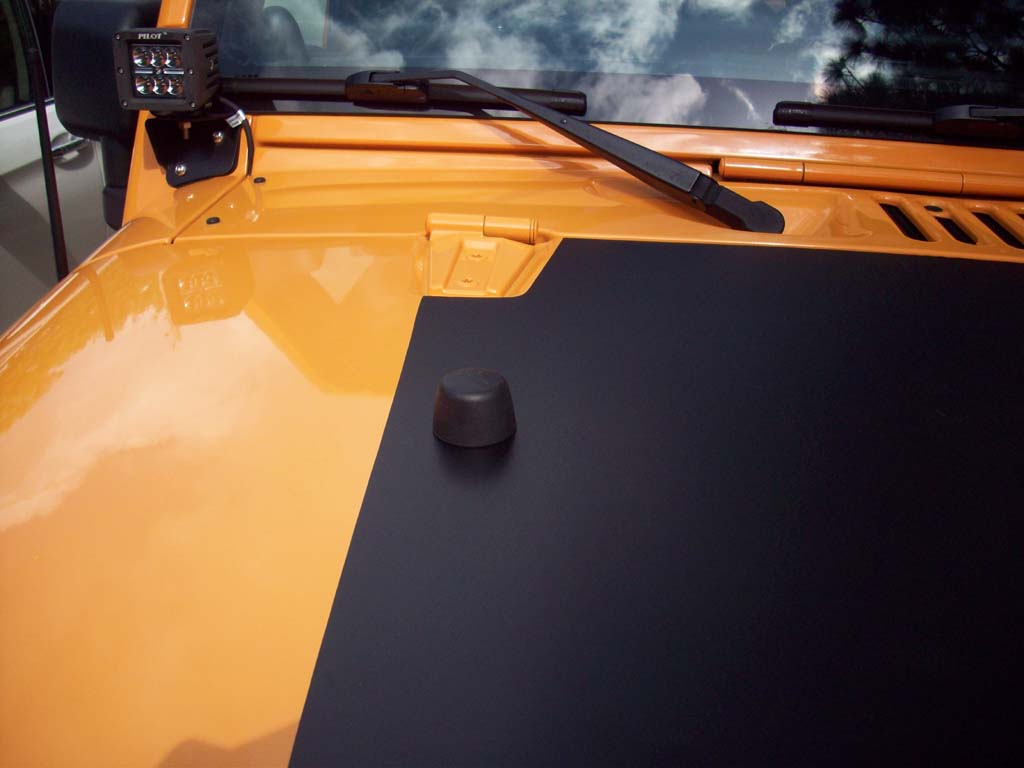
| 6. Reinstall the hood bumpers, washer and windshield tiedown. |
 |
 |
 |
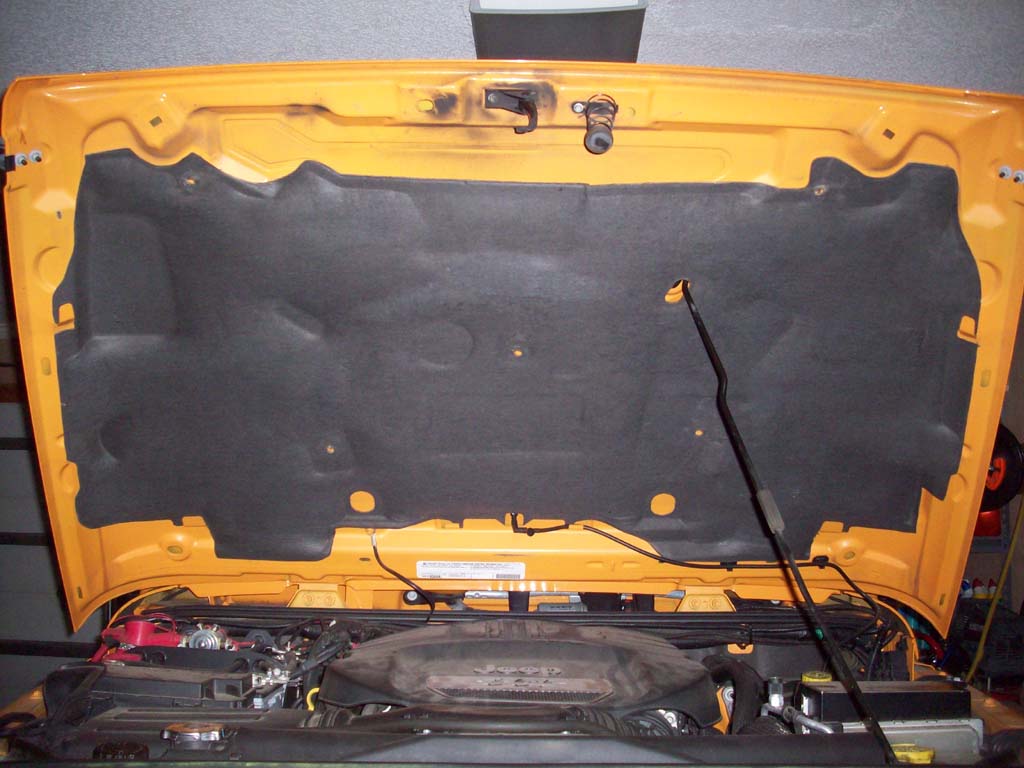
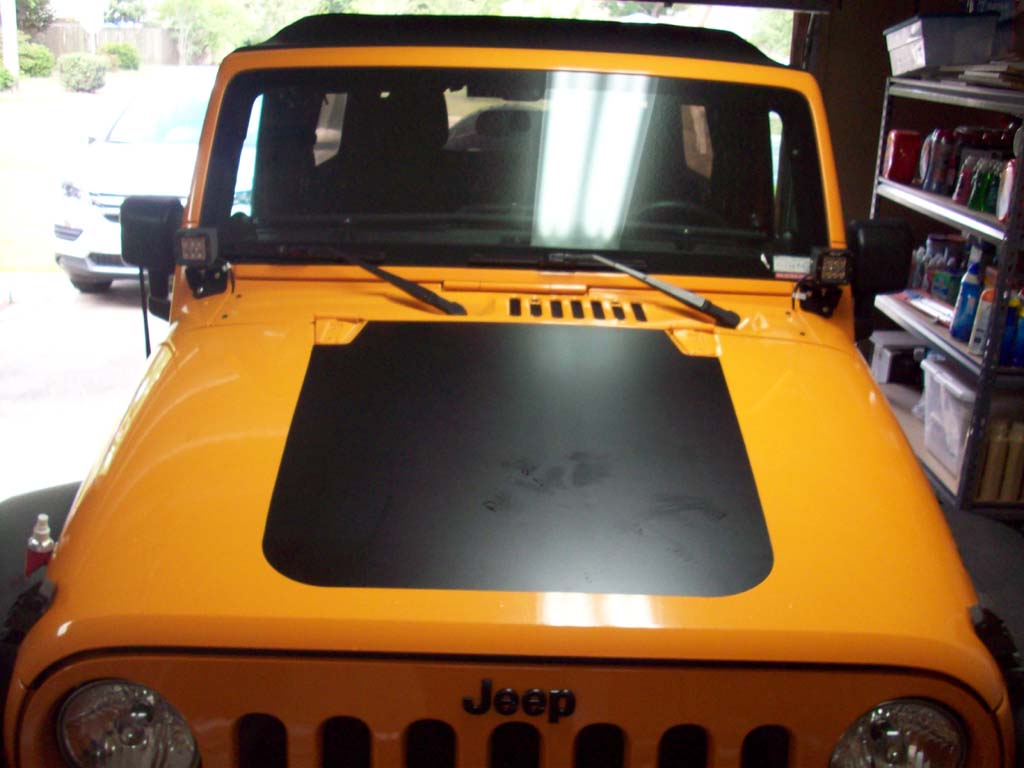
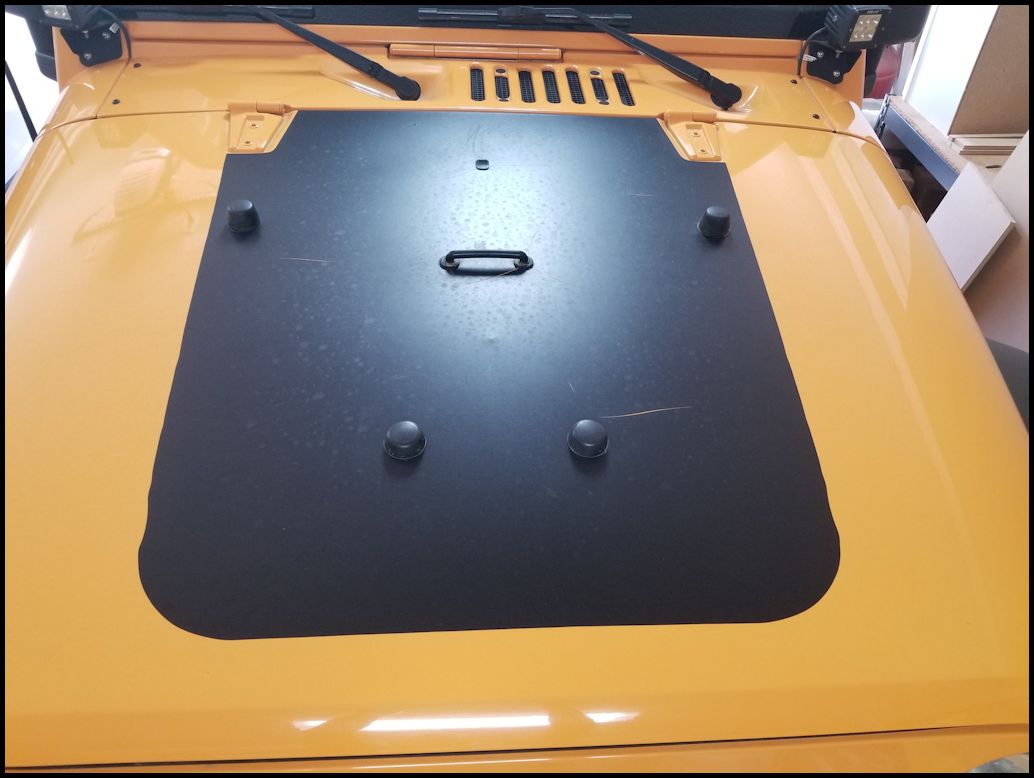
| 7. All done. You may need to go back and poke a few of the stubborn air pockets with a needle to get them to collapse. |
 |
 |
| |
AlphaVinyl's Way Better Way of doing this: |
| 1. Trim the paper along the edge of the decal. Be careful not to cut the actual decal. |
|
| 2. Position the decal on the hood and tape down one side of the decal with painters tape. You will need to stand on the bumper to get a good view. |
|
| 3. Carefully seperate the decal from the backing paper and lay it over the other side. You will need to go a little past half way. |
|
| 4. Carefully cut away the exposed backing paper with a scissors. |
|
5. Wet the hood and back of the decal with application fluid. |
|
| 6. Carefully fold the hood blackout back over the hood. |
|
7. With the soft side of the squeege, work from the center of the decal out until you have it smooth.
Note: DO NOT use the plastic squeegee directly on the vinyl decal as it can cut and scratch the vinyl decal. Wrap a microfiber cloth around the squeegee. If you squeegee your hood from center outwards you should work any and all air bubbles out of the vinyl. |
|
| 8. Remove the painters tape from the other side and lift the decal off of the backing paper and remove the backing paper. You are going to repeat what you just did in steps 5-7. |
|
|
9. With the soft side of the squeege, carefully work any air bubbles out from under the hood blackout. Work from the center towards the edges.
Notes:
DO NOT use the plastic squeegee directly on the vinyl decal as it can cut and scratch the vinyl decal. Wrap a microfiber cloth around the squeegee. If you squeegee your hood from center outwards you should work any and all air bubbles out of the vinyl.
If you are doing a decal that has a design on it, you will need to wait until the decal dries before removing the transfer tape from the top. Use caution when pulling the tape off so that you don't pull the decal off of the hood. |
|
| 10. With the razor knife find the holes in your hood and make small X shaped incesions. |
|
|
|
| 11. Reinstall the hood bumpers, washer and windshield tiedown. |
|
|
|
| 12. All done. You may need to go back and poke a few of the stubborn air pockets with a needle to get them to collapse. |
|
|
| |
| TIPS: |
- Do not install in extreme heat or cold. If your hood is hot to the touch it is more than likely too hot to install. 50-80 degrees is ideal. A garage is the best atmosphere as it is shaded and protected from elements.
- When you apply pressure with the squeegee you are not trying to kill the vinyl. Just briskly brush over the decal with light pressure. Do not rub the plastic squeegee over the actual vinyl (wrap in microfiber towel). Hold squeegee at a 45 degree angle when applying the decal.
- Have a friend help you. This can be done solo but is MUCH easier with two.
- Application fluid is your friend. Make sure to use it generously on the hood and decal so that you can easily move you decal if needed. |
| |
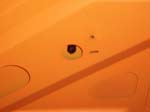
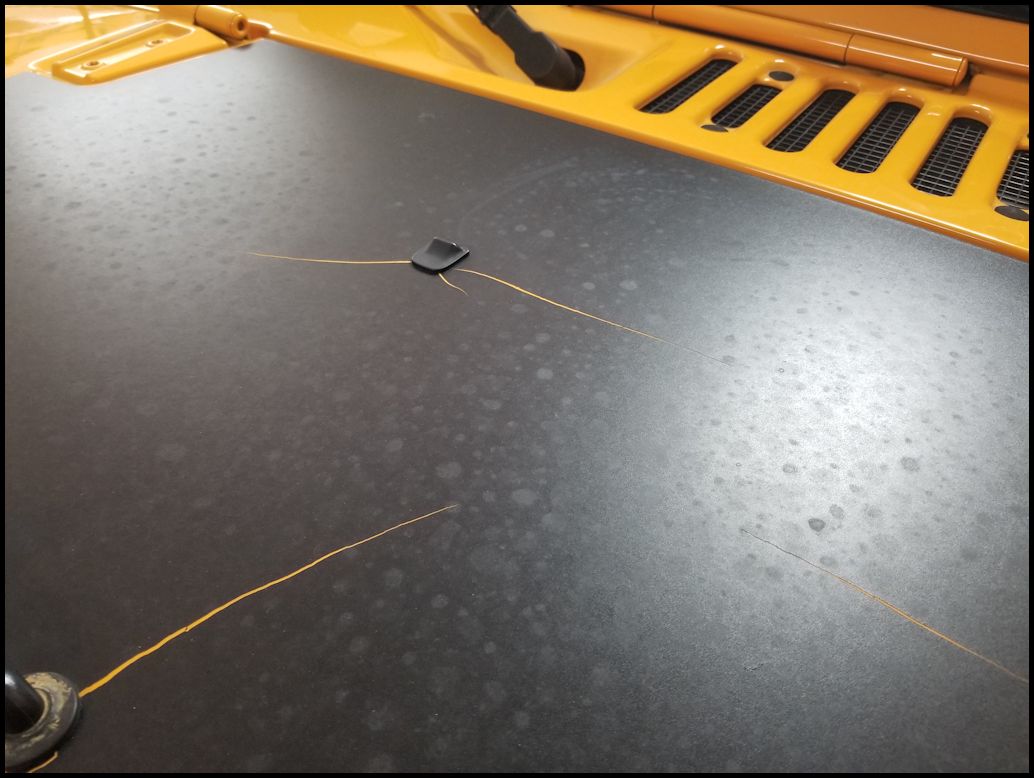
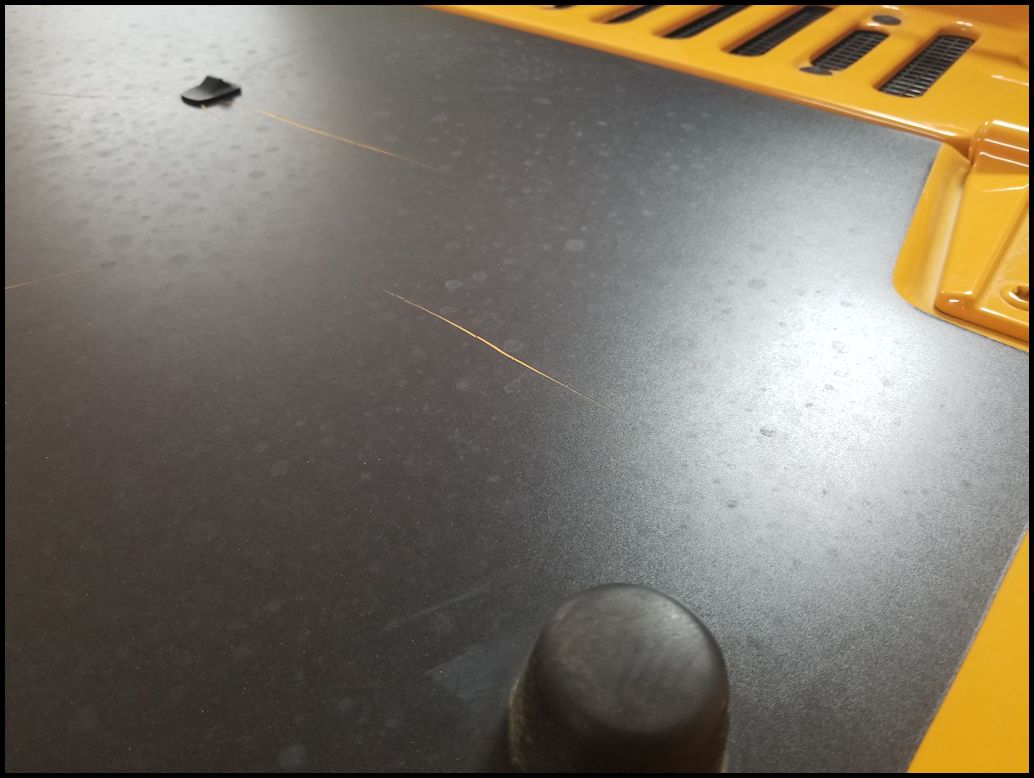
| 4 Year Update: (Jun 2017 - Jun 2021) |
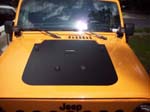
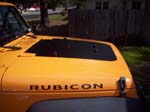
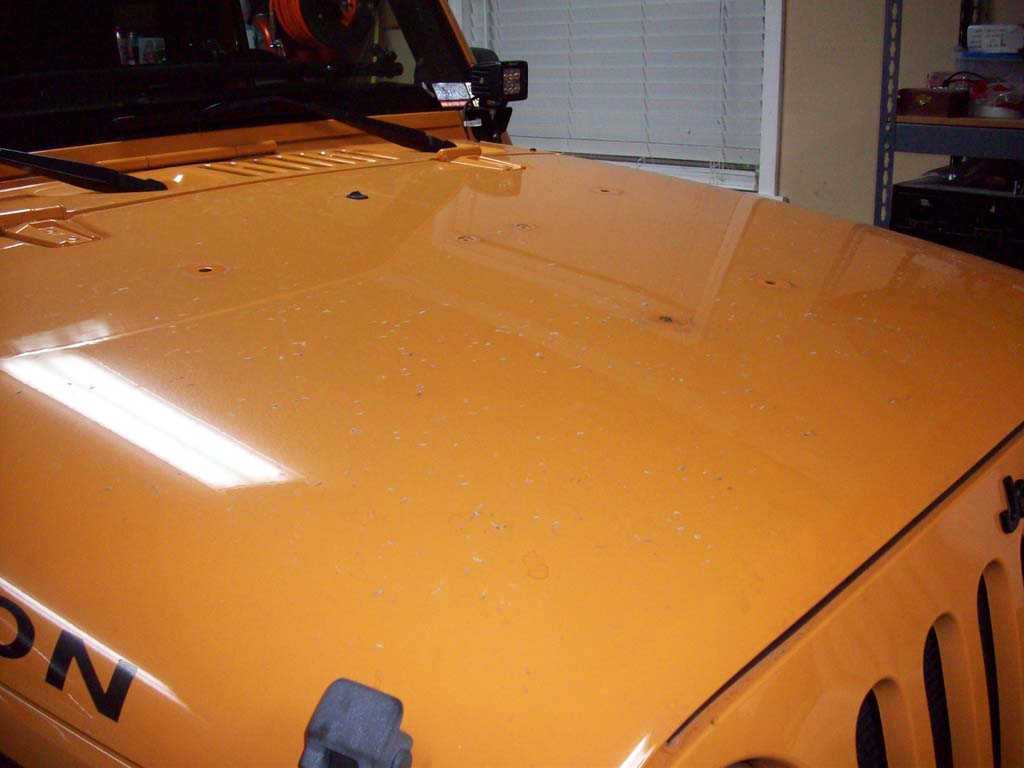
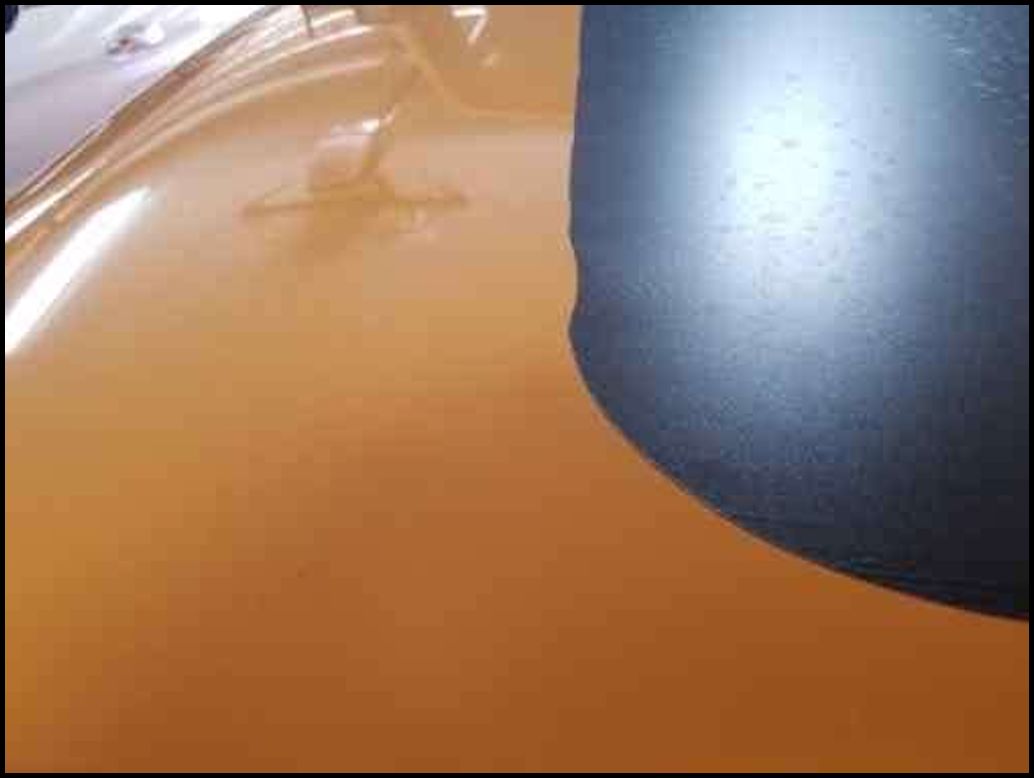
| It's been over 4 years since I installed the hood vinyl by alpha vinyl and this is the current status. The vinyl has split in a few areas and there is some puckering on both sides in the front, but otherwise it has held up great. Florida heat, humidity and salt water is generally not kind to vehicles and vinyl. I replaced the factory Rubicon stickers on the hood a couple years ago because they were actually peeling off after 6 years out in the sun. The hood decal shows no signs of curling and peeling, so I'm still happy with the purchase. While you can see the checking from outside looking at the hood, it is not readily visible from inside, you have to actually look to see it. |
 |
 |
 |
 |
| |


