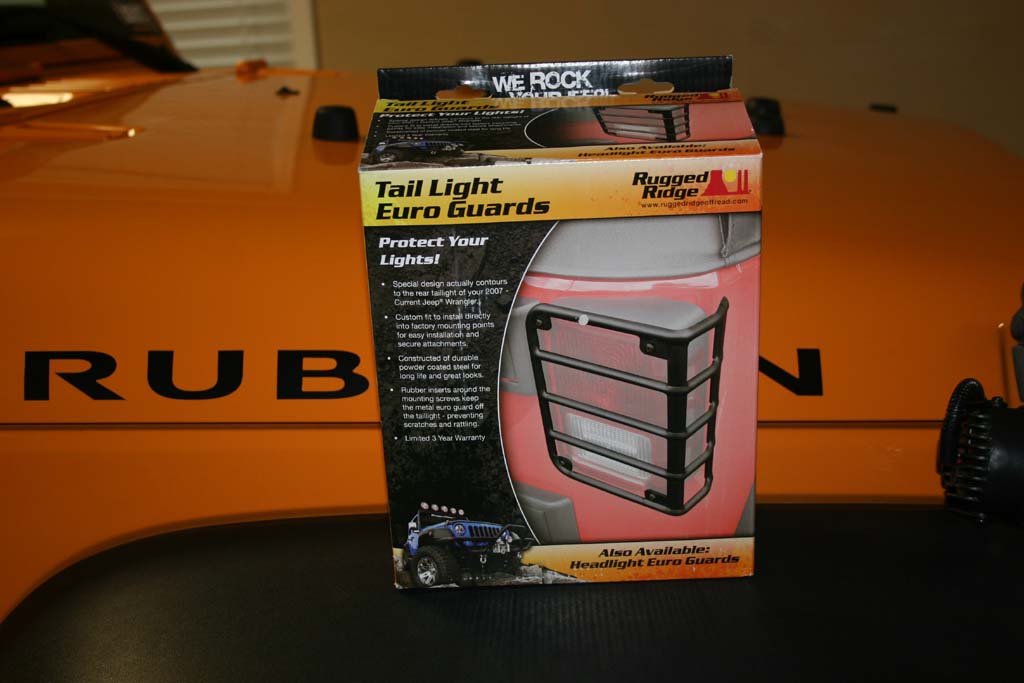
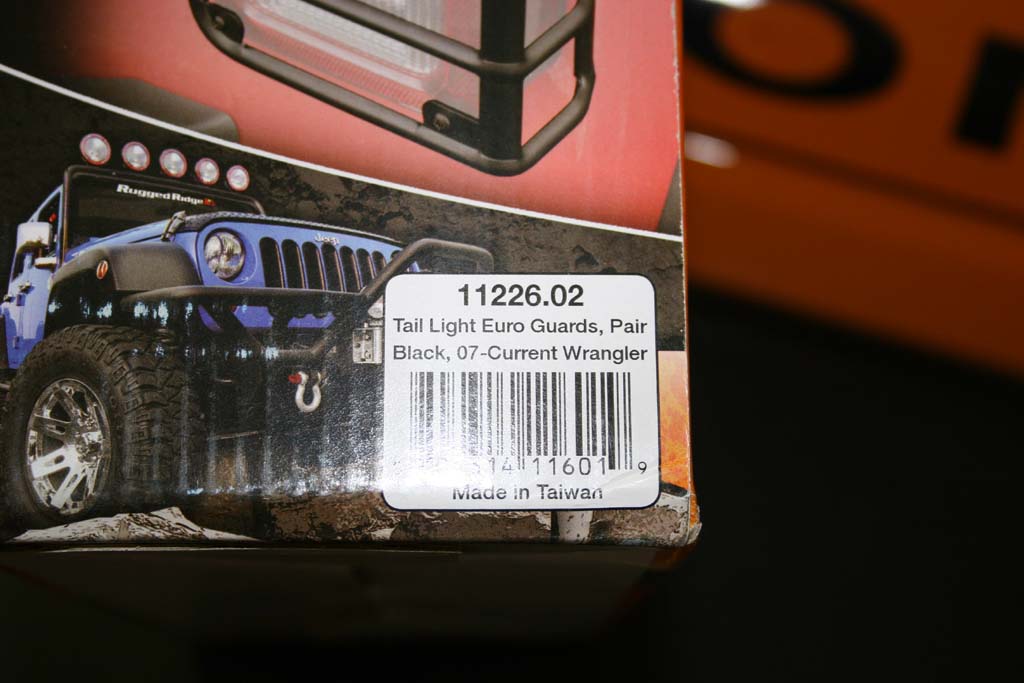
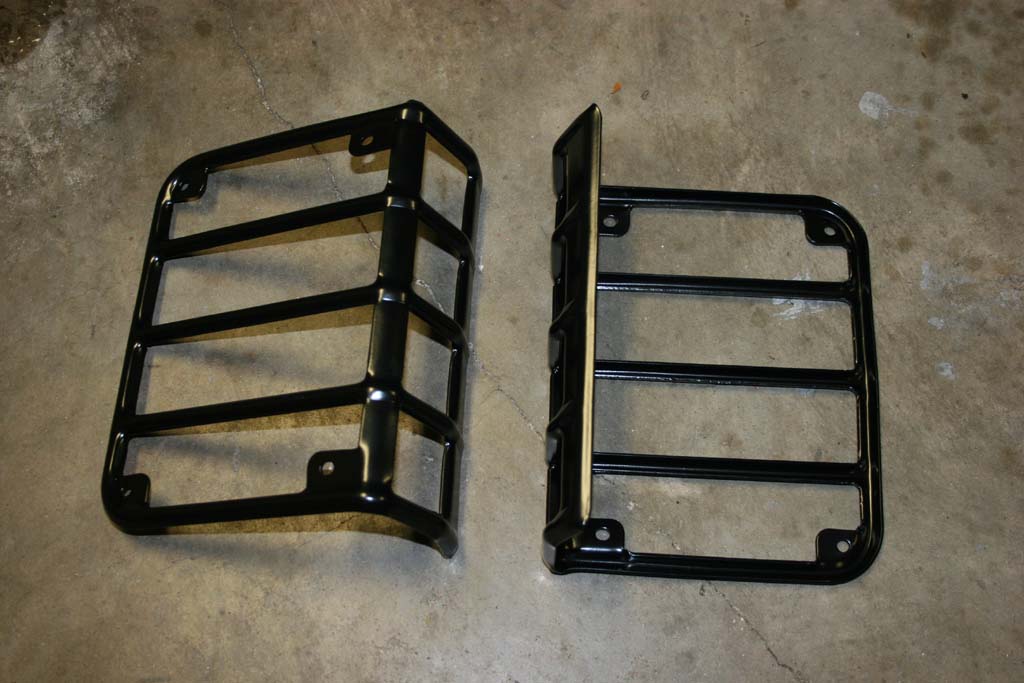
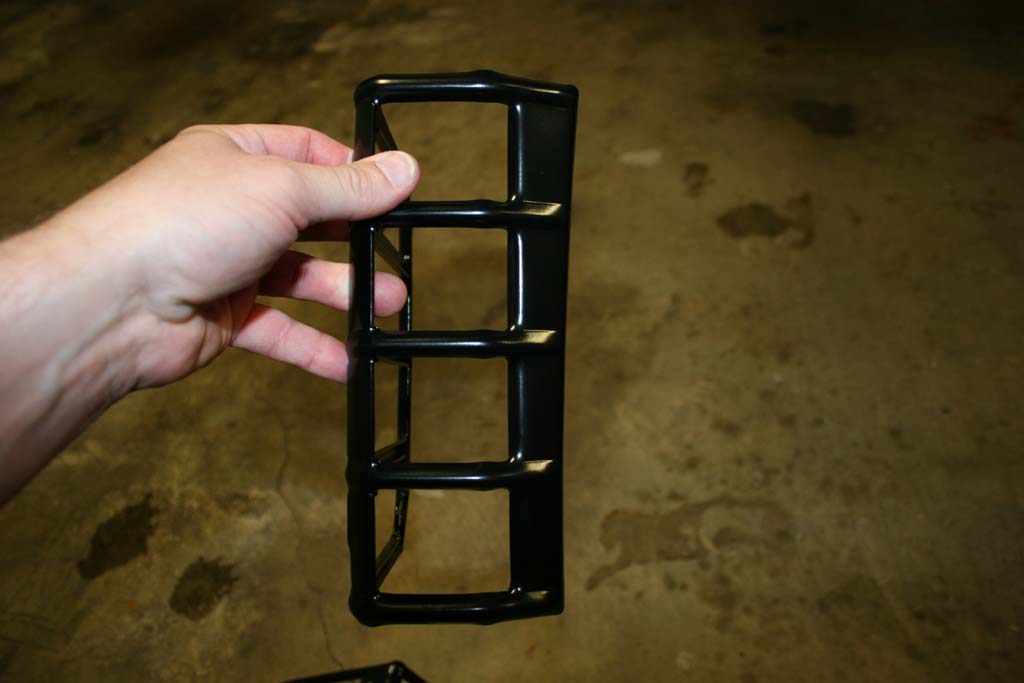
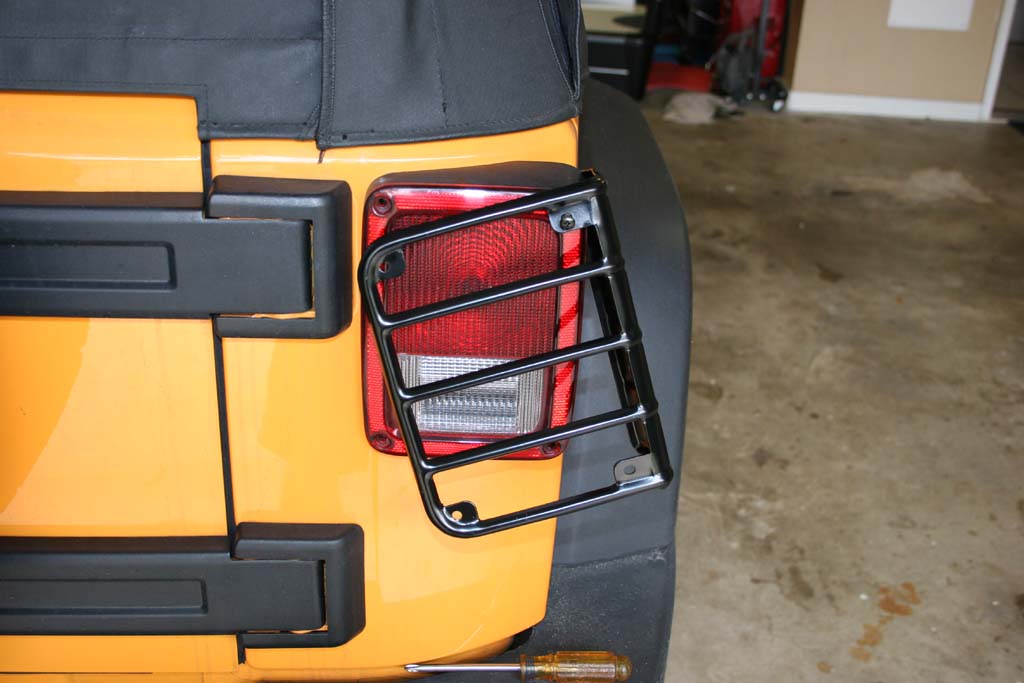
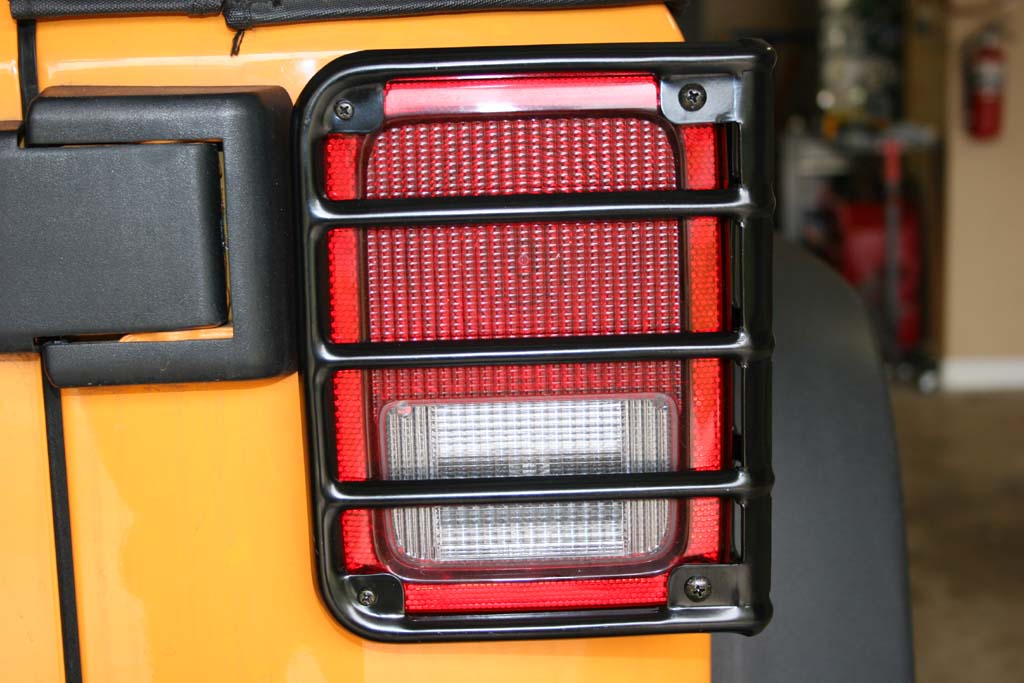
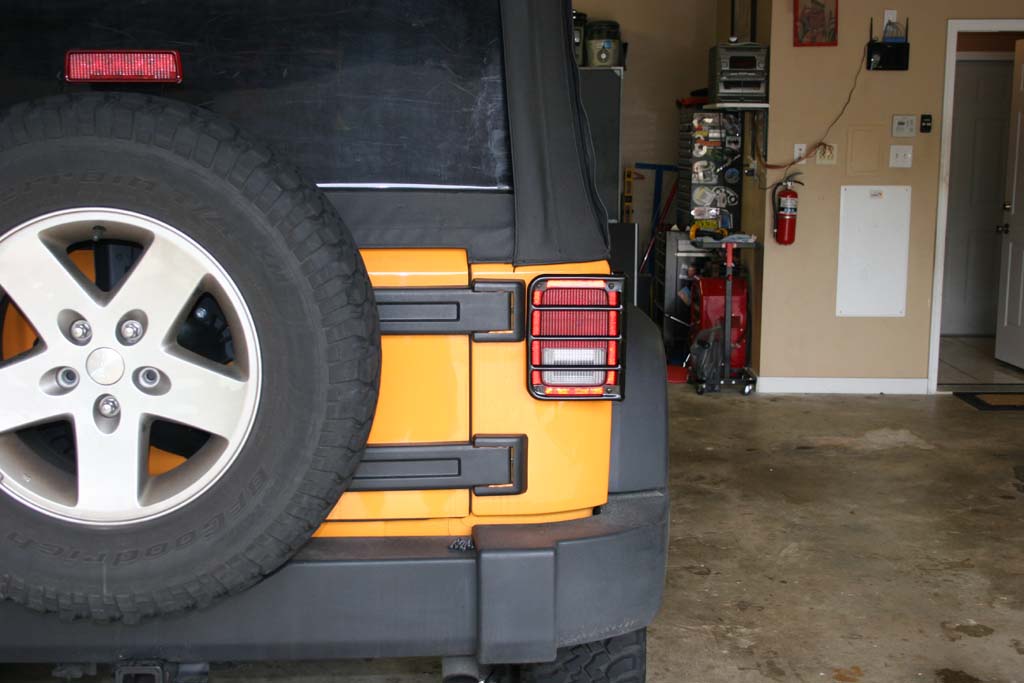
These are more an aesthetics thing than a protection item. I just kind of like the look of guards over the rear taillights. I did originally look at the MOPAR guards for the rear lights, but for the cost I just couldn't justify it to myself. Now those guards don't black as much of the taillight and do seem to be a better quality. I didn't get to see the backside of them. I liked the Rugged Ridge ones for the way they looked and the price (I picked these up for less the a quarter of what the MOPARs would have cost). They are a stamped painted metal, so I will see how long they survive the salt air and summer heat down here.
Additional
Parts:
Tools
Needed:
Phillips Screwdriver
Installation:
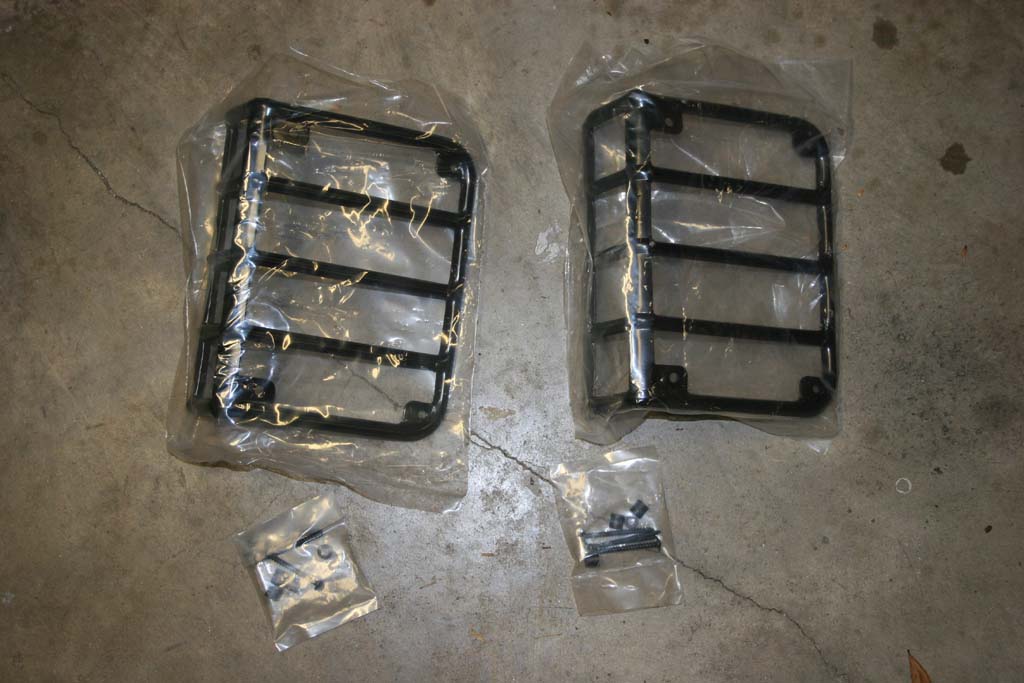
This is what comes in the package. Two Guards, four screws and four plastic spacers.
Like I said earlier, just stamped painted metal guards.
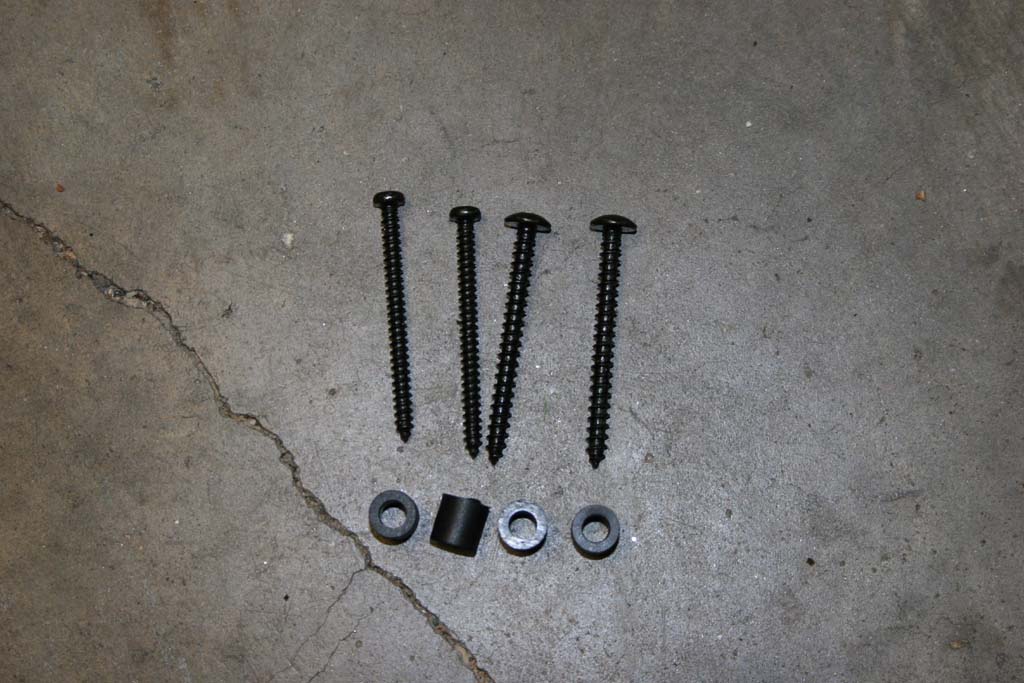
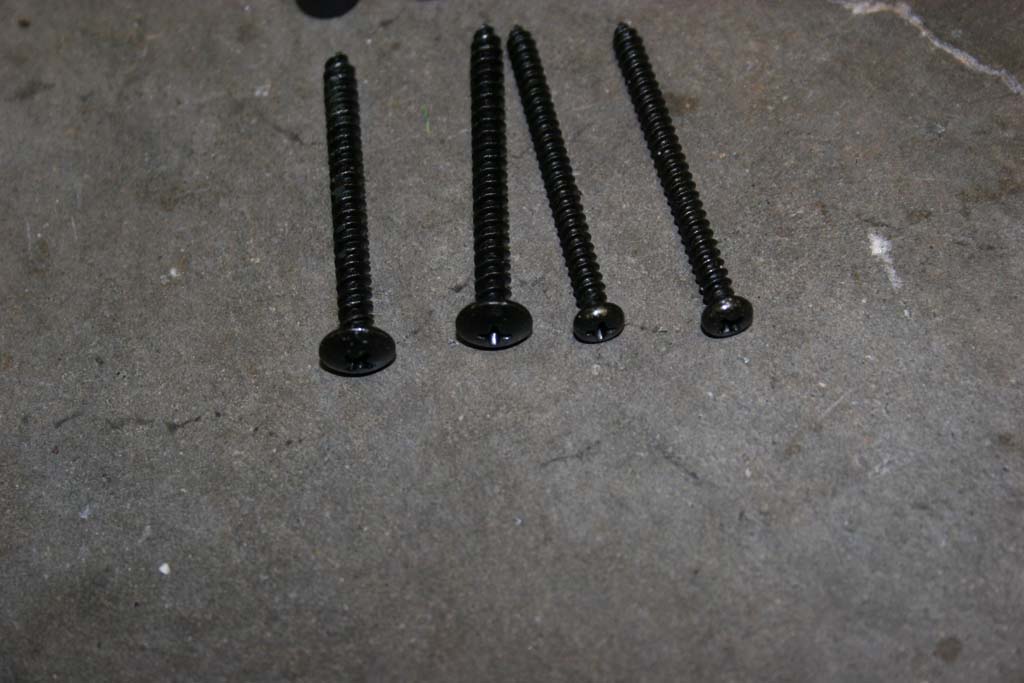
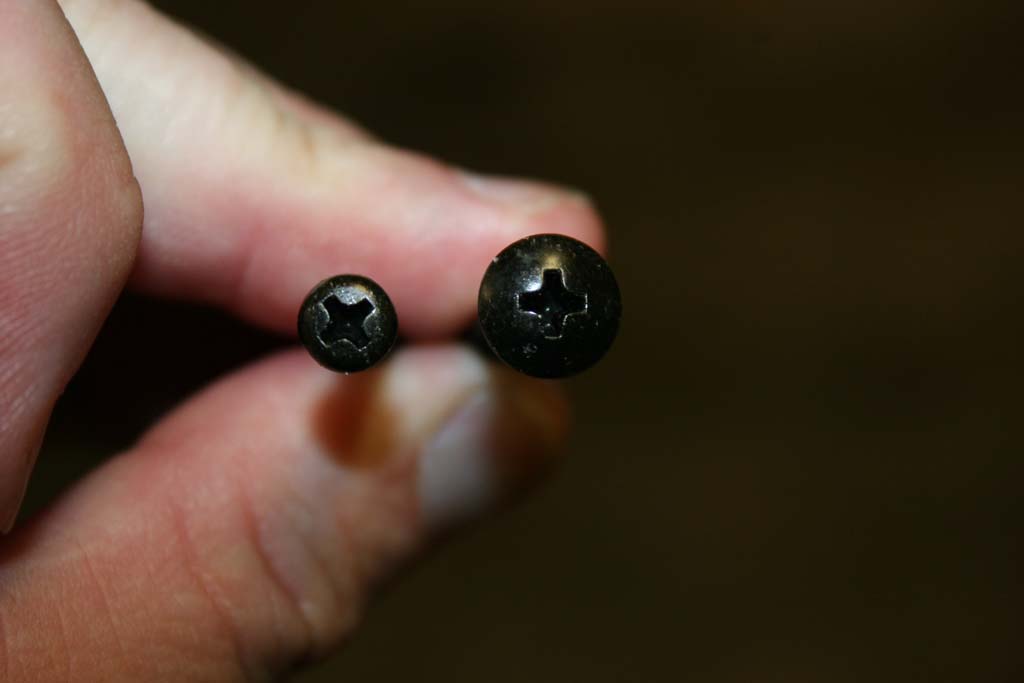
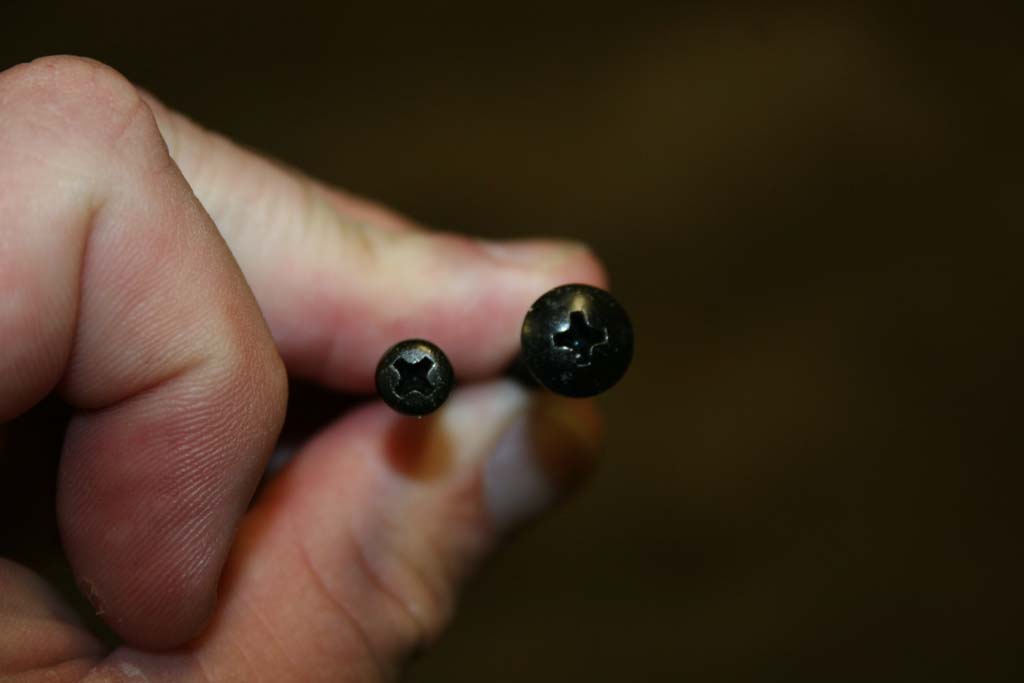
1. Sort out all your pieces. You will notice that you have screws with different size heads. You should have 4 of each.
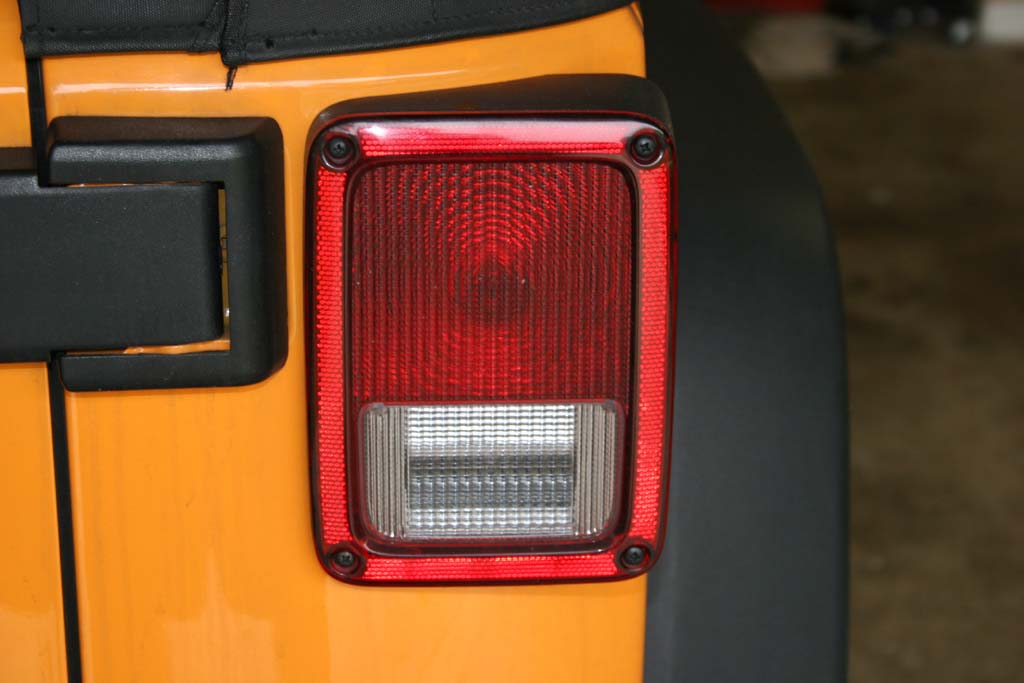
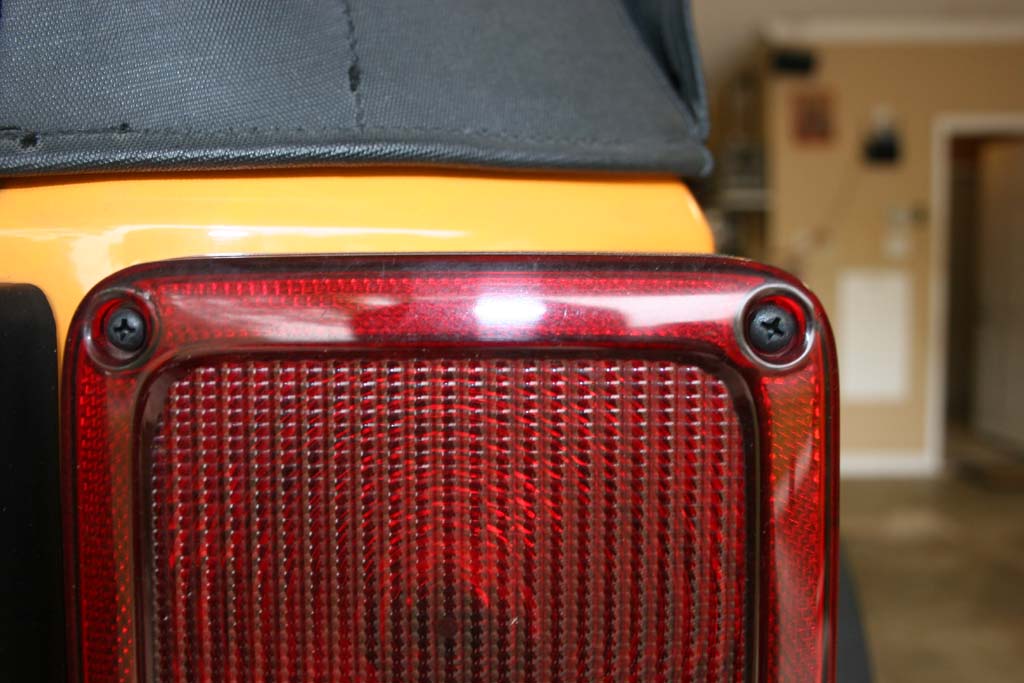
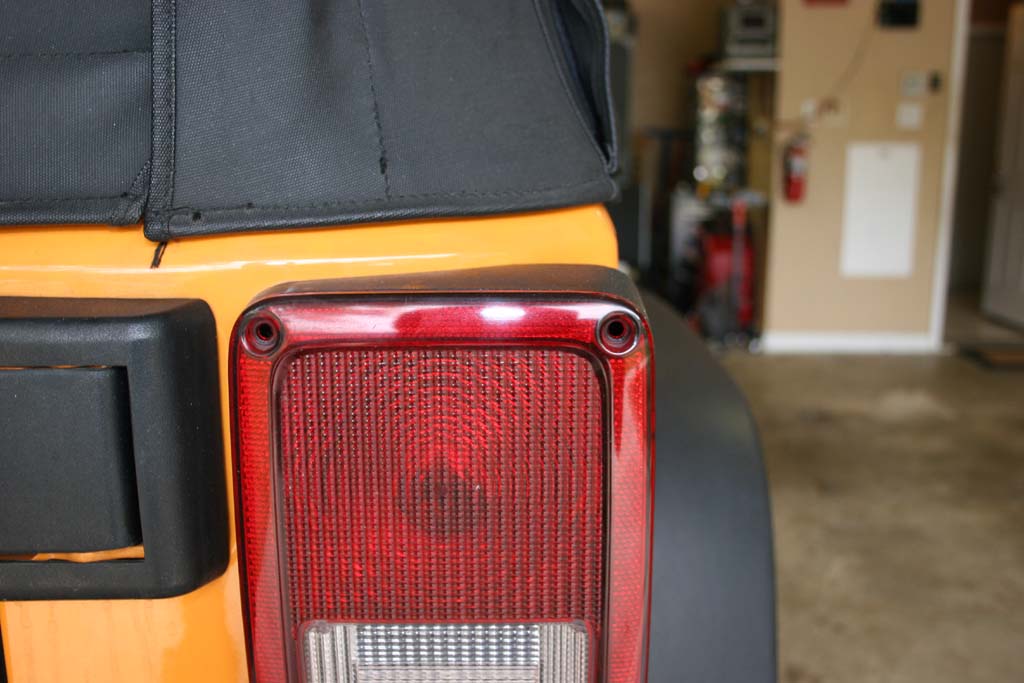
2. Remove the 4 screws holding the stock taillight in place. Don't bump the taillight to hard it will fall out. I removed the outer screws first since they only hold the lens in place and not actually hold the assembly to the body.
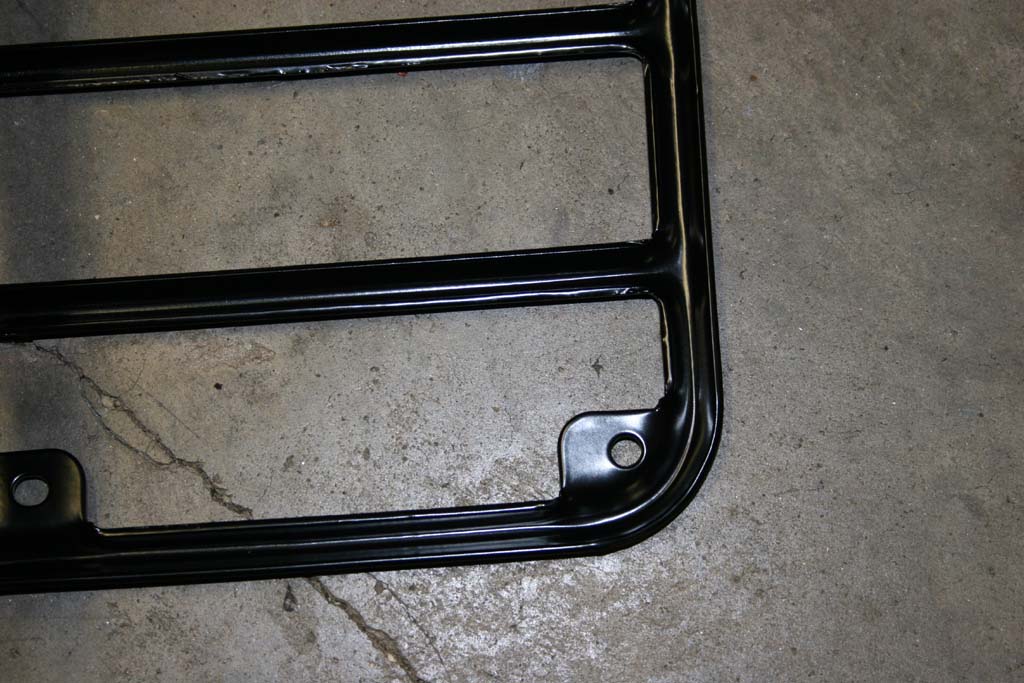
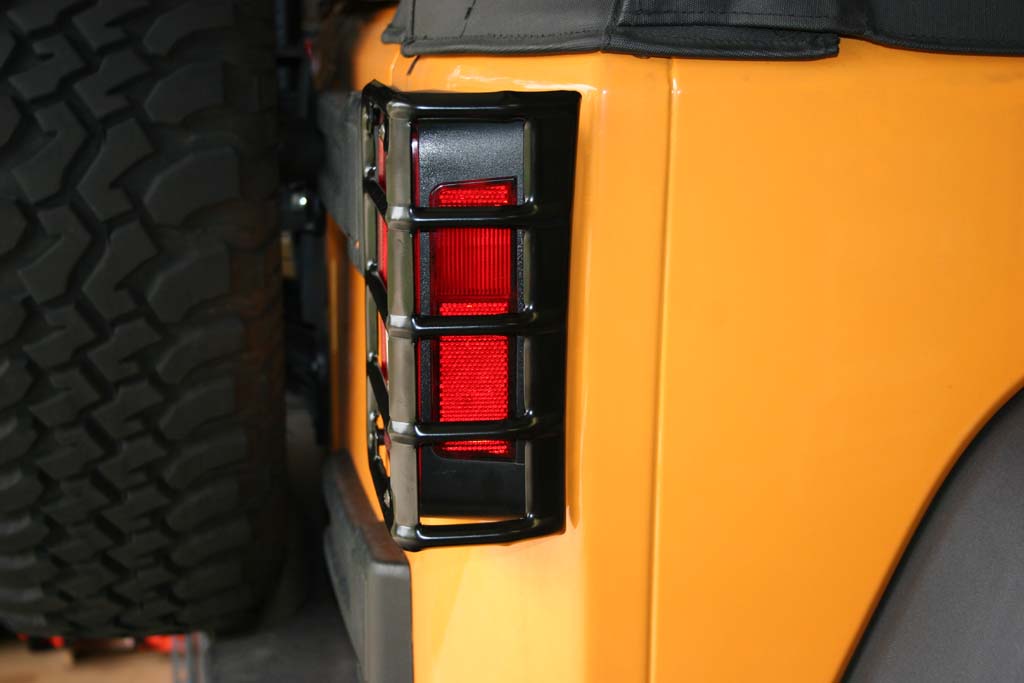
3. Select the correct taillight guard. These are not marked, but if you look at the side, the wider section goes towards the top.
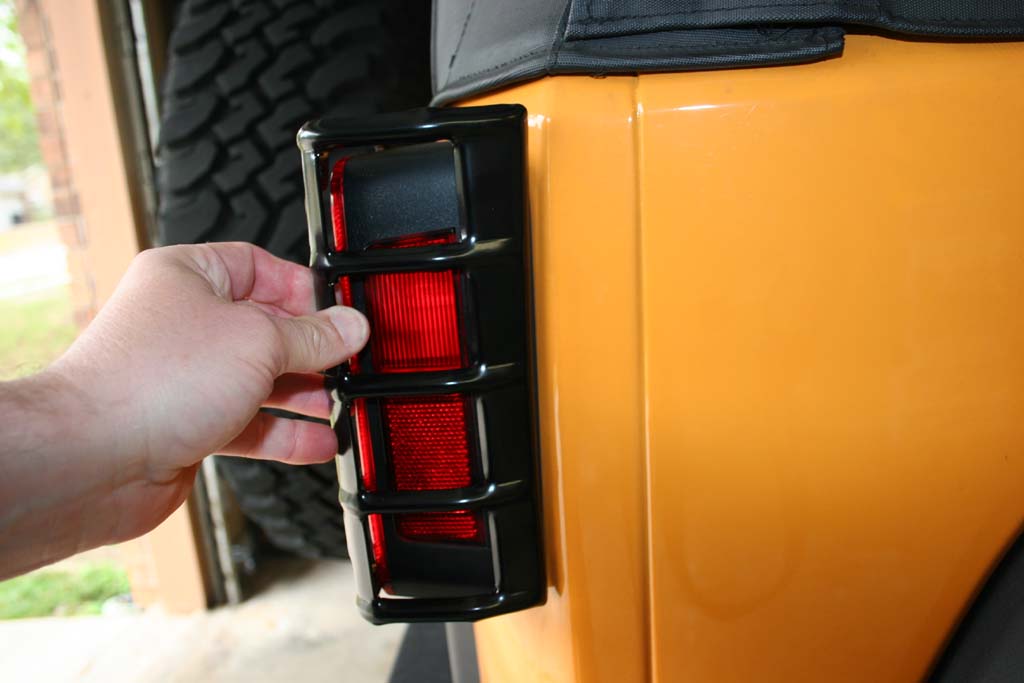
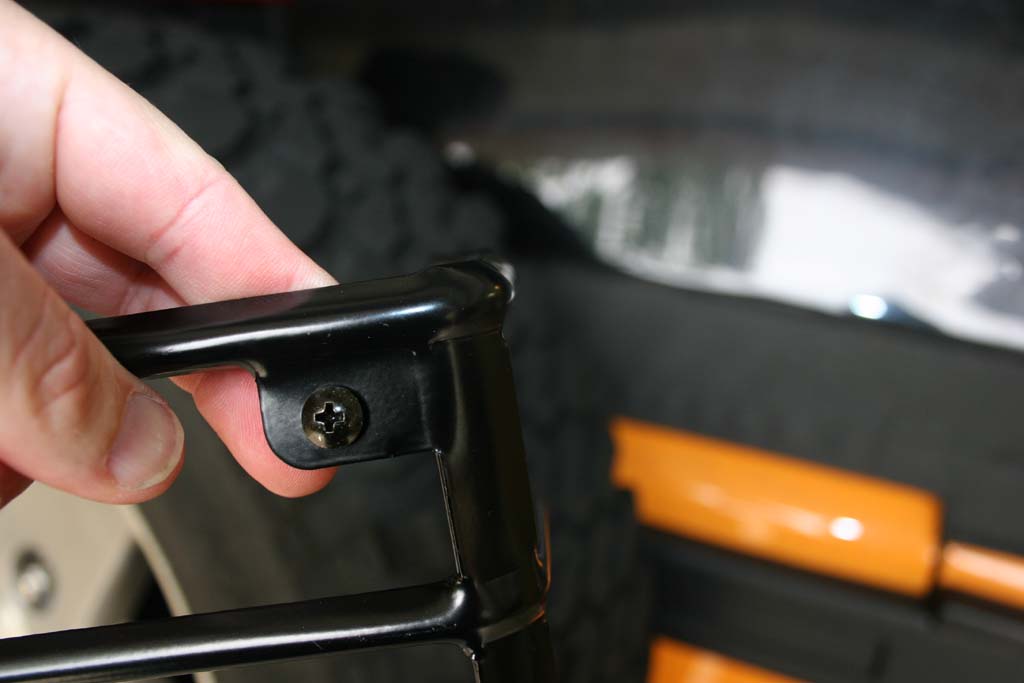
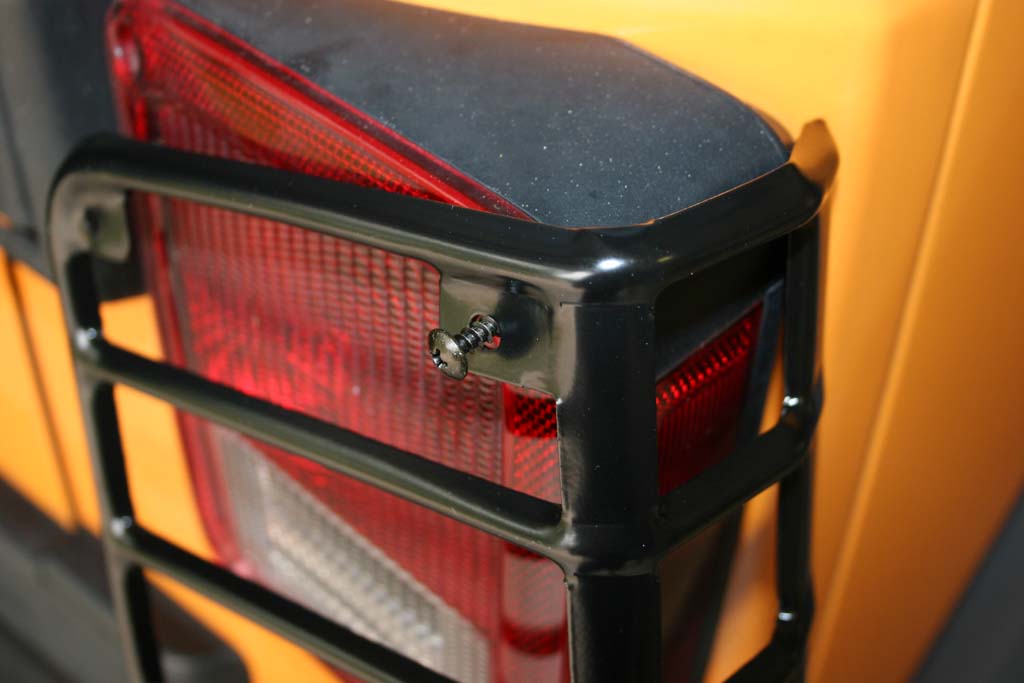
4. Insert one of the large head screws through the outer upper screw hole. Install a black plastic lens spacer behind the guard and over the screw.
5. Start the screw into the taillight lens. Do the same with the other 3 screws. The small head screws go towards the inside of the taillight.
6. Tighten down all of the screws evenly. When you get close the end check your side clearance on the taillight guard. It does have a little movement room. Do not over tighten the screws you can break the plastic housing.

