I knew that I wanted to protect the screen from finger prints and possible damage due to finger nails or anything else poking the screen. I seen pictures where the screen seems to deteroriate where the fingers touch the most. I don't know what causes this exactly, but best guess would be something to do with the oils in the finger tips and probably dirt from being off road. A little bit of abrasion over time will still cause damage. Someone I know trys to jab their finger through the screen like they were pushing an actual button. I have used Spigen screen protectors before on cell phones and the products hold up fairly well. You can still crack and chip those, but if I drop the 8.4 screen on a rock I think I have a bigger problem than just a cracked display. The nice thing is everything you need to install this comes in the kit.
| What comes in the box: |
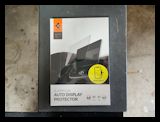
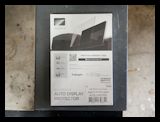
| Spigen screen protector for the Jeep 8.4" display screen. |
 |
 |
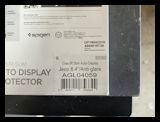 |
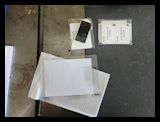
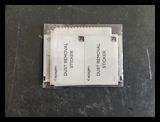
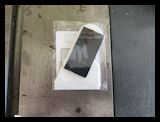
| Inside the box you have your screen protector, dust removal and screen cleaning kit along with the tools to install the screen protector over your 8.4" infotainment screen inside the Jeep. |
 |
 |
 |
 |
| |
| Installation: |
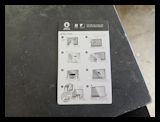
| The kit does come with some pretty simple instructions to follow. Most of us have smart phones and have installed screen protectors before, so this isn't much different from installing one of those. |
 |
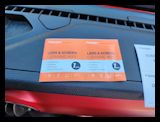
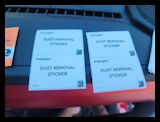
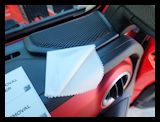
| Open up the package containing the screen cleaning tools. Basically some screen wipes, dust removal stickers, and a cleaning cloth. |
 |
 |
 |
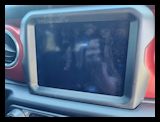
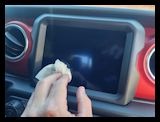
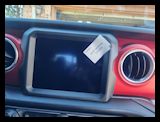
| 1. Used the cleaning wipes to clean the oils and finger prints off of the Jeep 8.4" Infotainment. Then use the Dust Removal Sticker to remove any dust that remains on the screen. Look at the screen from a couple different angles to make sure that you get all of the dust off the OEM screen. |
 |
 |
 |
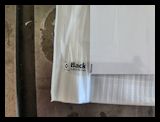
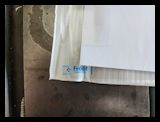
| 2. Remove the screen protect from it's protective foam envelope. You will notice that it has a back and front tab on the film covering the screen protector. |
 |
 |
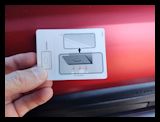
| 3. Open up the bag holding the squeege and installation tools. It even has some simple directions on how to use the squeege. The one thing that I have always noticed with Spigen is that they try to make every install simple enough for all skill levels. |
 |
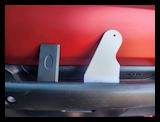 |
| One thing that I found easier was to make sure the tabs were up on the front of the screen protector before I removed the backing. This way you have a way to hold the screen protector and not get any finger prints or dust on the back side. |
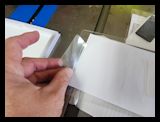 |
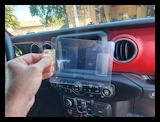
| 4. Remove the back (adhesive side) from the screen protector. Make sure you do not touch this side. |
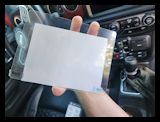 |
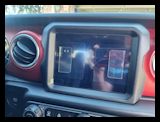
| 5. Align the screen protector with the Infotainment screen and slowly place it in position. I found that aligning the top edge with the top of the Infotainment screen then slowly lowering it into position worked the best. It is difficult, but not impossible to get the screen protector back up and repositioned. |
 |
 |
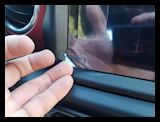
| 6. Remove the front plastic from the screen protector. There is a tab in one corner that says front. Pull up on the tab and slowly pull the plastic away from the glass. There should be enought surface tension to allow the glass to stay on the infotainment screen. |
 |
| 7. Using the supplied felt tip lined squeege. Gently push any air bubble off to the side of the glass. Do not try to push the squeege through the screen. Just work the bubbles off to the edge. I did have one spot that didn't really want to push off to the edge, but it disappeared in just a couple days. I couldn't see it when the screen was on, just with it off. |
 |
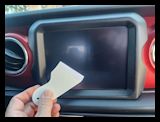 |
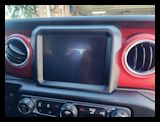
8. The screen is nice and smooth with the new protector in place. The only thing I did find annoying is that the matte finish would wash out the screen in direct sunlight. So, if you were driving home and the sun would hit the screen at the right angle you couldn't see past the screen protector. Everything still worked, you just couldn't see it until you blocked the sun with your hand when you went to touch the screen. |
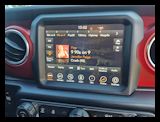 |
| I have had this installed for about 10 months and it is still perfectly fine. You don't even realize it is there. Surprisingly I would expect there to be finger prints, but there are none on mine, and I'm definetly not religious about cleaning my Jeep. |


