| Installation: |
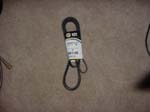 |
|
|
|
|
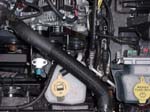
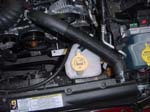
1. Remove the radiator overflow bottle. Remove the hose from the two clips on the fan shroud. |
 |
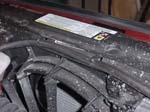 |
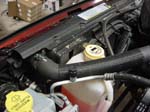
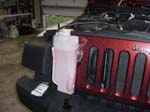
2. Remove the bottle by pulling upwards on the bottle until the clips release from the fan shroud. There is enough hose to stand the bottle up on the front bumper. You can also remove the hose from the radiator by removing the clamp and then pulling the hose off the nipple. |
 |
 |
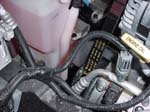
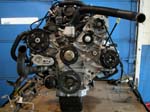
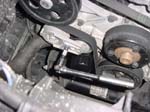
3. Remove the drive belt. Using a 3/8” drive ratchet (this may require an extension) in the square on the tensioner pulley. Rotate the tensioner pulley until it stops. Release the belt from one of the other pulleys and then slowly release the tensioner pulley back to it free position. Remove the drive belt from the engine.
|
 |
 |
NOTE: Do not tighten any bolts, compressor and brackets must be loose fit. |
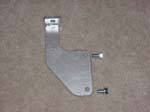
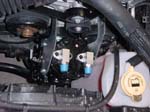
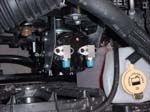
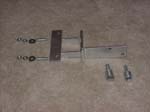
4. Install the Lower Compressor Support Bracket. |
 |
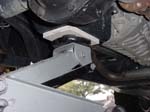
| 5. Support the Engine with a block of wood on a floor jack across the entire width of the oil pan. Caution: You do not need to lift the engine, just support it, you can dent the oil pan if you try to lift the vehicle. You can remove the 2 bolts from the engine mount without supporting the engine this way, but for safety I recommend it. |
 |
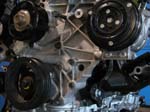
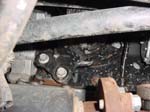
6. Remove the lower two cylinder block-to-insulator mount bolts with a 15mm and 16mm socket or combo wrench. Note: You will reuse the short bolt for the idler pulley that needs to be installed later. |
 |
 |
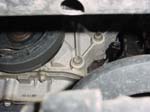
7. Remove the lower bolt from the timing chain cover on the front of the engine with a 13mm socket or combo wrench. |
|
|
|
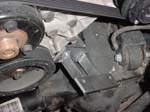
8. Lower the bracket into place and reinstall the lower bolt for the timing chain cover through the Lower Compressor Support Bracket. This will support the bracket while you install the bracket spacers for the cylinder block-to-insulator mount. |
 |
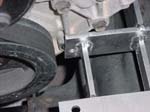
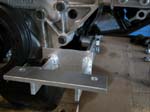
| 9. Rotate the bracket up and install the bracket spacers and bolts in the following order: Bolt, washer, bracket, spacer. |
 |
 |
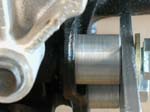
| 10. The larger spacer is for the upper front bolt hole. Install these bolts back into the bolt holes for the cylinder block-to-insulator mount. |
 |
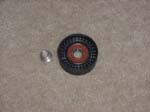
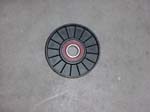
| 11. Remove the upper OEM idler pulley from the engine. You will relocated this just a little lower on the engine, and install the larger supplied pulley in it's place. |
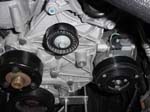 |
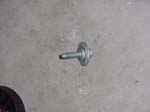
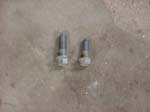
12. Install the idler pulley. You will use the smaller of the two bolts that you removed from the motor mount earlier. |
 |
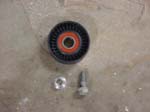 |
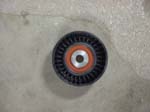
| 13. Install the provided bushing into one side of the idler pulley (this will be the side against the timing chain cover). |
 |
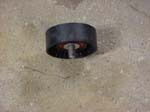 |
14. Install the idler pulley to the machined boss on the front of the timing chain cover using the short bolt from the cylinder block-to-insulator mount that you removed earlier. Torque the bolt to (look up torque for other idler pulley) |
 |
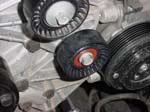 |
| 15. Install the larger idler pulley in the OEM location with the OEM bolt. |
|
|
|
16. Remove the upper bolt from the timing chain cover (bolt is between the center pulley and the A/C compressor pulley). This will require a 15mm socket and 4” extension. I tried this with the compressor installed and while it's dueable, it's easier to pull it now.
|
 |
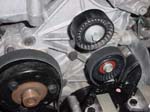 |
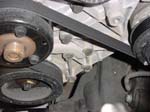
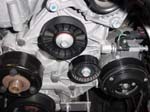
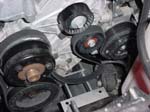
| 17. Route the new drive belt. Leave the belt off the upper idler pulley, this will give you enough slack to position the belt later. You should have a nice loop by the Lower Compressor Support Bracket. |
|
 |
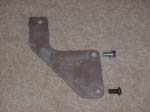
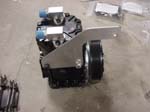
18. Install the Left Side Compressor Support using the bolt with lock washer and button head Allen screw. Leave these loose, you will need to adjust the position of the compressor later. These will require a 9/16” Socket and a 7/32” allen wrench. The allen head goes on the side away from the pulley. |
 |
 |
19. Loosen the three (2 front, 1 back) A/C compressor mount bolts. |
|
|
|
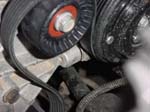
20. Remove the A/C compressor front lower bolt and insert the spacer between the timing chain cover and the A/C compressor. Reinstall the bolt, but do not tighten. This will require a 13mm combo wrench |
 |
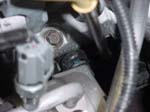
| 21. Remove the A/C compressor rear bolt and insert the spacer between the timing chain cover and the A/C compressor. Reinstall the bolt, but do not tighten. This will require a 13mm socket. |
 |
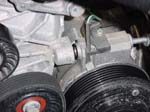
22. Remove the front upper bolt from the A/C compressor. This will require a 13mm socket |
 |
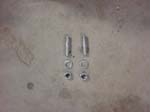
23. Install the 2 studs in the bottom front of the compressor. The studs will bottom out on the compressor. (Front being the pulley) |
 |
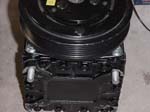 |
24. Carefully lower the York Air compressor down onto the Lower Compressor Support Bracket and tilt it towards the engine so that the Left Side Compressor Support goes between the A/C compressor and the timing chain cover. Note: The drive belt will need to go around the compressor pulley. You may have to lower the compressor in sideways and then turn it to clear the hoses. |
|
|
|
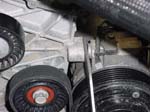
| 25. Reinstall the front upper bolt for the A/C compressor. This will require a 13mm Socket. |
 |
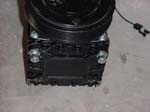
26. Install the washers and nuts onto the lower studs of the compressor. Snug, but do not tighten yet. This will require a 9/16” Socket. |
 |
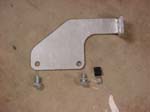
27. Install the Right Side Compressor Support with the bolts and lockwashers. These will require a 9/16” Socket. I placed the clamp for the magnetic clutch wire on this side. |
 |
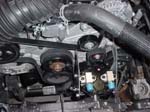
| 28. Reinstall the upper bolt from the timing chain cover. This will require a 15mm socket and 4” extension |
 |
29. Tighten the bolts in the following sequence.
Order |
Bolt |
√ |
1. |
Lower timing chain cover bolt |
____ |
2. |
Cylinder block-to-insulator mount |
____ |
3. |
A/C compressor bolts (Pulling up on the compressor side mount will give a little more clearance from the pulley) |
____
|
4. |
Upper timing chain cover bolt |
____ |
5. |
Side bracket to compressor bolts |
____ |
6. |
Bottom compressor to bracket bolts |
____ |
Refer to torque chart on last page for required specifications. |
|
30. Reinstall the drive belt. Route the belt around all the pulleys, ensuring that the serpentine belt is centered on the pulley. Using a 3/8” drive ratchet and extension in the square on the tensioner pulley. Rotate the tensioner pulley until it stops. Place the belt on the tensioner pulley and then slowly release the tensioner pulley back to it tensioned position. Remove the ratchet from the tensioner pulley.
|
 |
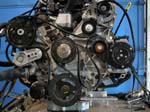 |
| At this point I double checked all of the belts, pulleys, and the electrical wire coming from the clutch to make certain they were on, or out of the way in the case of the wire. I started the engine for a quick belt check and then turned it back off. Be careful if you actually disconnected the radiator bottle. |
31. Reinstall the radiator overflow bottle by sliding it down between the compressor and the steering gear, align the clips on the bottle with the holes in the radiator fan shroud and slide down into position. |
 |
32. Reinstall the hose into the two clips on the fan shroud. |
 |
| 33. If you removed the hose from the radiator, push the end of the hose over the nipple and replace the clamp. |
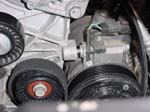
| As you can see, it's a tight fit, but everything clearances really nice. |
|
|
|
|


