Preparation:
I figured I would tackle the front suspension since it is normally the hardest to do. I was wrong, but that’s another story. |
Jack up the front of the vehicle and place on jack stands behind the front LCA frame brackets. |
Remove the tires. |
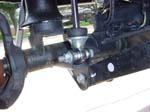
Remove the front anti-sway bar drop links with an 18mm socket and combo wrench for the lower and a 19mm combo wrench and 18mm socket for the top.
|
 |
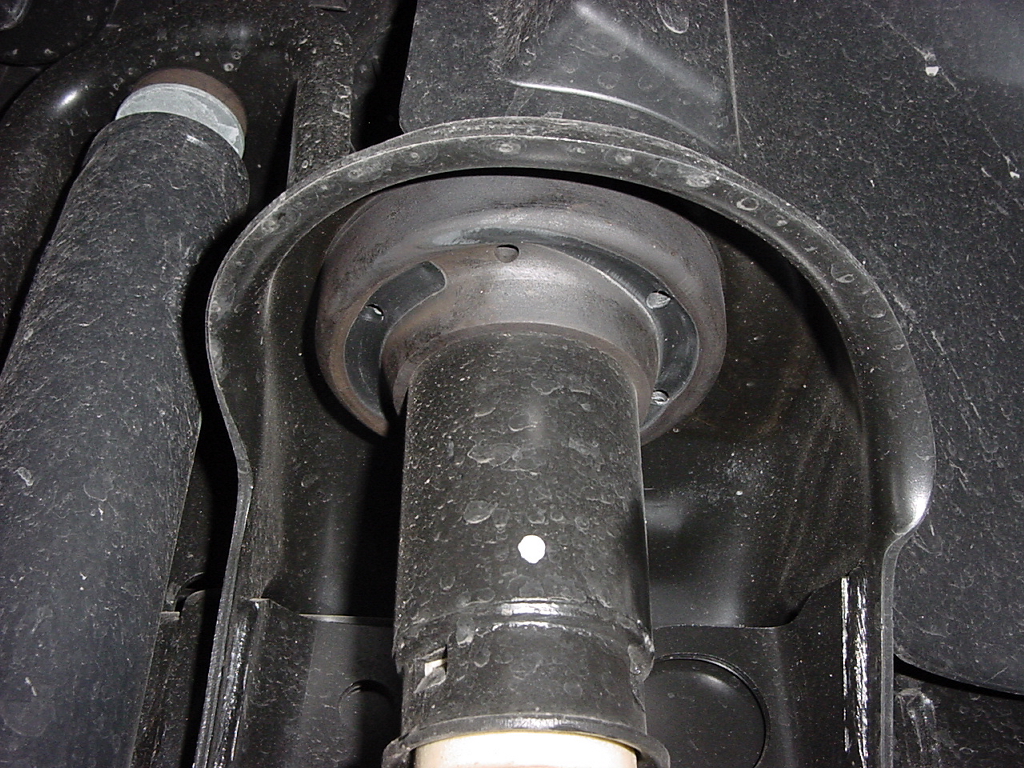
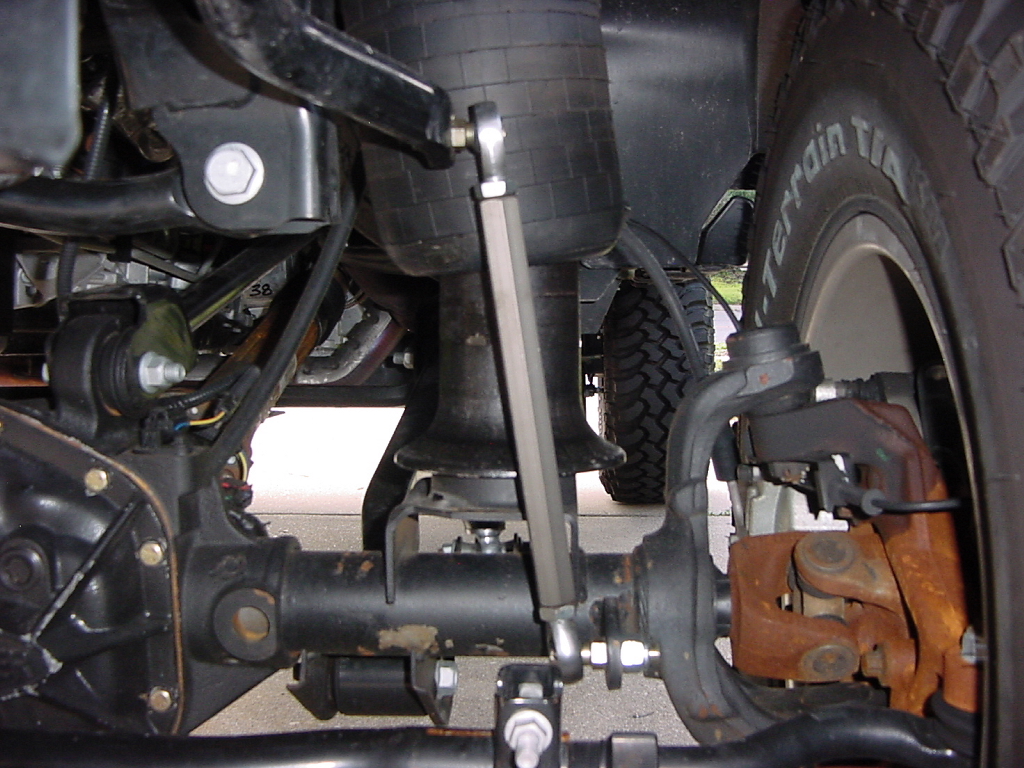
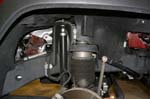
Remove the front shocks with an 18mm socket and combo wrench on the bottom bolt and a 16mm combo wrench for the top stud. |
|
|
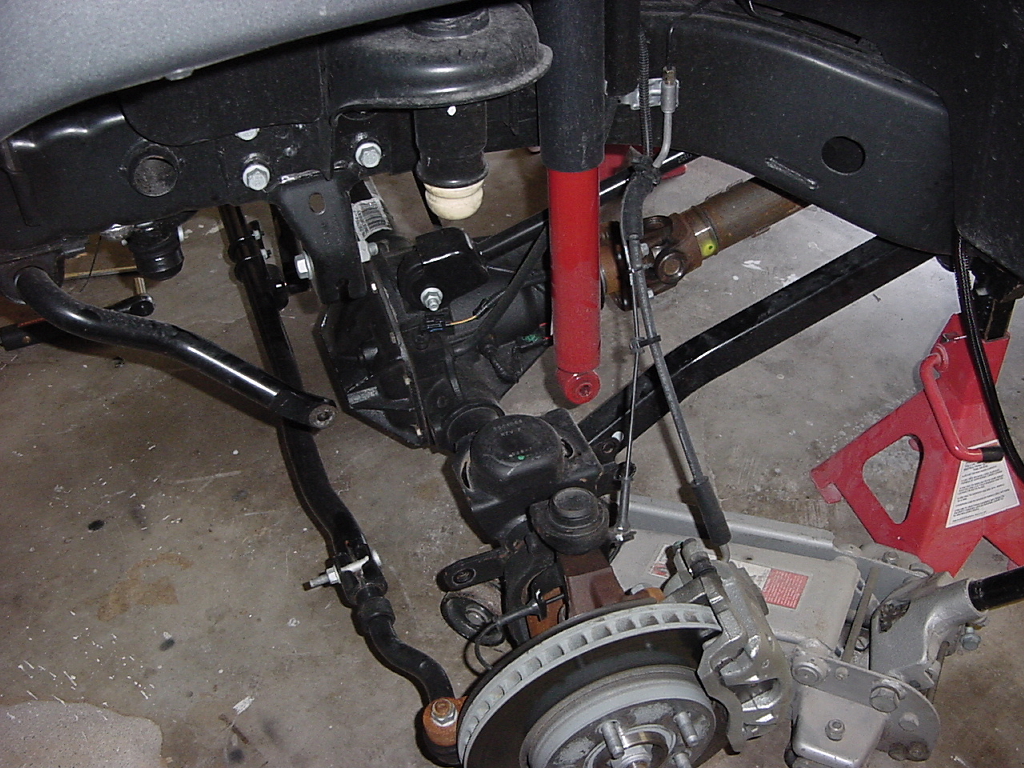
Lower the front axle and remove the springs. Watch the speed sensor wire on the front axle, it will become taunt. I did not remove the jack from under the axle, I supported the axle with the Jack. |
|
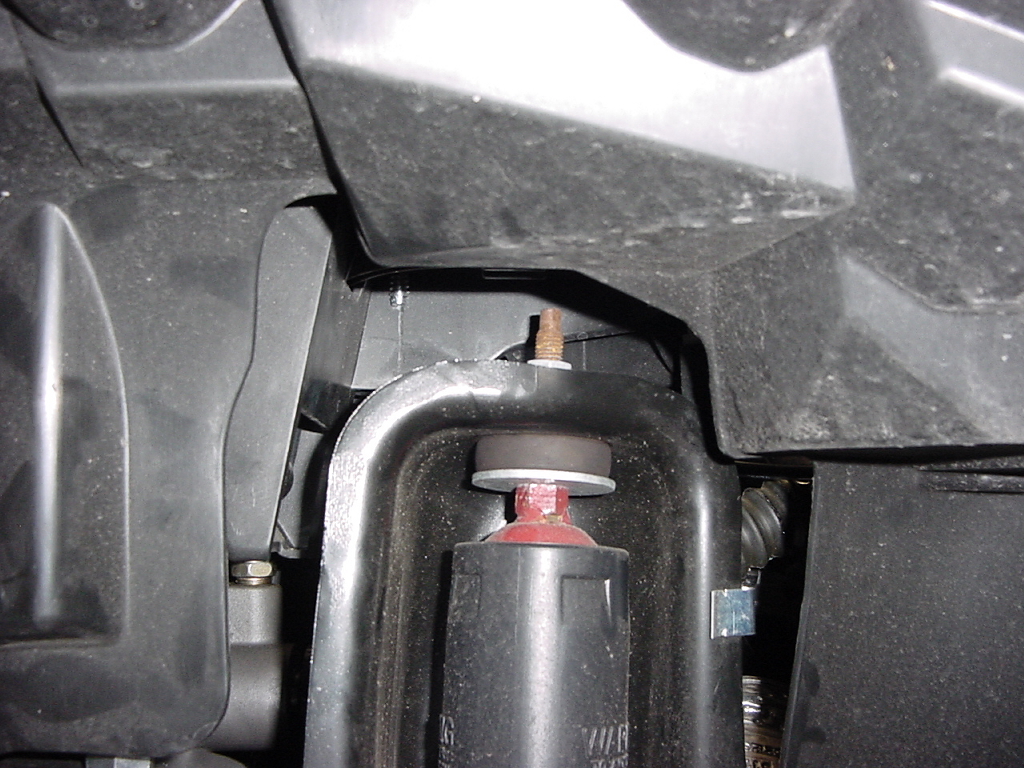
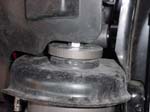
Remove the bump stop from the bump stop cup
|
 |
Remove the factory spring isolator. (This is a good way to help your buddy level his jeep out, they can be placed under the other factor spring isolator to give about a 5/8” lift.)
|
|
|
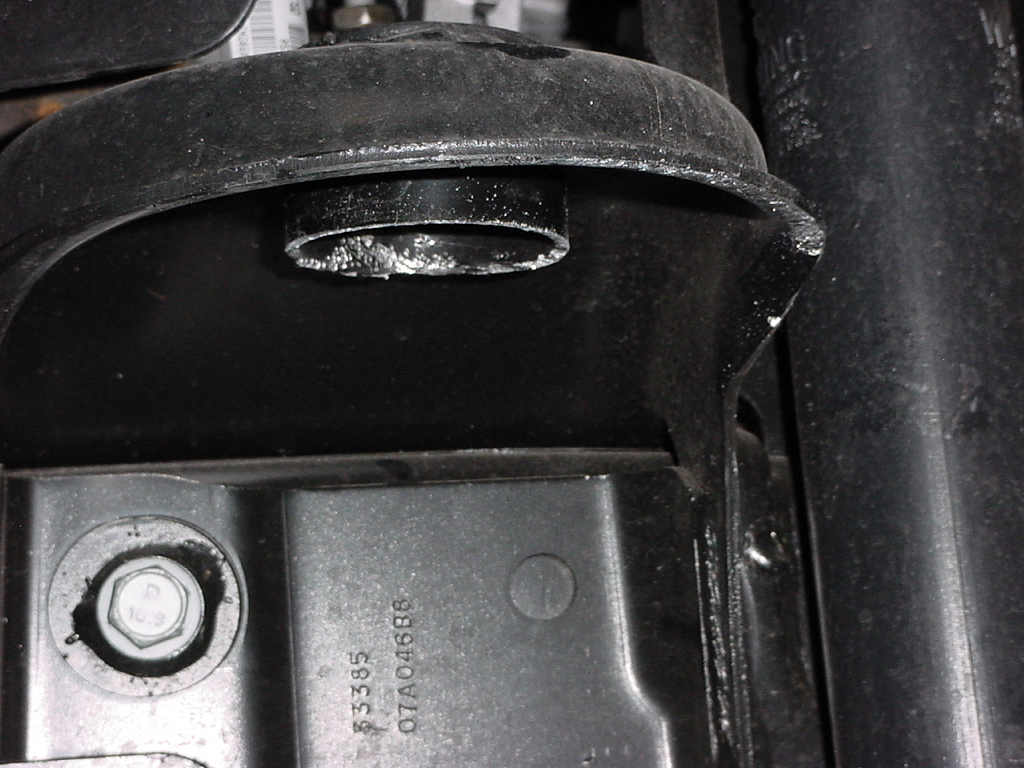
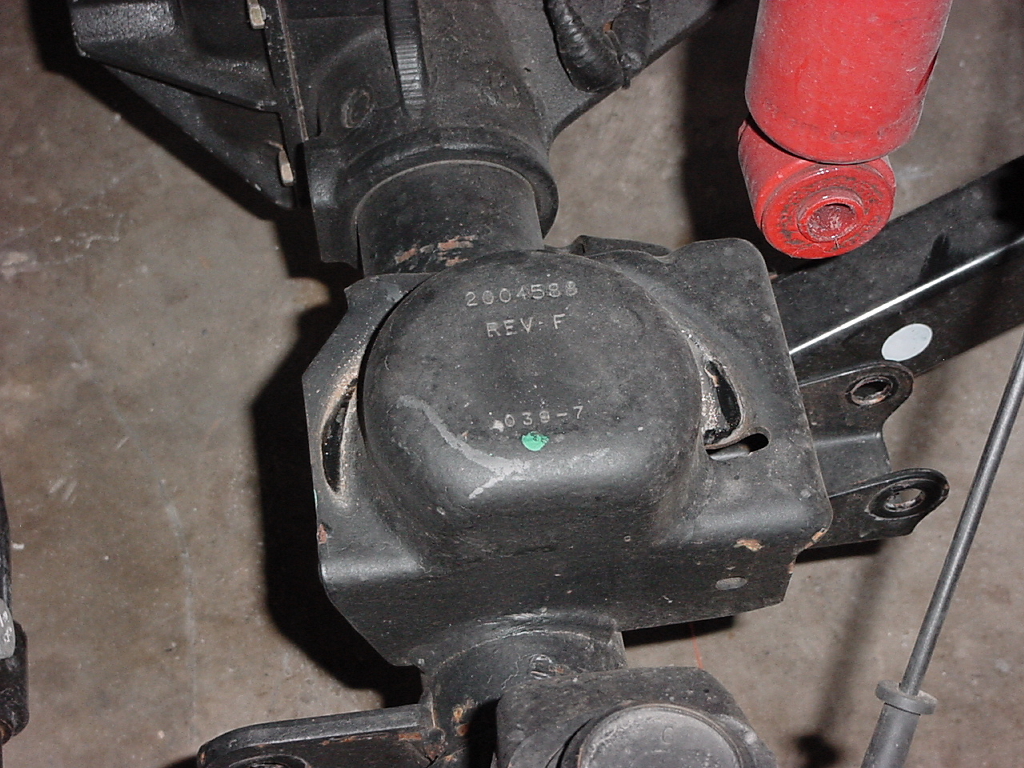
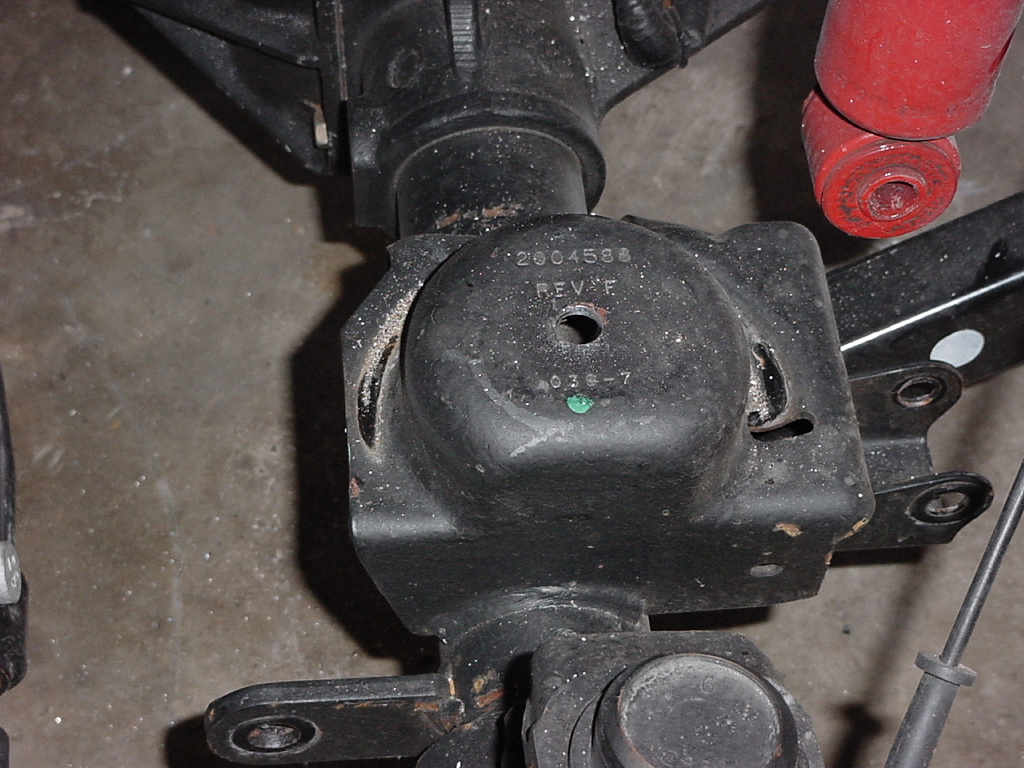
Mark a line on the bump stop tower 1” down from the top of the upper spring plate. With a sawzall (demolition saw) cut a the bump stop tower off. You will need at least an 8” blade, 10” is ideal. |
|
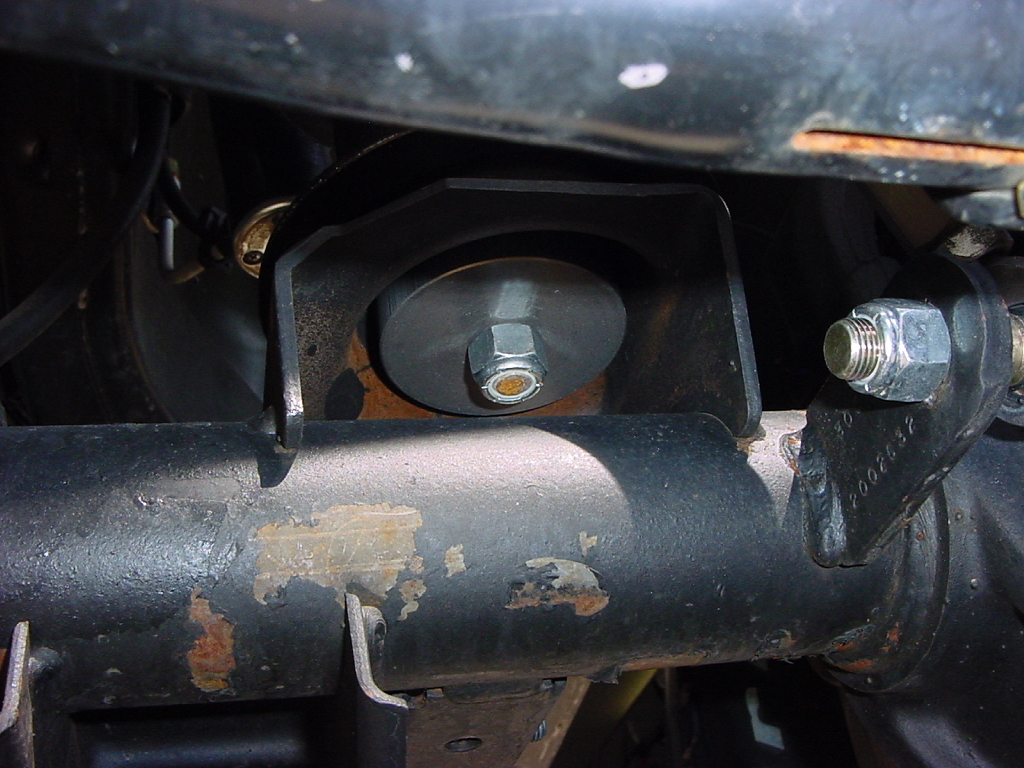
Remove the bottom bushing from the front air spring to use as a template. Align and center punch the bushing with the center of the lower spring pad.
|
 |
 |
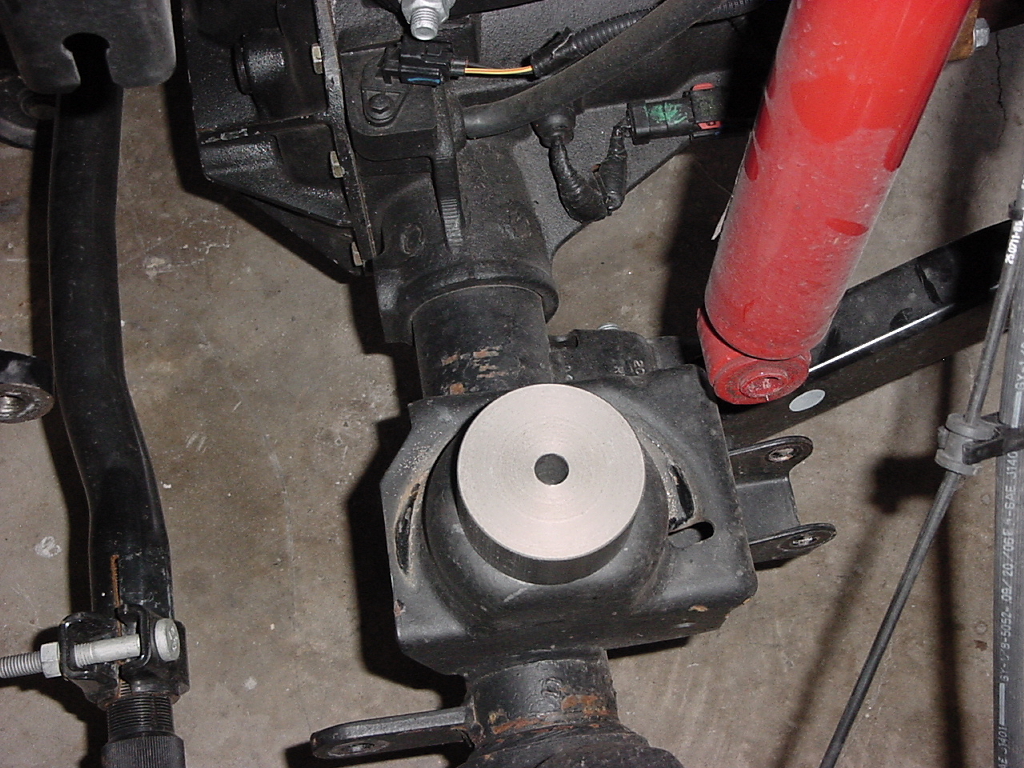
Drill out the lower spring pad to ½”
|
|
 |
Smooth out all cuts and touch up with paint to prevent rusting.
|
 |
|
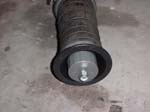
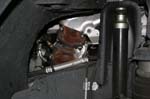
Remove the top nut and plate from the front air spring.
|
 |
Insert the adaptor bushing underneath the front lower spring pad.
|
|
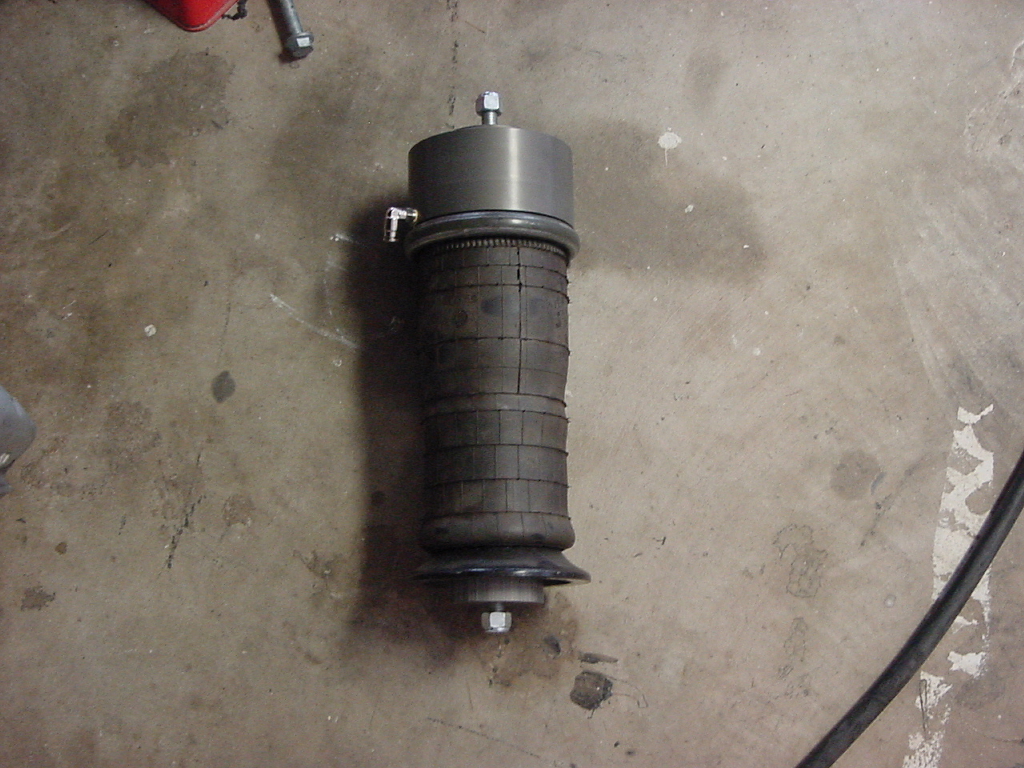
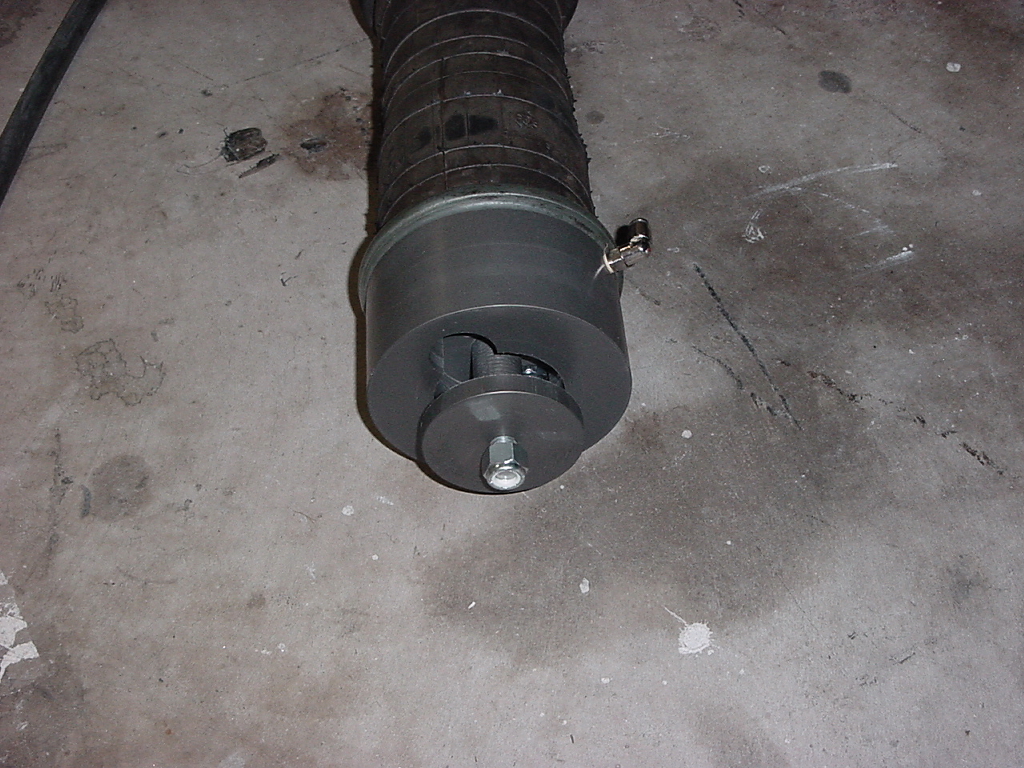
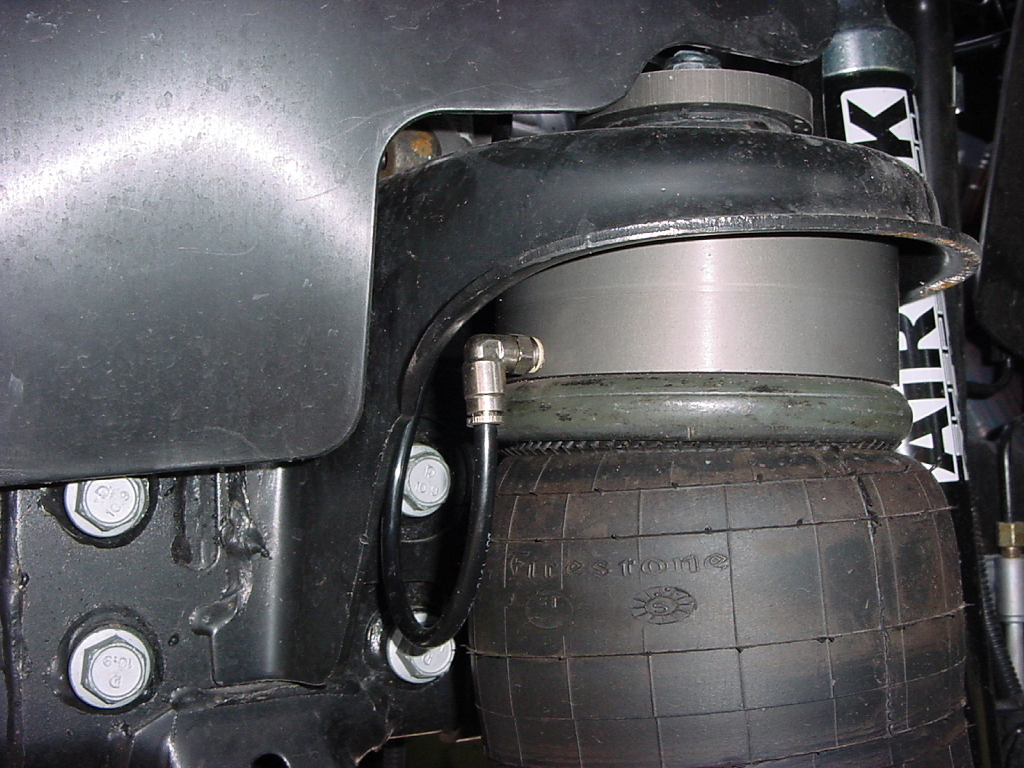
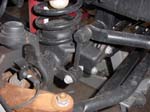
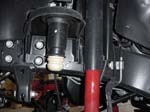
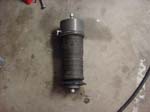
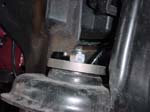
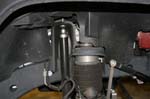
Place the front air spring over the front lower spring pad. You will need to guide the stud down into the adaptor bushing. |
|
The air fitting should be at the center front of the air spring. You may need to rotate the spring. |
 |
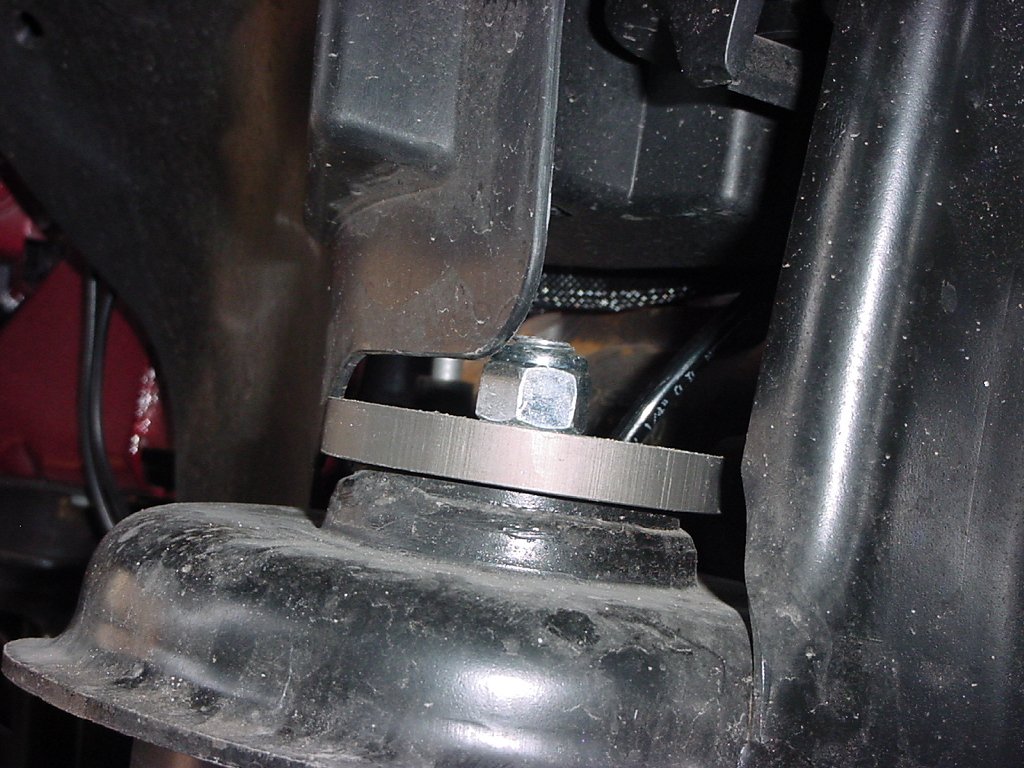
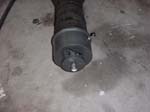
Install the ½” nut on the stud to secure the air spring to the lower spring pad. Just snug the bolt, you will tighten it once you have the vehicle weight on the air spring. |
 |
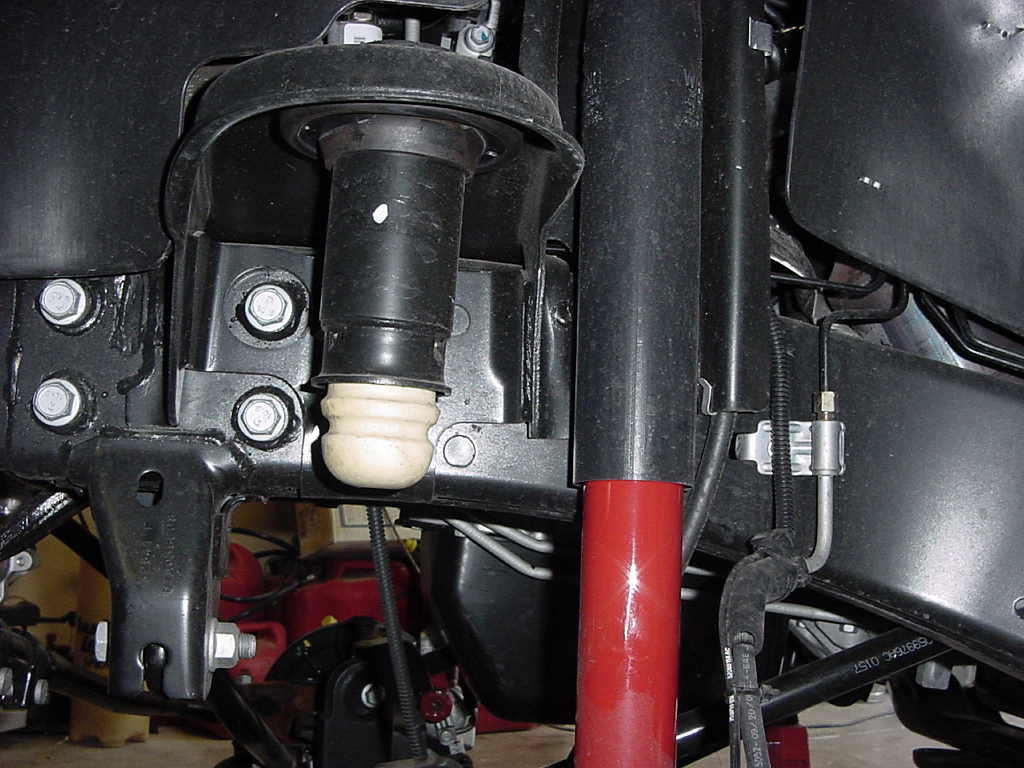
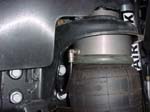
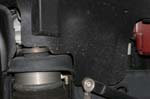
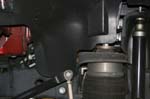
Lift the axle into place, while guiding the upper air spring adaptor onto the remains of the bump stop tower. |
|
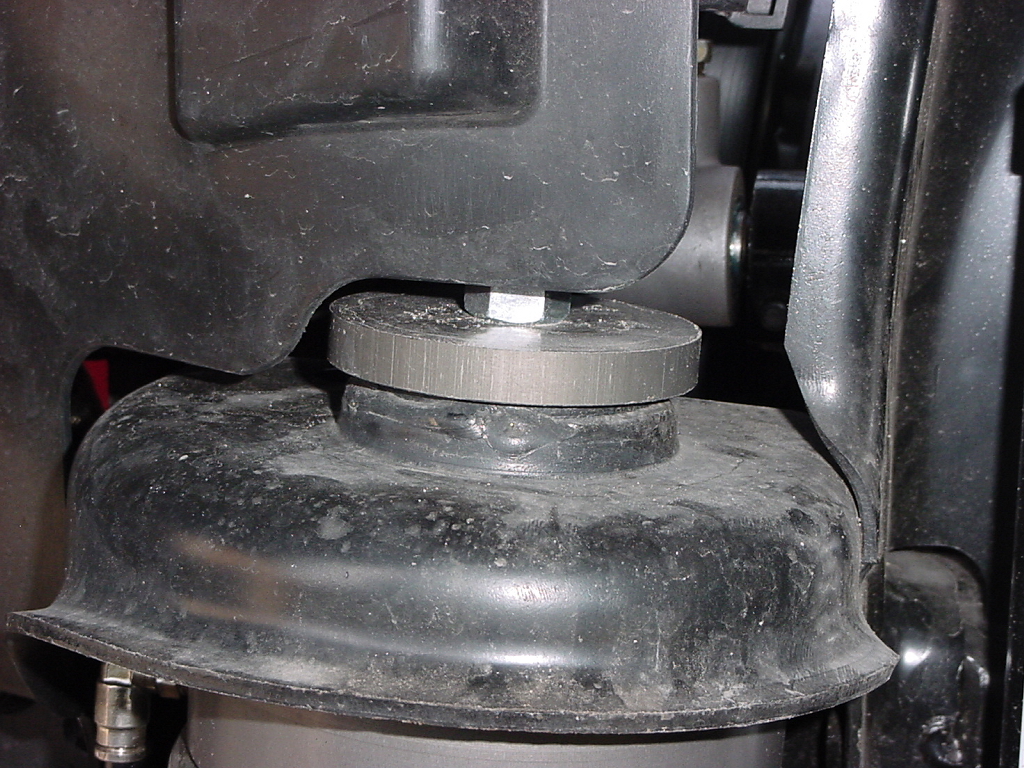
Once the air spring is seated against the bottom of the upper spring plate, place the plate over the exposed stud, and install the nut. |
 |
| Snug the nut against the plate. You will tighten it once you have the vehicle weight on the air spring |
 |
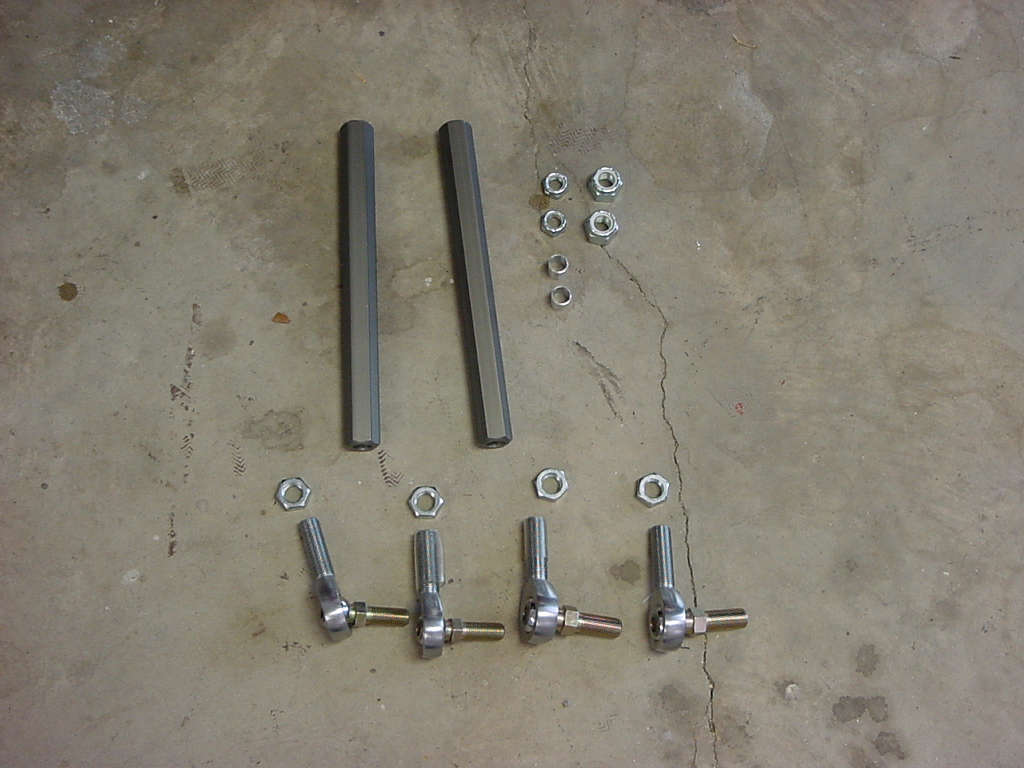
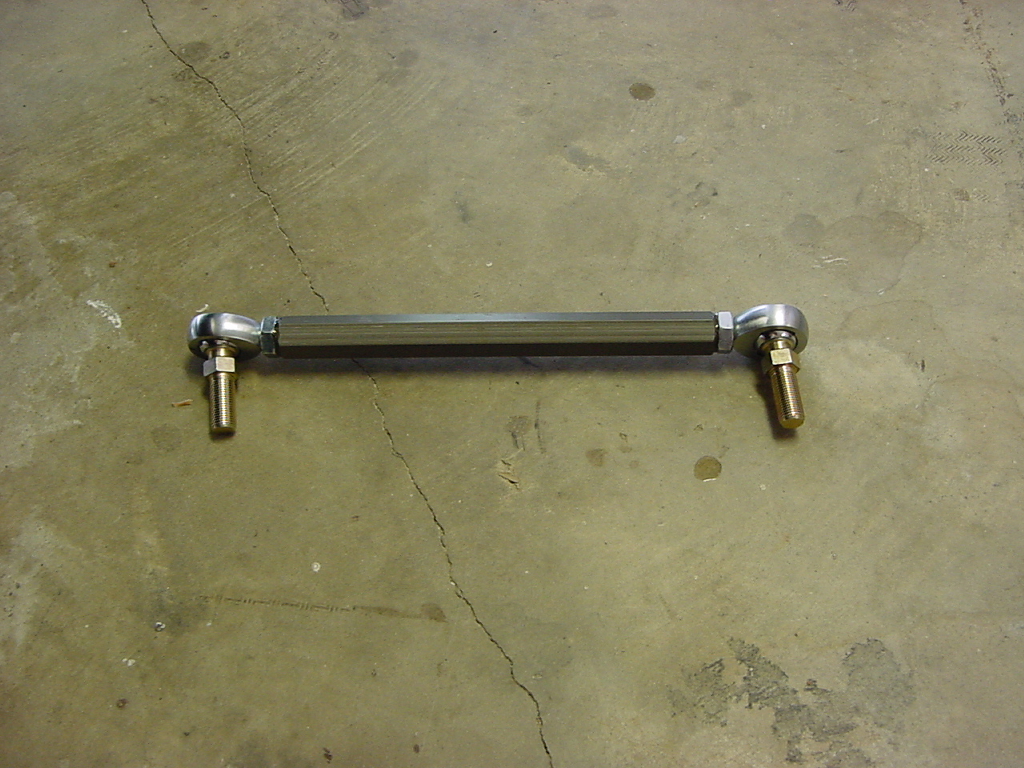
Assemble the front anti-sway bar drop links:
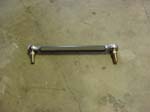
The links have two different size bolts, so you will need to check and see that you don’t install the same ones on the same center link. |
 |
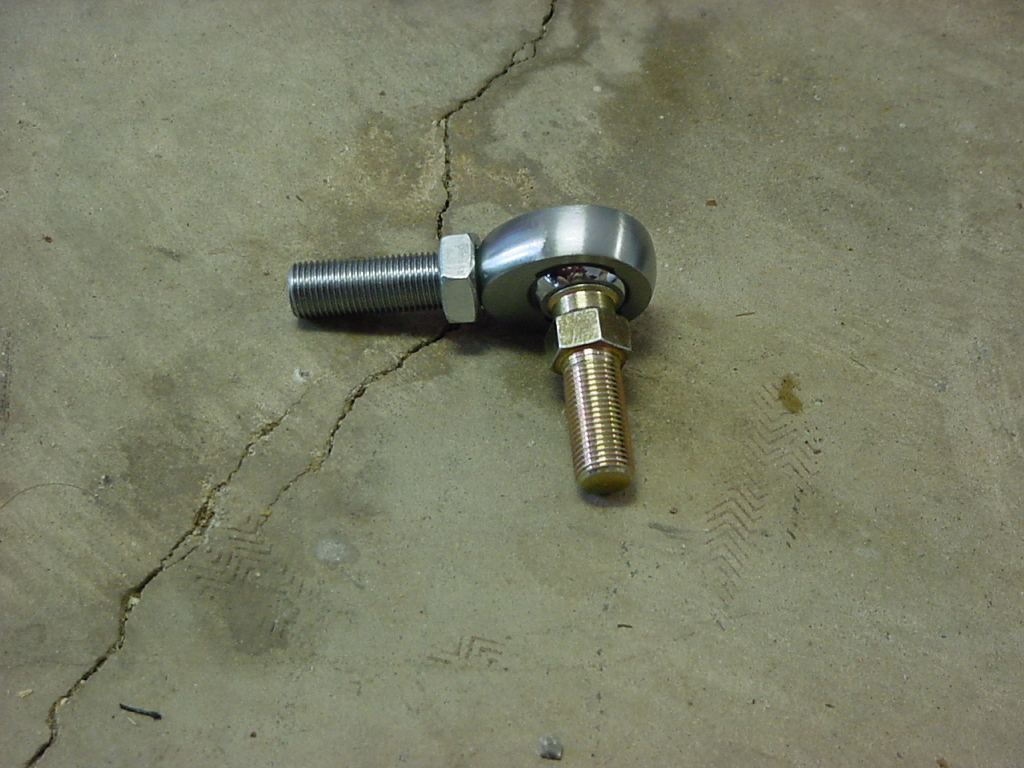
Install the jam nuts on to the 4 rod ends. |
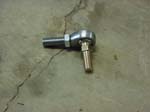 |
Screw the rod ends into the center link. Make certain one has a small thread diameter and one large thread diameter. |
 |
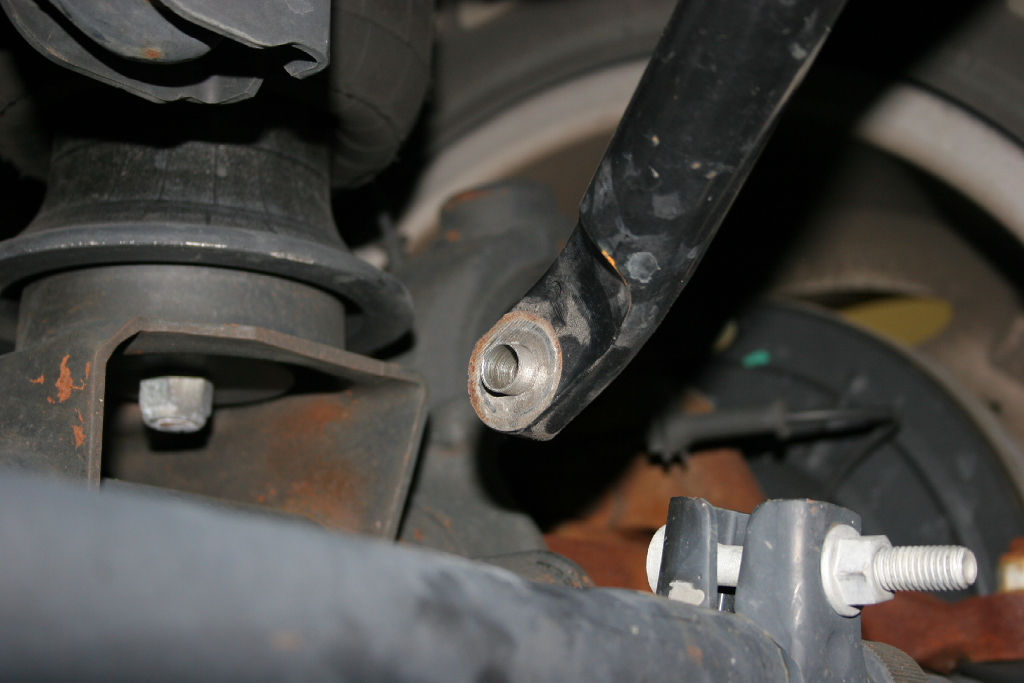
Lubricate the drop link hole in the front anti-sway bar and gently tap the supplied bushings into the bar. |
 |
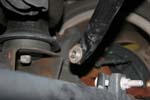 |
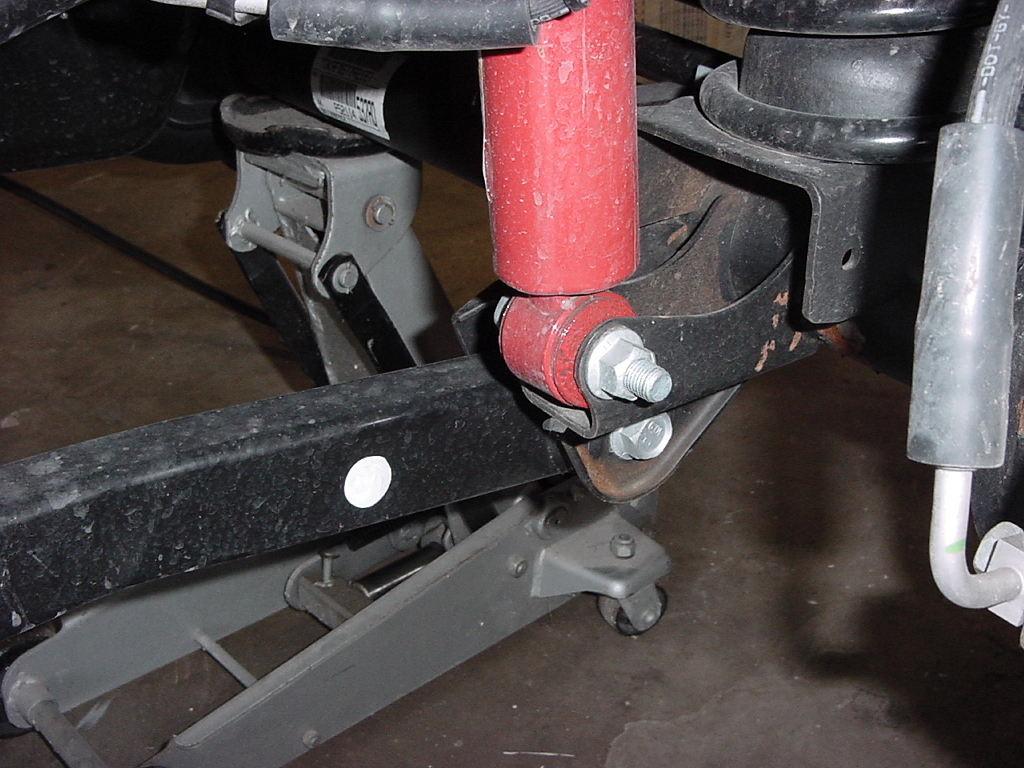
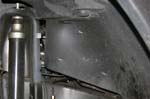
Install the assembled drop link between the anti-sway bar and the axle. Tighten down with a 3/4" socket and 5/8', or 9/16" combo wrench. |
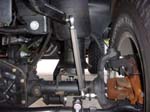 |
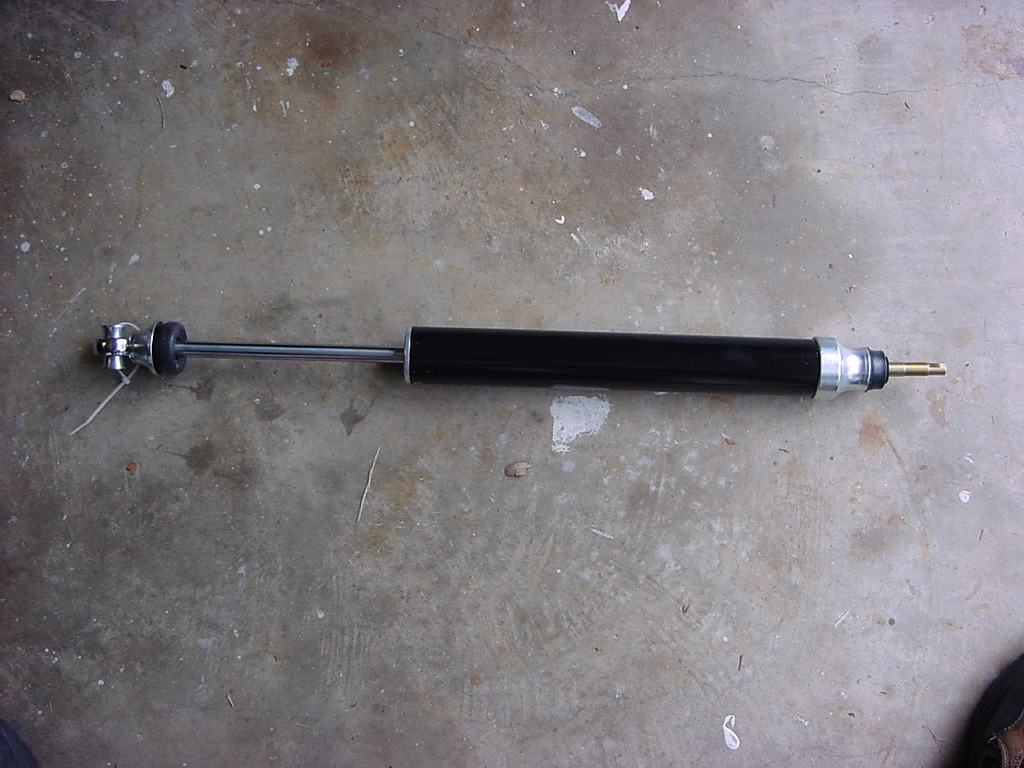
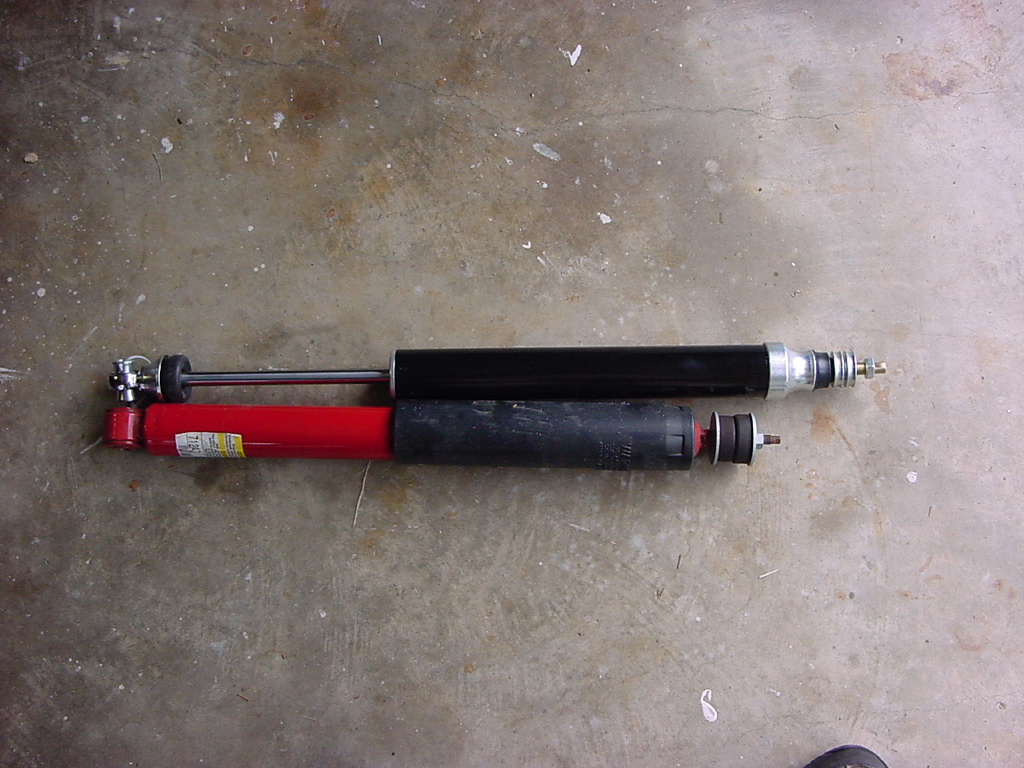
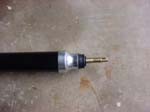
Install the front shock: |
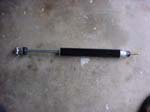 |
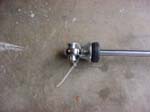
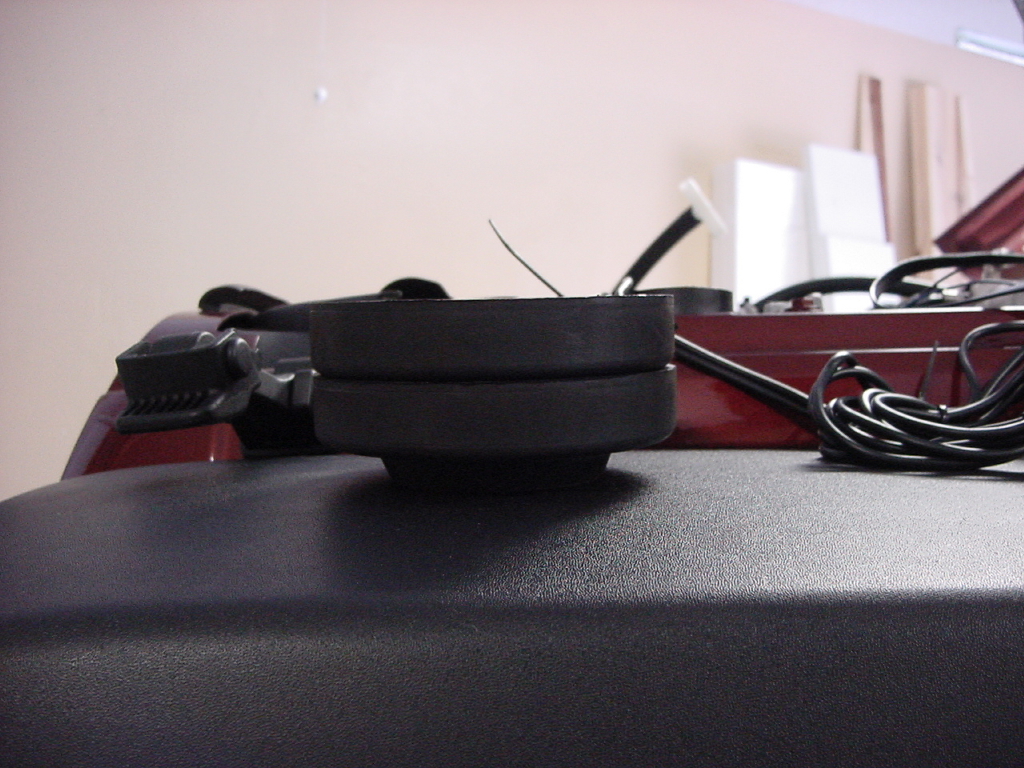
Bottom Heim |
Top Post |
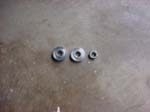
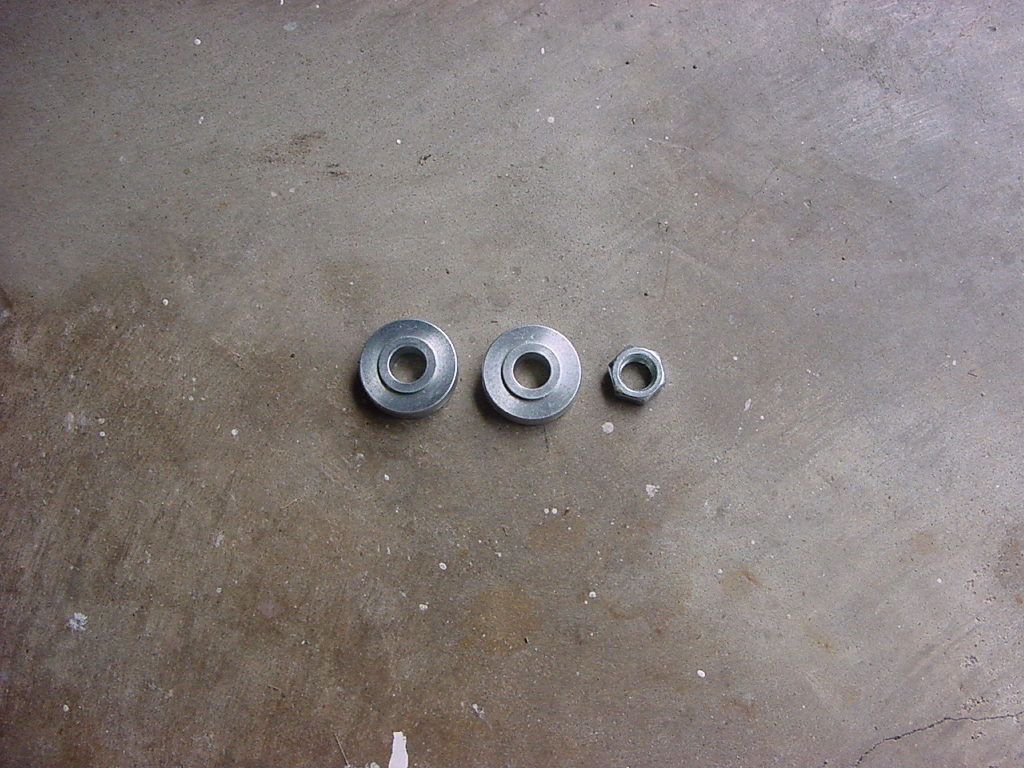
Bushings |

Size Comparison |
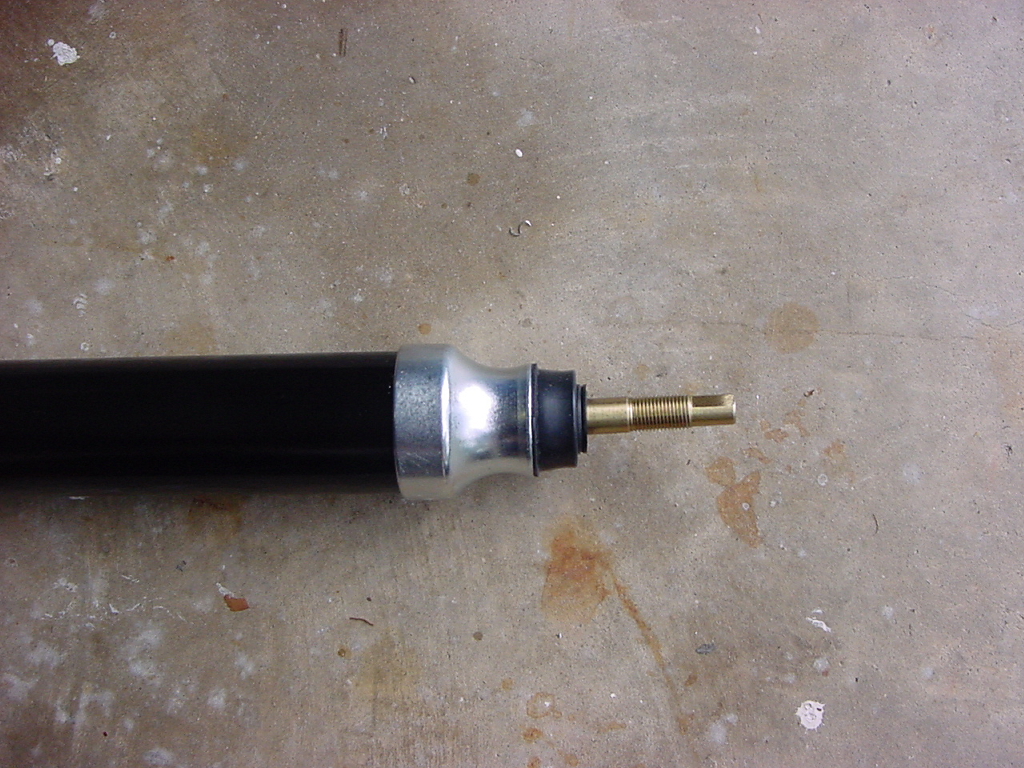
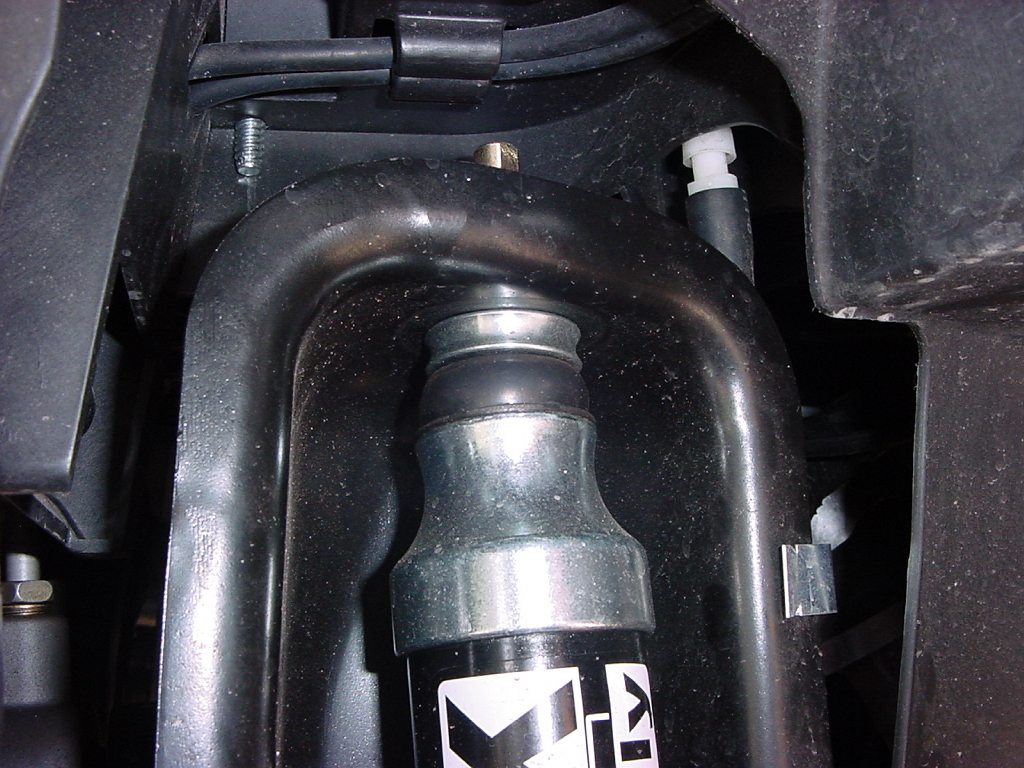
| Place the bushing over the top post, the raised section will be pointing up. |
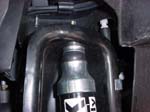 |
| Slip the top post up through the hole in the shock tower, and install the matching bushing (raised section down) onto the shock post. Install the nut. |
|
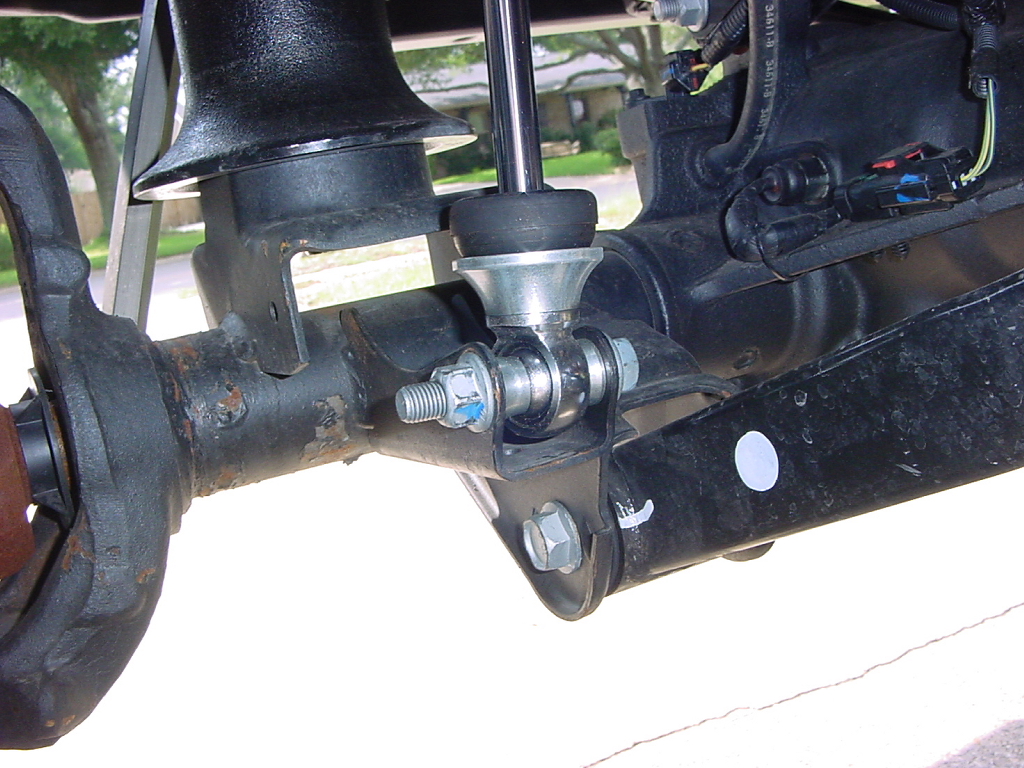
| Install the lower bolt through the bushings. The shock is pressurized so getting it into the lower mount can be a chore. |
 |
| |
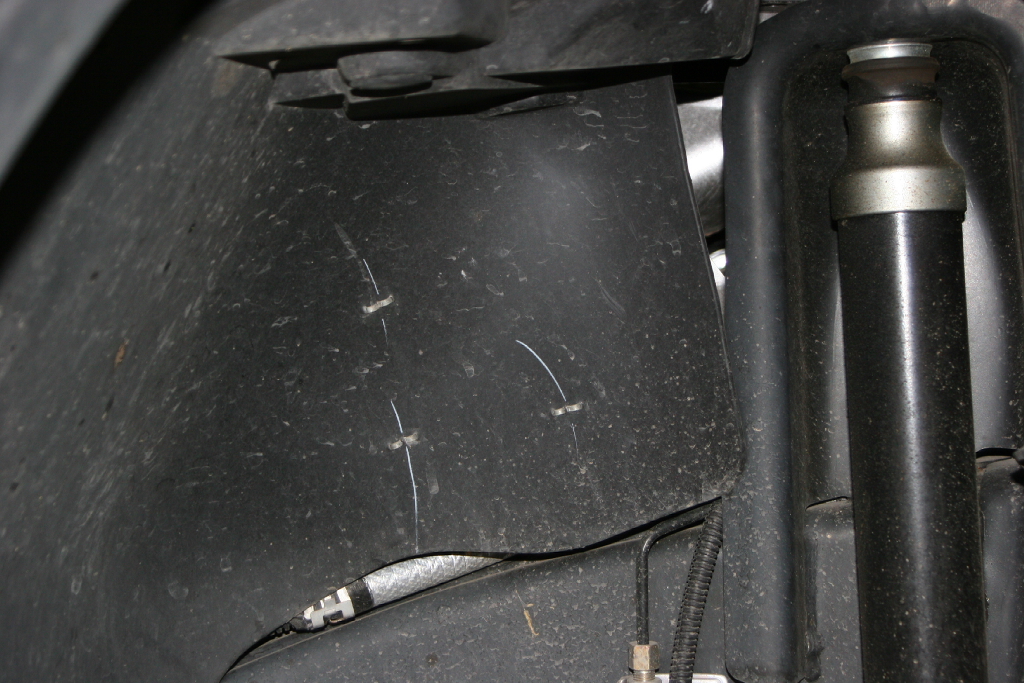
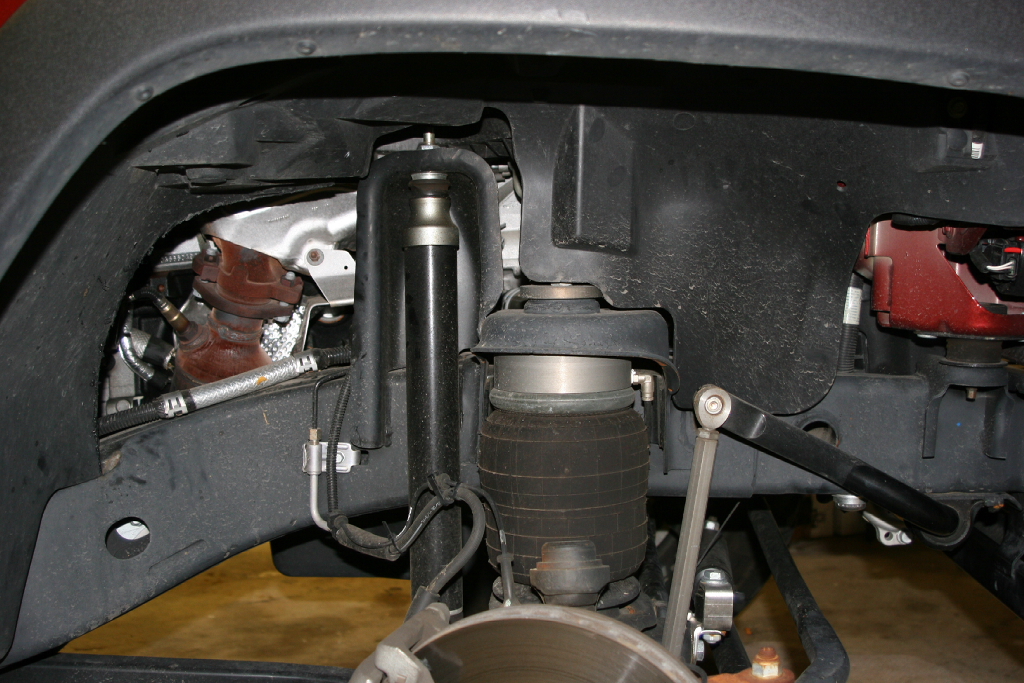
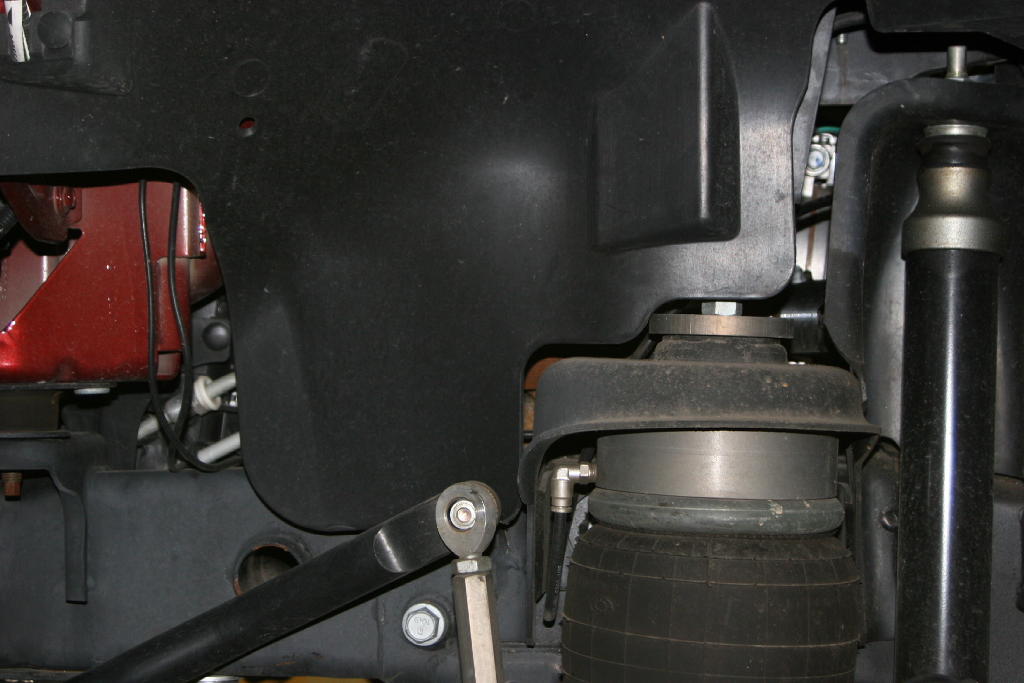
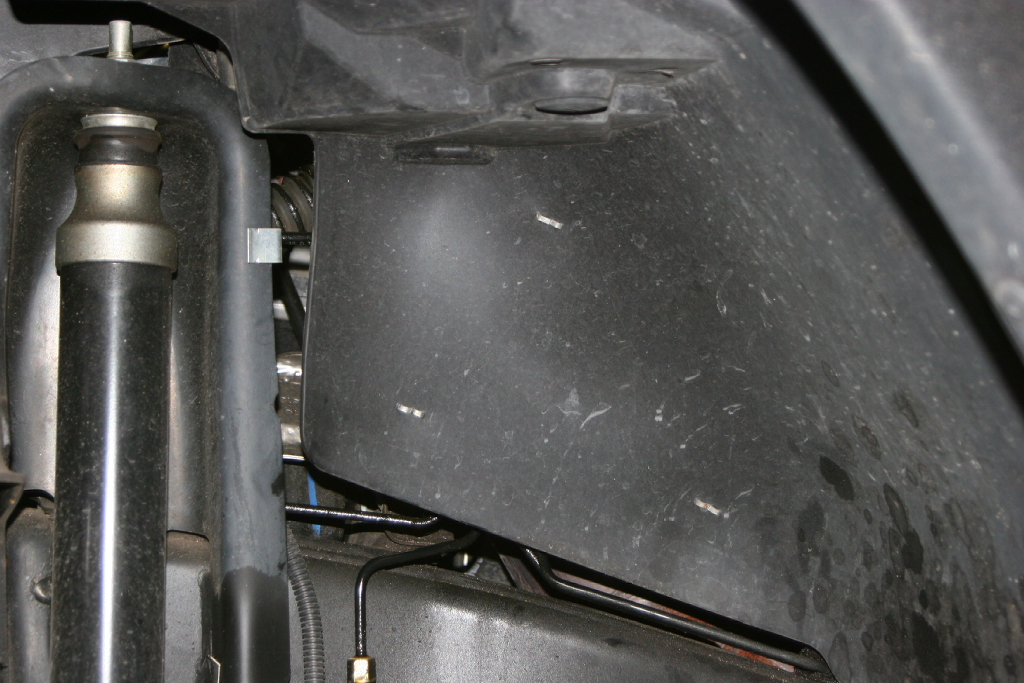
| Wheel well cutting: |
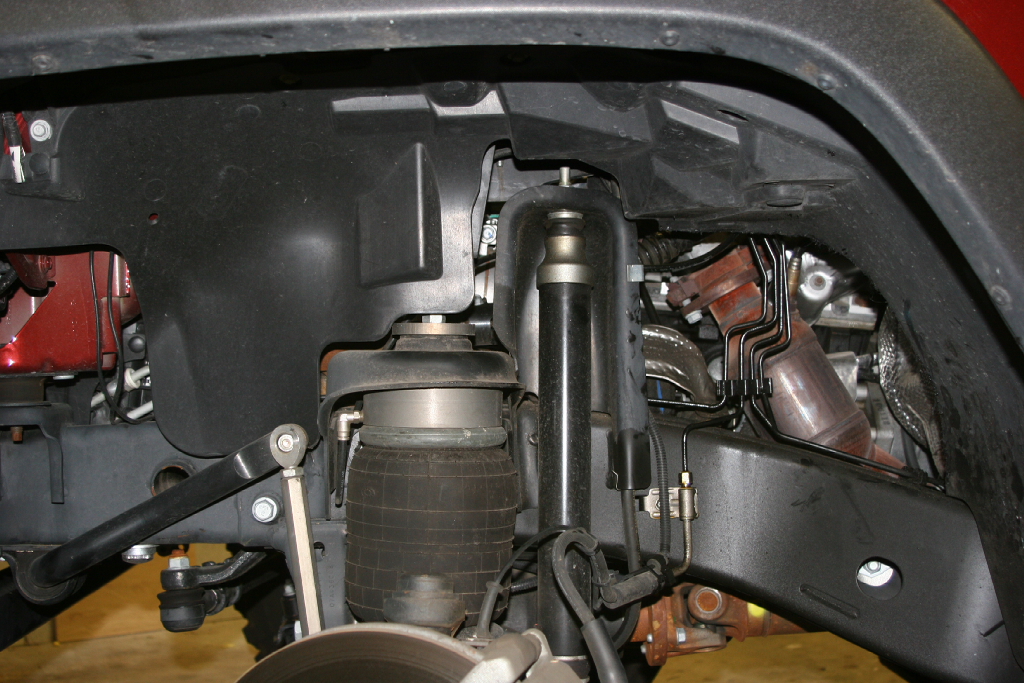
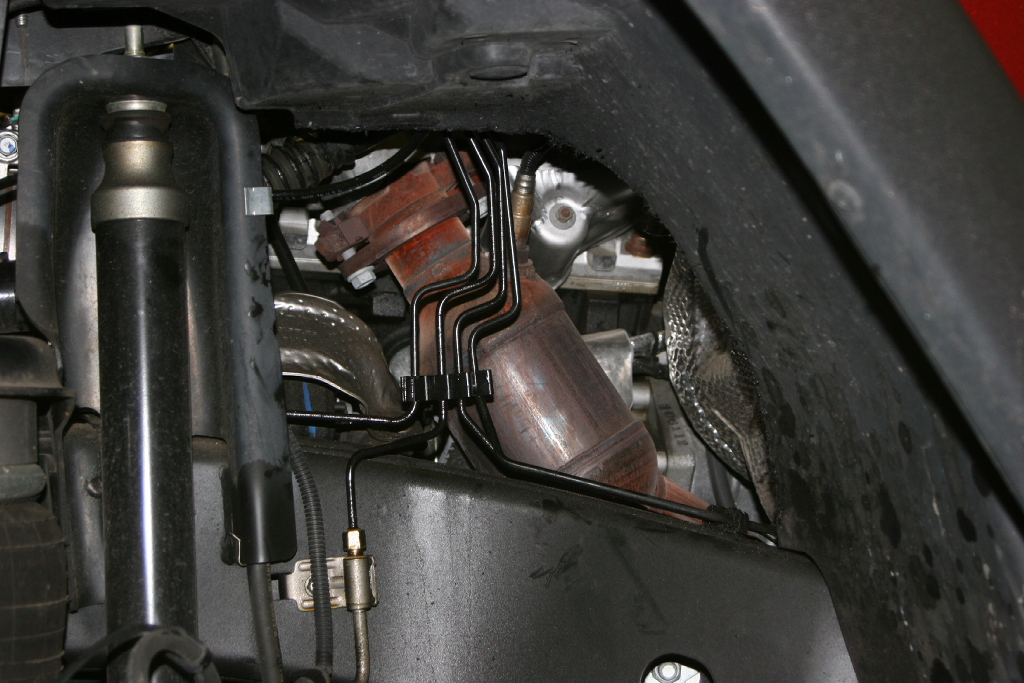
| One of the issues that the JK's have is heat build up under the hood. This can cause all sorts of problems with operation of the AiROCK, mustly from melted lines to melted plastic parts. You will need to cut your wheel well liners to provide some additional cooling. |
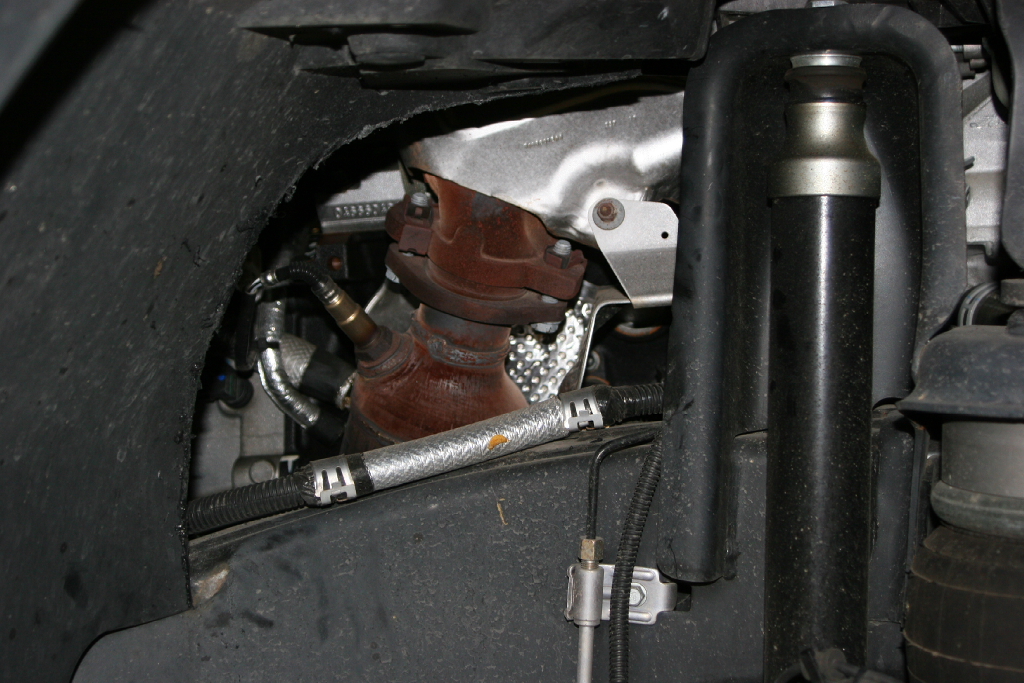
| Passenger side. Be careful when you cut the rear section out to avoid cutting the heat shield on the inside. |
 |
 |
 |
| I only cut the rear section out, but those of you that live in the climates hotter than florida cutting the front section will assist in cooling. To cut the front section refer to ORO instructions. It's basically a straight line forward. |
 |
 |
| Driver side. Be careful when you cut the rear section out to avoid cutting the heat shield on the inside. |
 |
 |
 |
| I only cut the rear section out, but those of you that live in the climates hotter than florida cutting the front section will assist in cooling. To cut the front section refer to ORO instructions. It's basically a straight line forward. |
 |
 |